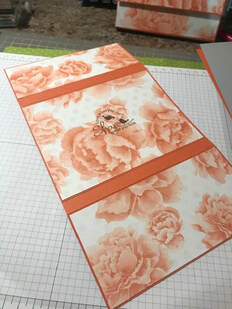
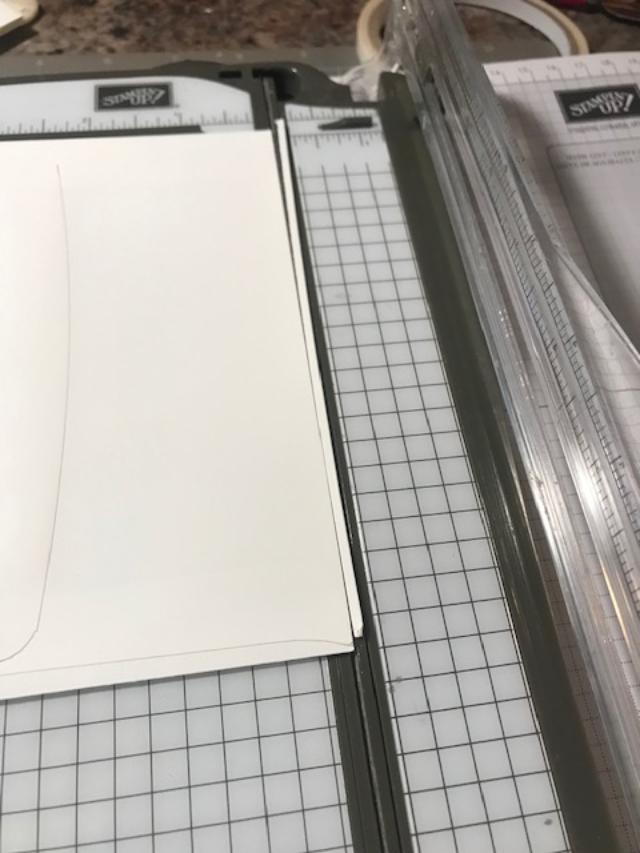
 Good Morning...well almost afternoon! I am so excited to share my first attempt at an Accordion style organizer/folder. As many of you are aware I working diligently to be prepared for an up coming Pop-Up Shop on Sunday, May 5th. Our theme is Mother's Day/Spring/Father's Day/Grads, you know pretty much the events that happening during these months. I wanted to make something I've never made before. So I searched the web and came across several of the Accordion folder tutorials. But I wasn't crazy about the styles. But I did take some of the concepts in mind, when I designed mine. And this was very easy......once I figured it out!!!!! Ok, so must of the time when I am working on Vendor Prepwork, I try hard to use up my stash ....especially this time of year, when the new annual catalog is just around the corner. So many of the stamps sets I had will retire, so be sure to check out my items for sale in June 2019. So let's get started I chose to use 2 different retired Stampin Up DSPS, one called Whole Lot of Lovely and the other is Watercolor Wonder. These were once one of my favorite paper packs.....but I felt they worked perfect for this project.
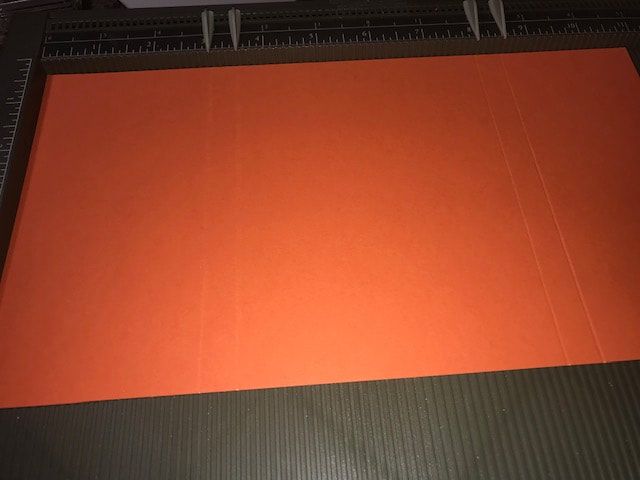
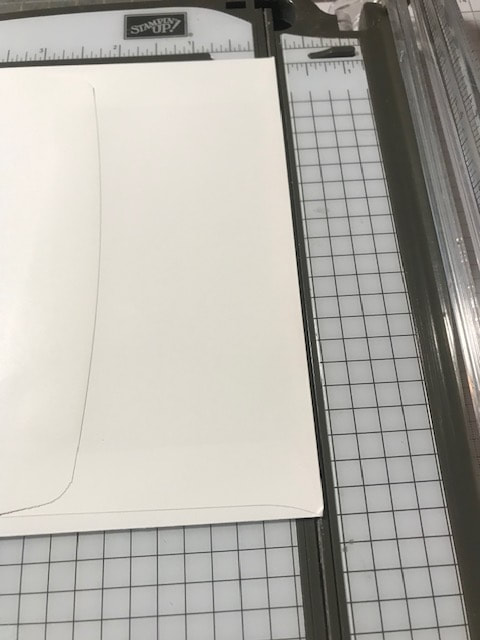
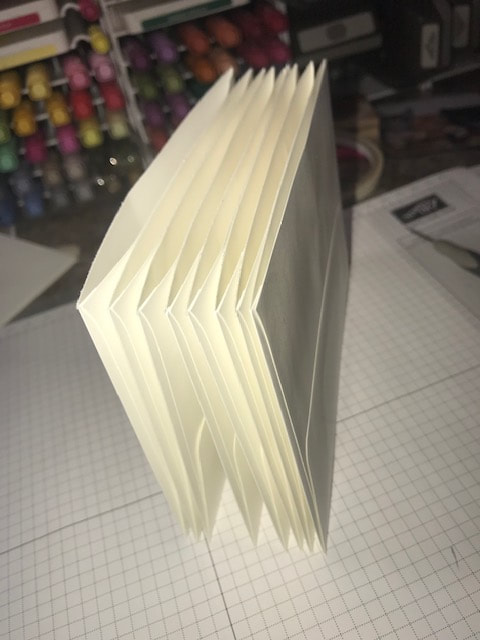
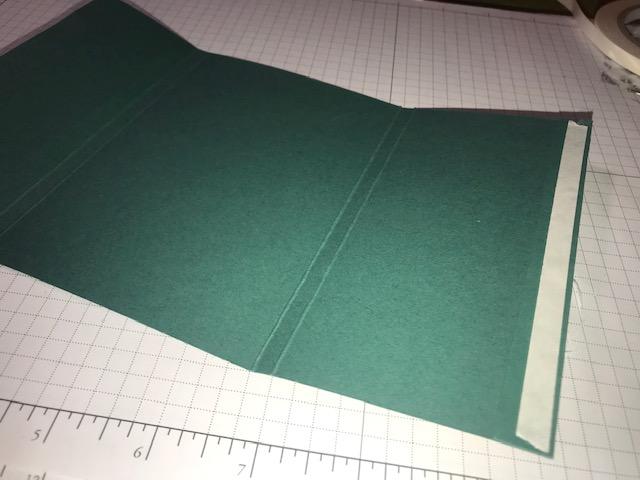
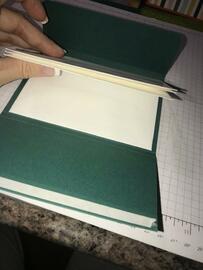
 Fold and burnish the score lines and lets decorate. I found it easier to decorate the outside of the folder before assembling. So grab your favorite DSP and lets cut! You will need 3 pieces: 1-5 7/8"x4 3/8" (back) 1-5 7/8"x2 7/8" (bottom flap) 1-5 7/8"x2 3/8" (top flap) Now let's set the base aside and work on the accordion part of the folder. 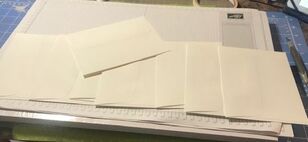 I really like the folders I came across that used envelopes!!! Super easy and takes the guess work of figuring out measures away! Love that. So my folder is designed to work with the Stampin Up Medium Envelopes in Whisper White. I used 8 envelopes so that there would be plenty of pockets to use! So what you are going to do is simple:
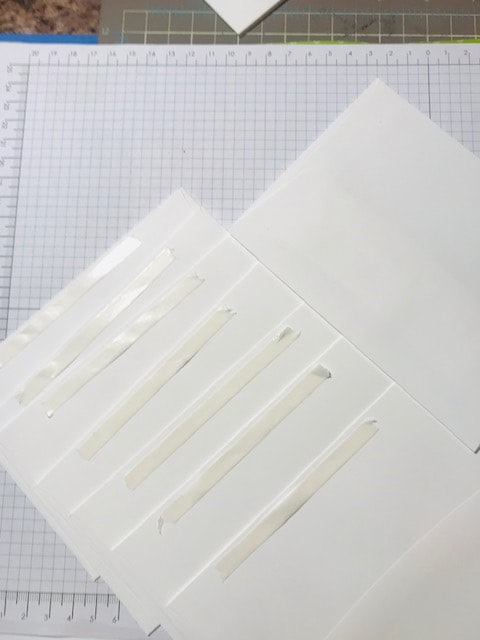
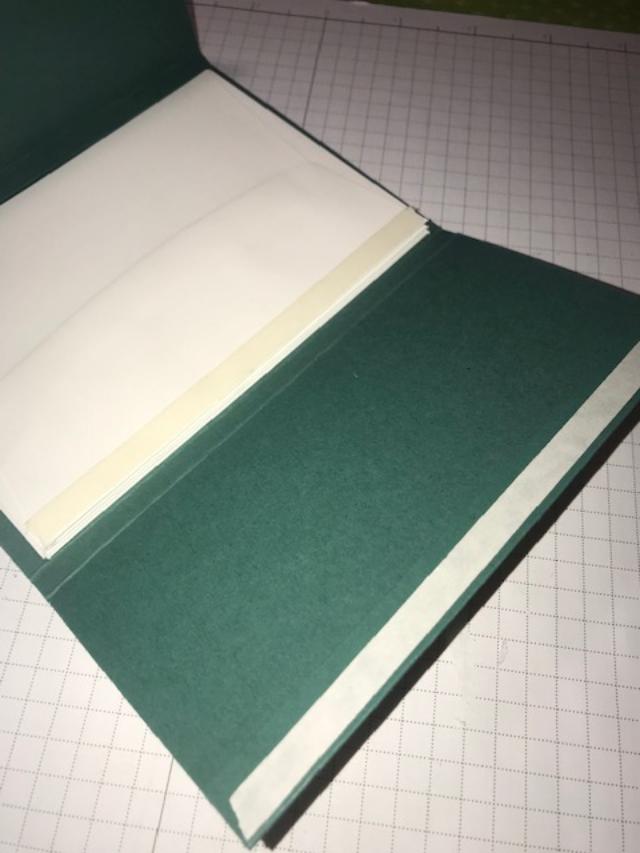
So now, the open part of the envelope is your top and each envelope should now be attached to one another. We need to add adhesive to the top and bottom of one side of the stack and just the bottom of the other side. It doesn't matter which side you choose to do what, but I chose the side that does not have the sealed flap to be the side that will stick to the base of my cardstock, so this side will get adhesive across the top and bottom. See pictures below
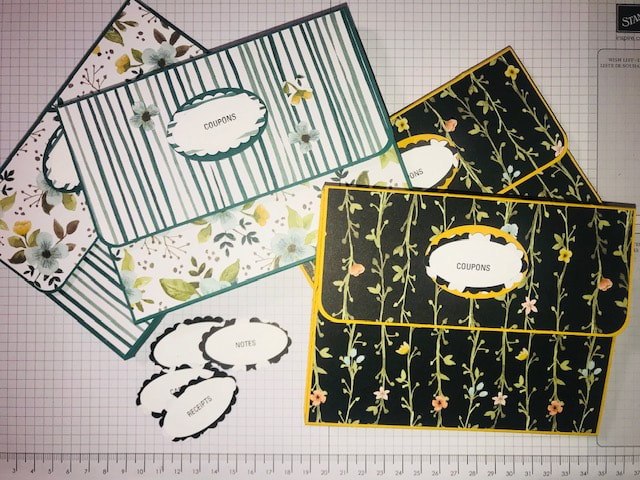
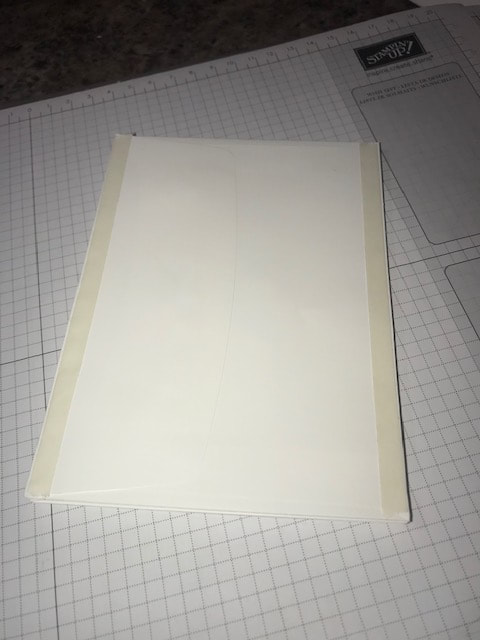
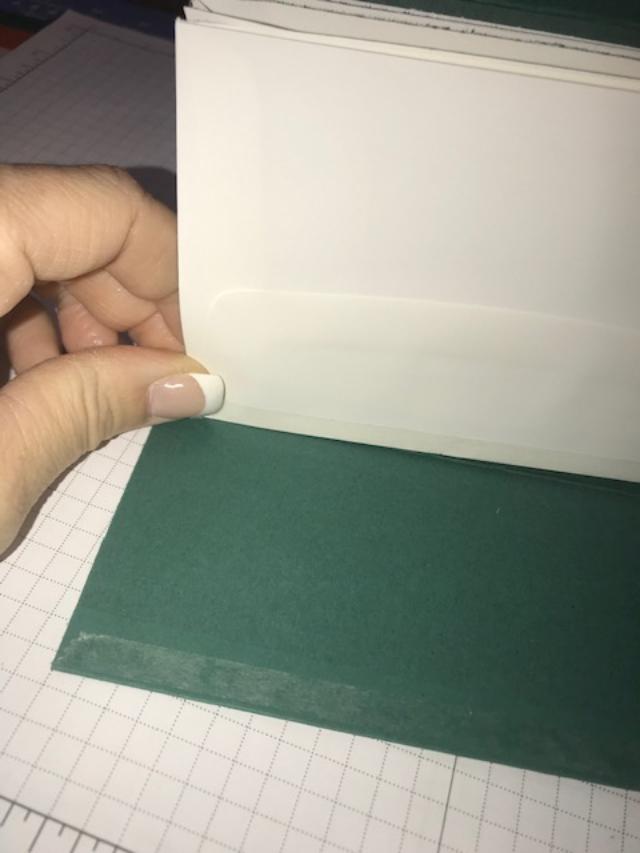
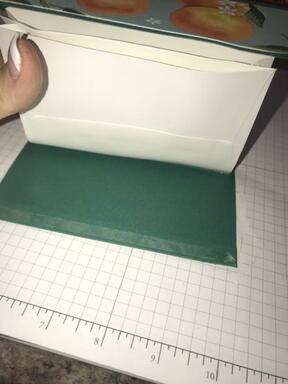 In the picture to the left, you can see where I kind of bend the envelope down on that scored edge to line it up. Then I just fold it flat to adhere the bottom flap to the envelope. A small amount of the envelop at the top is exposed but that's OK! Makes it easier to get things in and out. And that is pretty much it! You've already added the DSP to the outside, the envelopes are in...and the Accordion folder is done! Well...almost... I needed to add something on the outside to indicate what the folder was being used for. But since I am preparing these for a shopping event. I didn't want to assume what it would be used for. So I made interchangeable label for the front cover. I just typed it the label names on my computer and printed them on Whisper White. I used retired ovals to punch them out. I left one blank, Notes, Cards, Receipts, Coupons. They can be switch out as the needs change for the folder. I just small Velcro circle 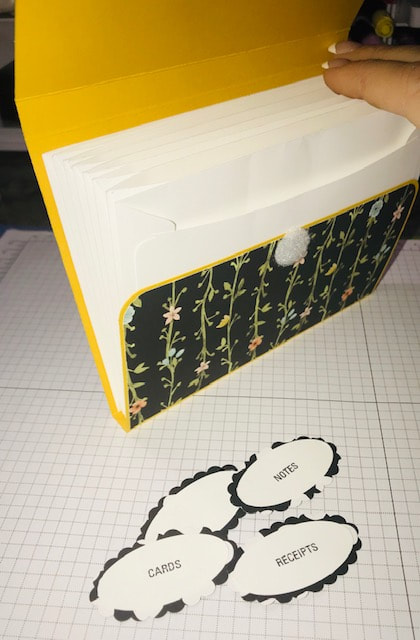 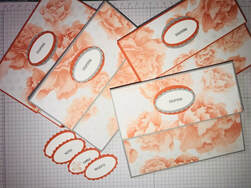 Here is the Watercolor Wonder DSP with Tangerine Tango and Smoky Slate base.
I hope you enjoyed my project. I'd love to hear what you think, so be sure to leave a comment. Thanks for checking it out. Happy Stampin Steph
0 Comments
Leave a Reply. |

New 2023-2024 Stampin Up Annual Catalog


Kits Collection


Join today

Categories
All
Archives
January 2024
|

 RSS Feed