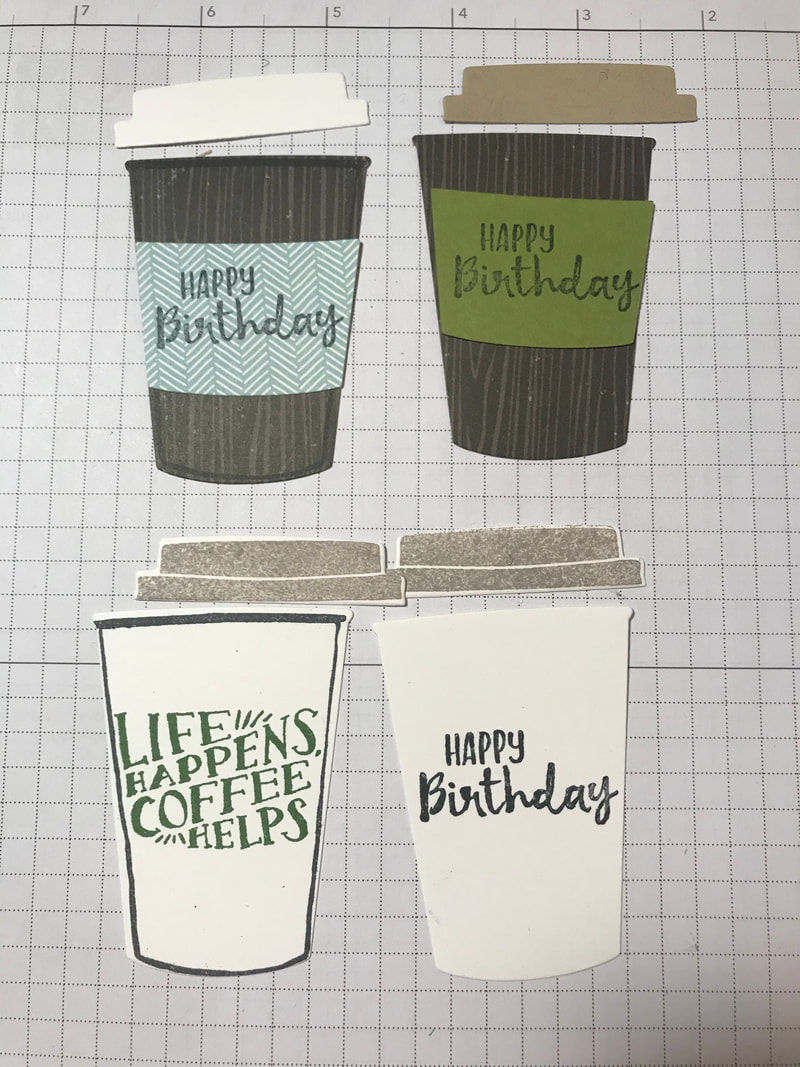
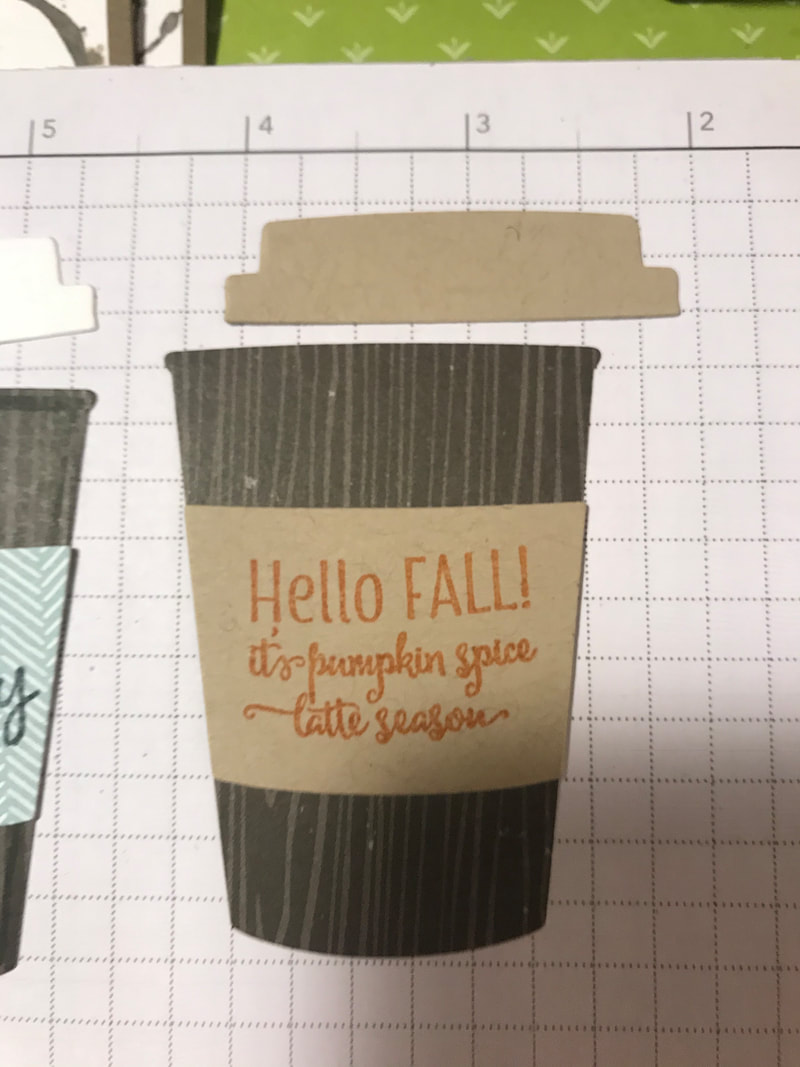
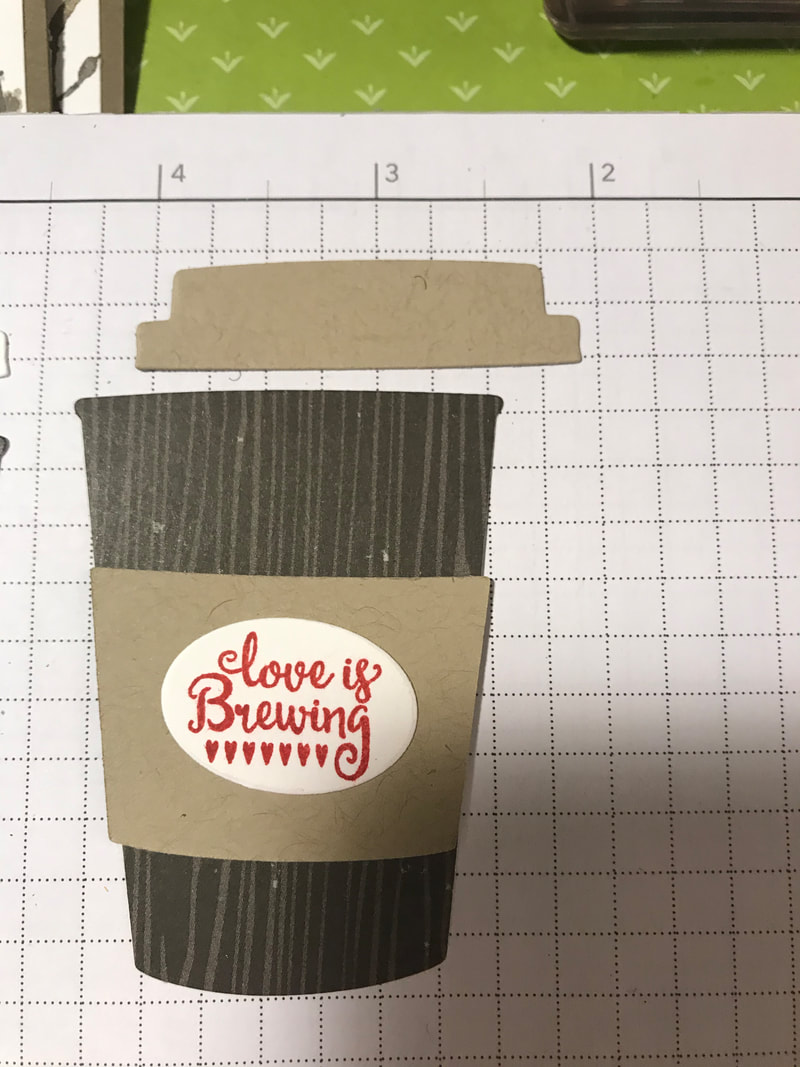
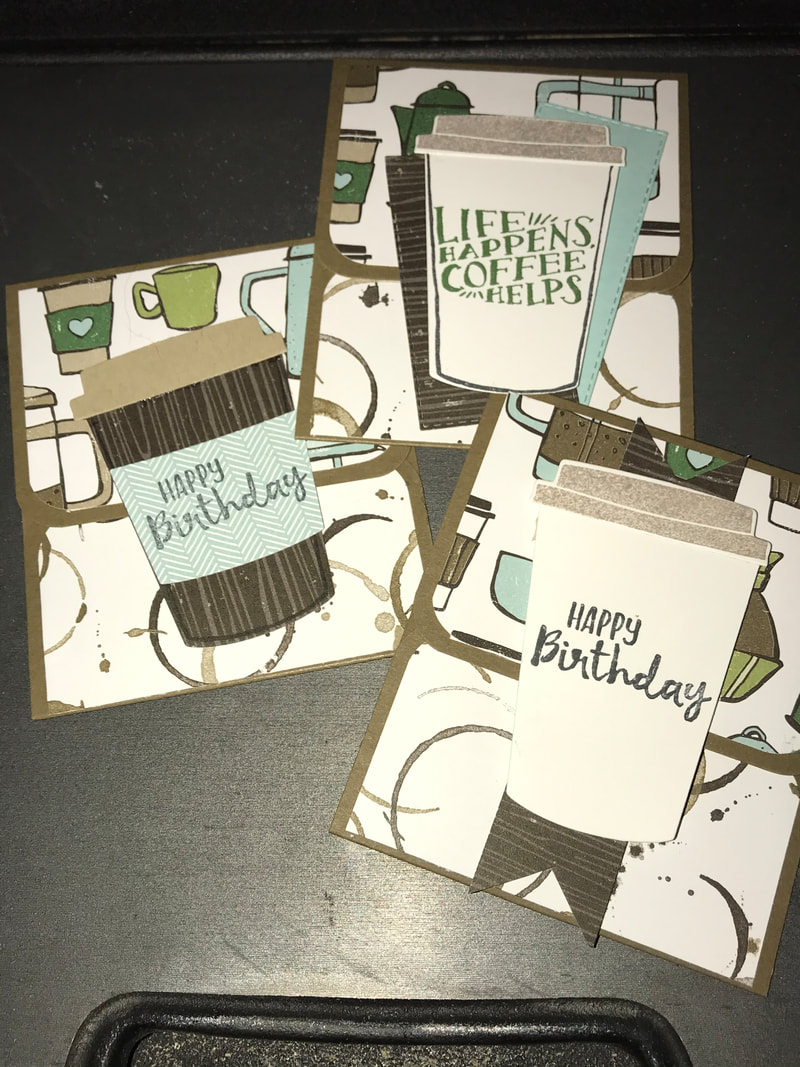
 Hello Crafters! Welcome to the February Stampin Friends Blog Hop!! I' so excited to share this month's hop with you! This hop is literally jammed with so many awesome projects by so many amazing hoppers. I just love this theme, I feel like I have my tried and true supplies and projects I just love to make over and over and it never gets old. Can you guess that our theme is Favorites. Be sure to hop along and visit everyone's blogs, if you get lost, be sure to scroll down to the end of each blog to find a list of hoppers. I hope you came from Jean Bolen Beaulieu, her projects were just awesome. After you view my blog, be sure to leave a comment!!! And then continue to Katja Ettig's blog. If you are not sure whose blogs you have visited, you can find a list of hoppers at the bottom of each blog! At first, I thought, how am I going to figure out my favorite crafting project or product? I was like there is way too many. But then I thought, what do I make the most, Gift Card holders!!! And the Coffee Cafe stamp set and matching dies is my go-to. I choose this set over and over and over for gift giving. It's the perfect set to use for coffee gift cards. I decided to combine Coffee Cafe with the new Best Dressed Suite. 2 of my favorite things, coffee and lipstick!!! 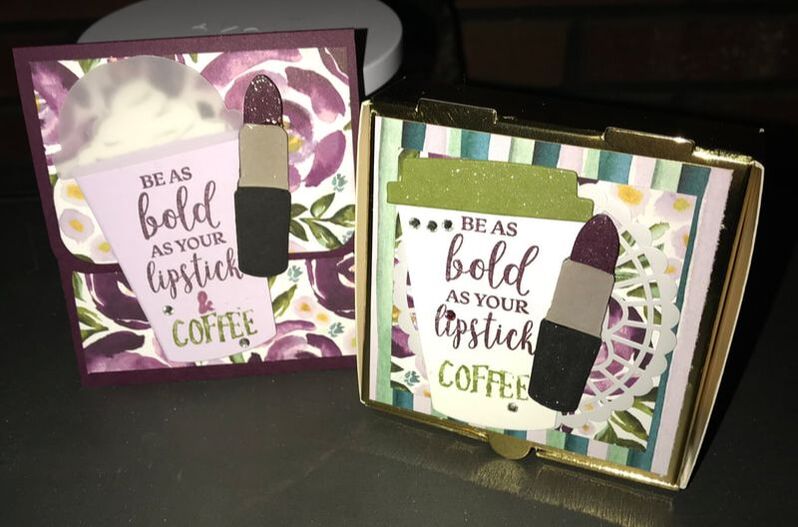
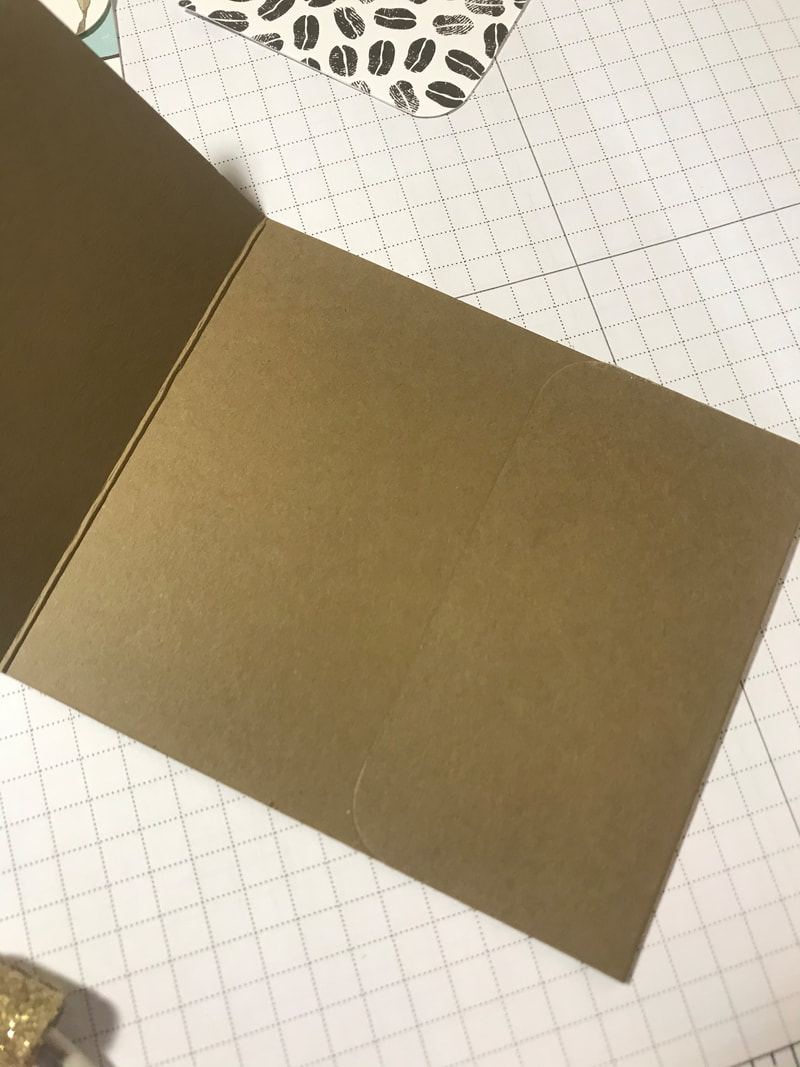
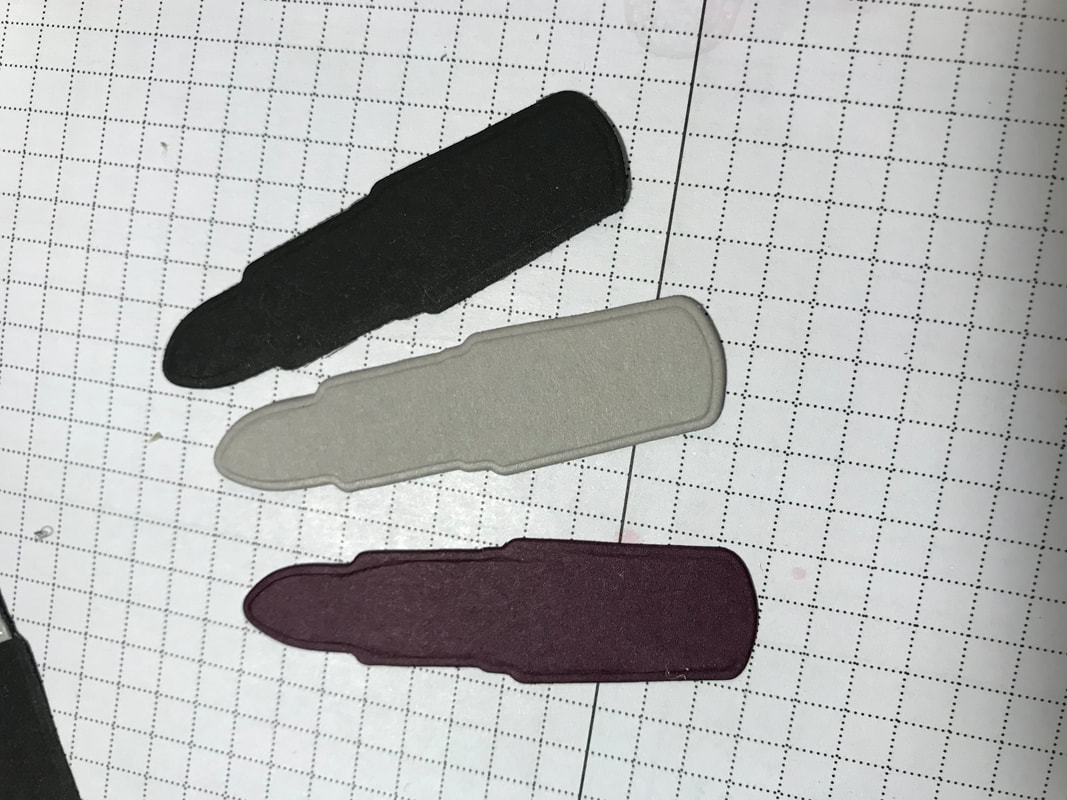
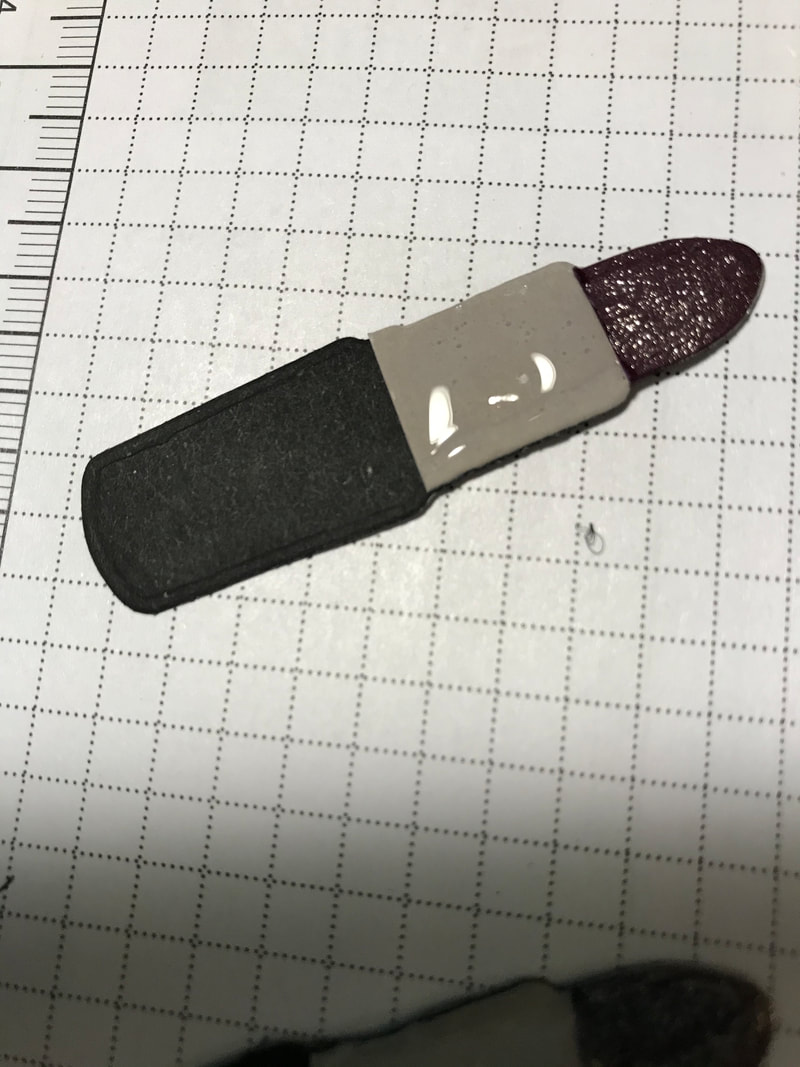
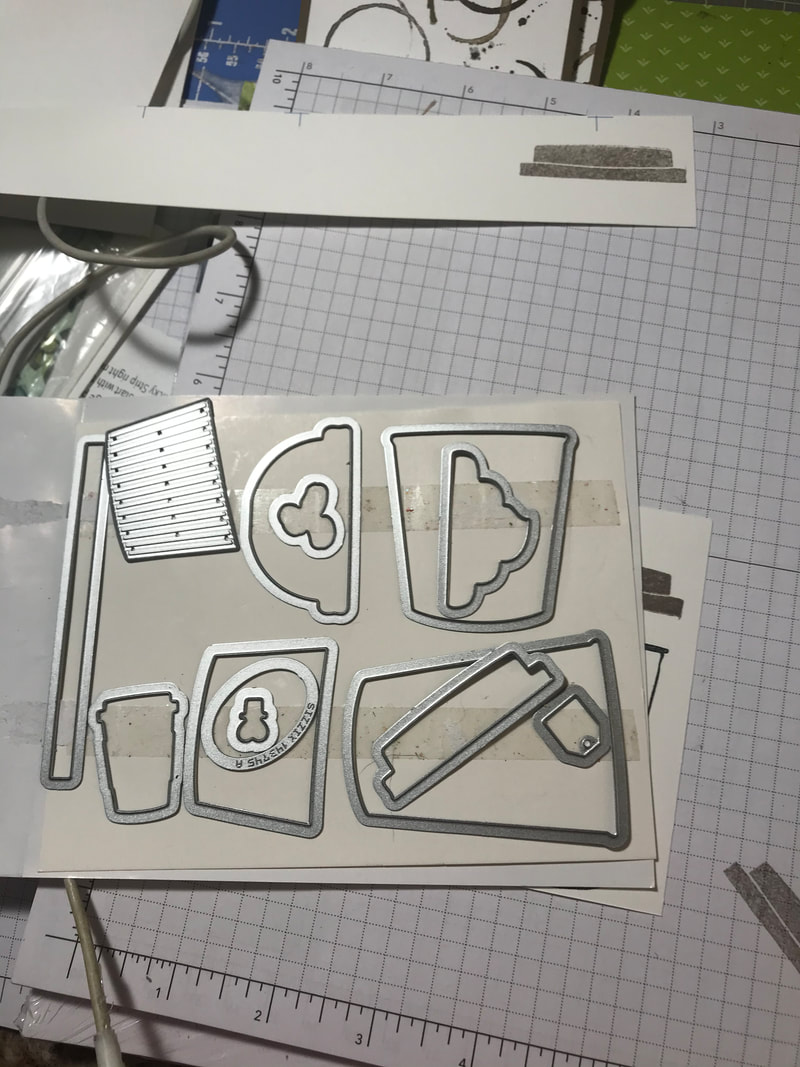
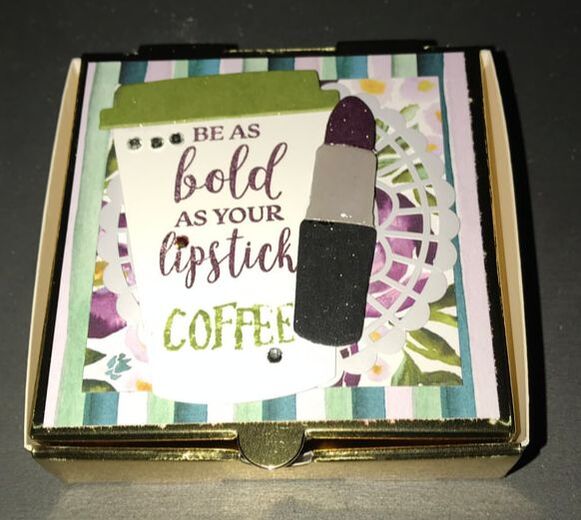
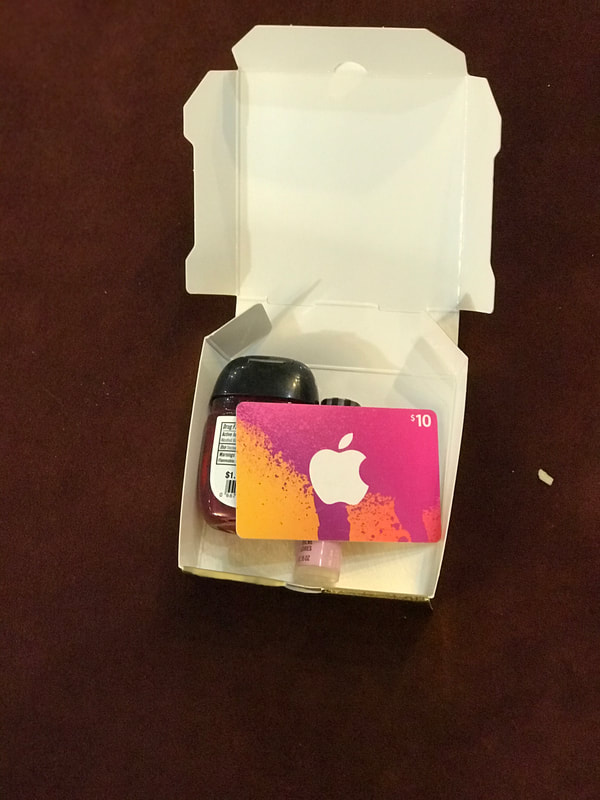
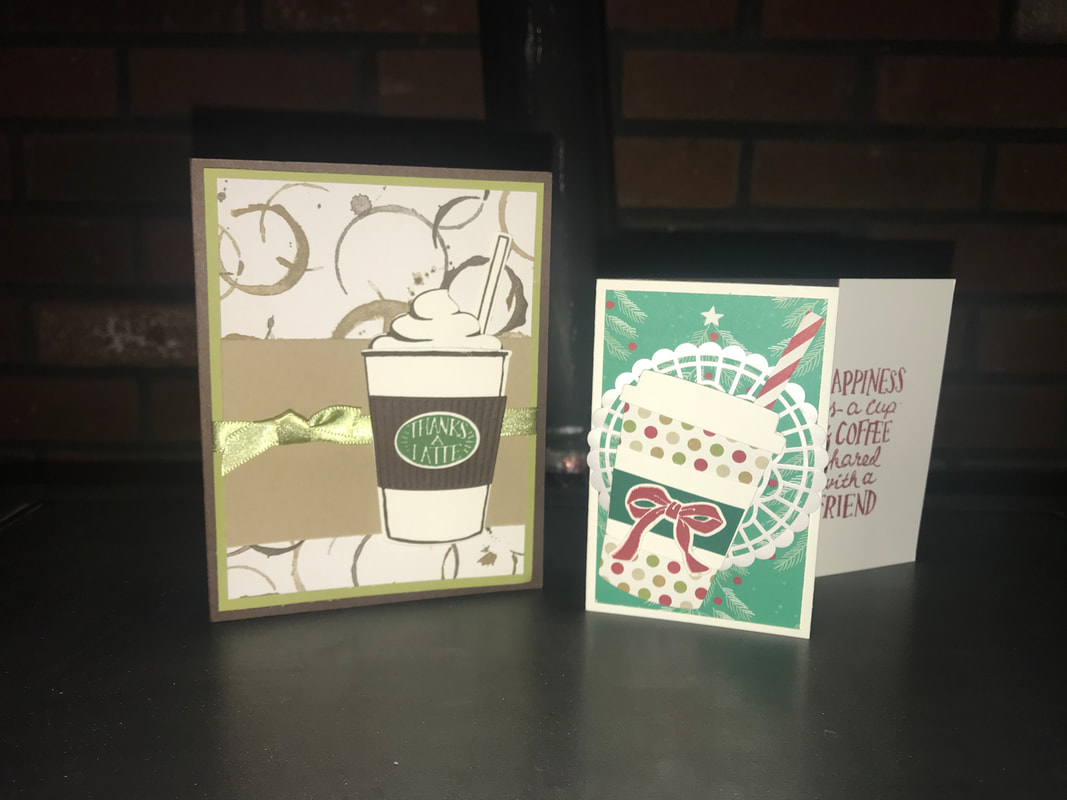
Be sure to keep the adhesive close to the edge so you can still add the gift card or folding money in the pocket. The DSP I used is from the Best Dressed Suite. I cut 1 piece at 3 1/4"x 2 1/4" and 1 piece at 3 1/4"x1 3/4". Adhere to the cardstock. You could create a belly band to keep the holder closed. But I used a little velcro dot and adhered it to the top flap. Use the lipstick die, from the All Dressed Up framelit set, to cut 3 lipstick tubes, I used Basic Black, Smoky Slate and Blackberry Bliss. Cut off the tip in Blackberry Bliss and cut the bottom off the Smoky Slate, and then layer them together. I added Wink of Stella and Glossy Accents to give a little more dimension. See photos below. I used Purple Posy for the cup base, I cut out the dome lid in vellum so it looks more like the clear lids, and then Whisper White for the whipped cream. I added a little whisps of Smoky Slate so it looks real. The greet was so fun, I stamped the Be as bold as your Lipstick from the Dressed to Impress stamp set in Blackberry Bliss, then I took the greeting 'Happiness is a cup of coffee shared with a friend' from Coffee Cafe and just used my marker, colored, just the word "COFFEE" in Old Olive and stamped it at the bottom, I wrote in the &. Now my greeting says Be as Bold as your Lipstick & Coffee! I Love it! So much fun to make and so easy. I know my girls will be grabbing these for any upcoming parties for friends.
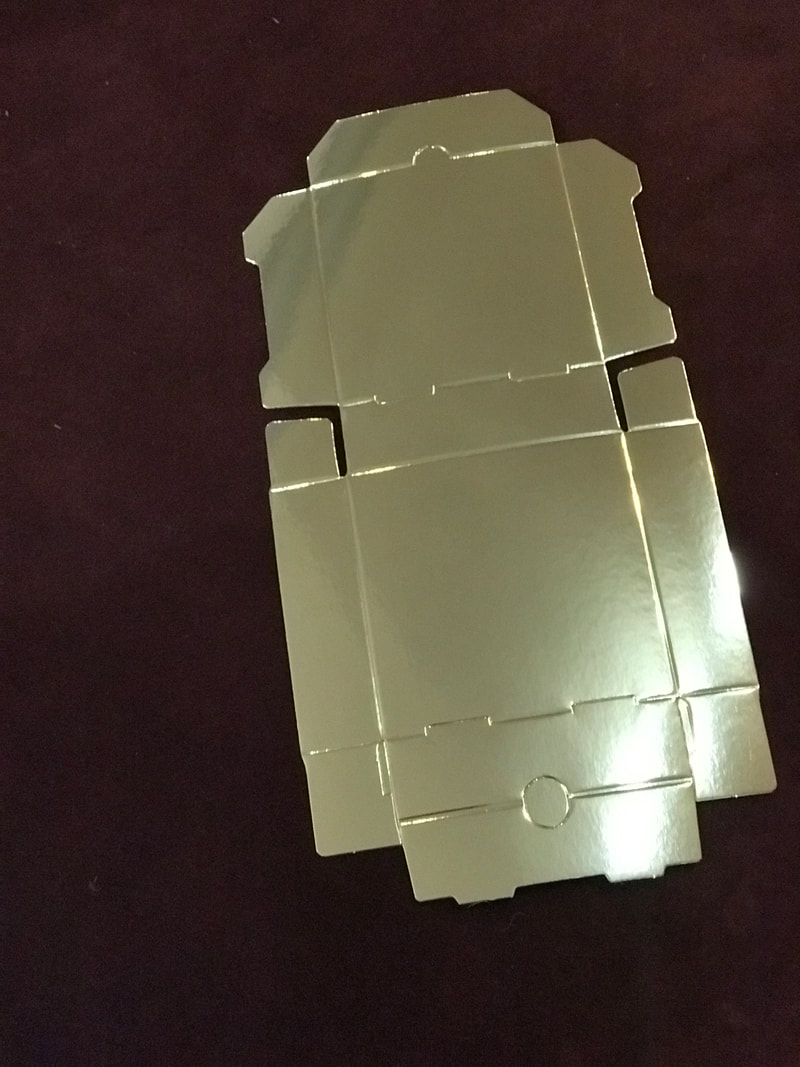
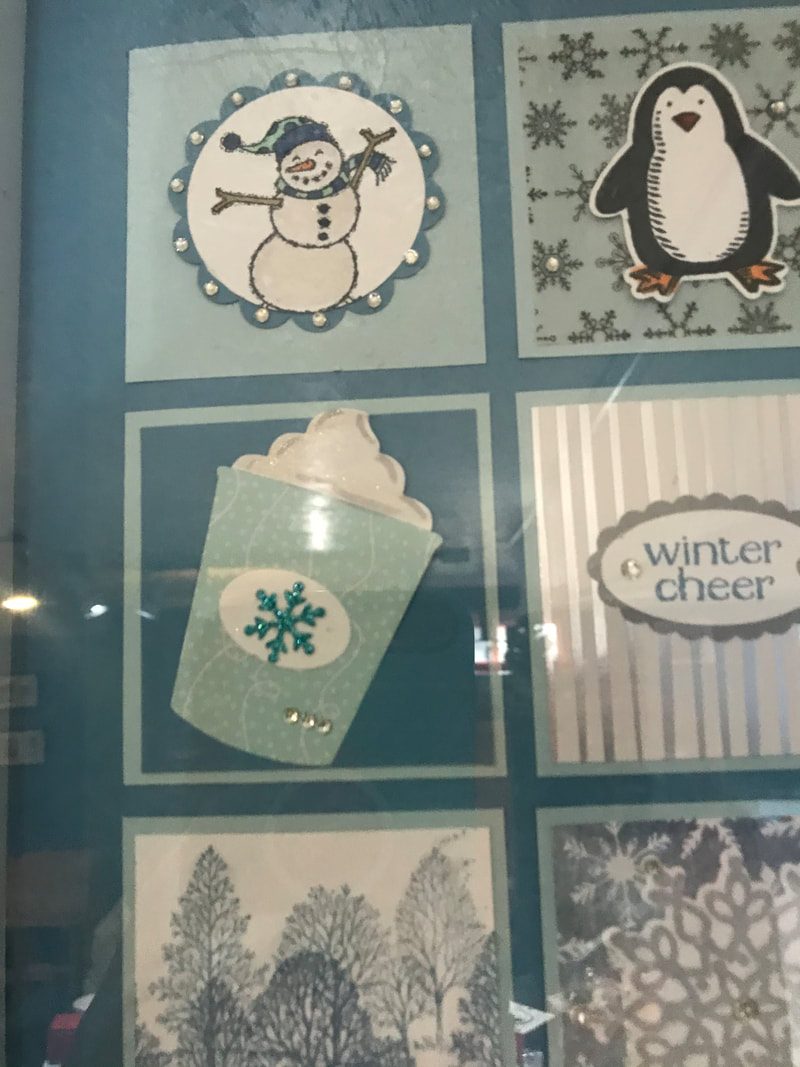
The DSP was cut at 3 1/4"x3 1/4" and 3"x3". I created the lipstick the same way as before. The coffee cup is in Whisper White, but I did the greeting the same and the is in Old Olive. I added a Doily I had on hand and there you have it, done...Super easy. Now, if you needed a white pizza box only had gold, you can fold the score lines opposite and have the white inside, become the outside. 2 in 1. As you can see from the picture below, you can fit a good amount of stuff inside and a gift card fits too!!! Below is just a few projects I used with Coffee Cafe, there's just so many. And if you have this set and need ideas, feel free to use these and there is tons more on Pinterest. I hope you enjoyed my "Favorites" be sure to leave a comment, I'd love to hear what you think.
Continue along the hop to Katja Ettig's blog. She is amazing and you won't want to miss her projects!
13 Comments
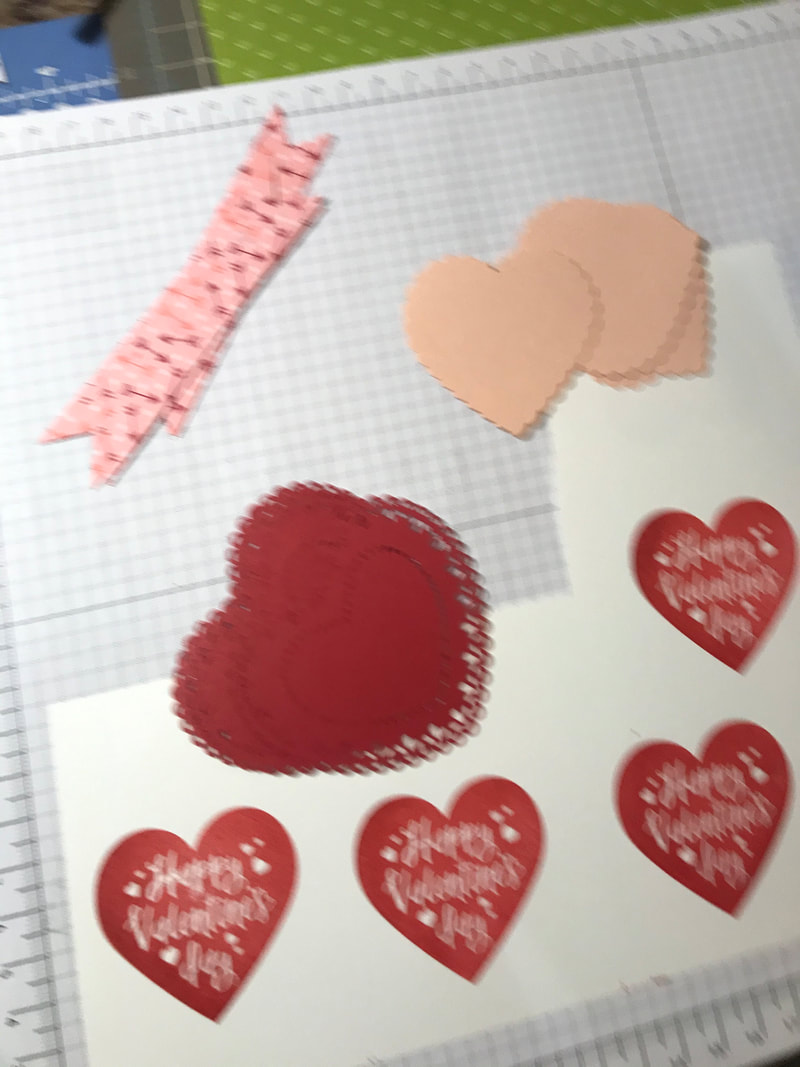
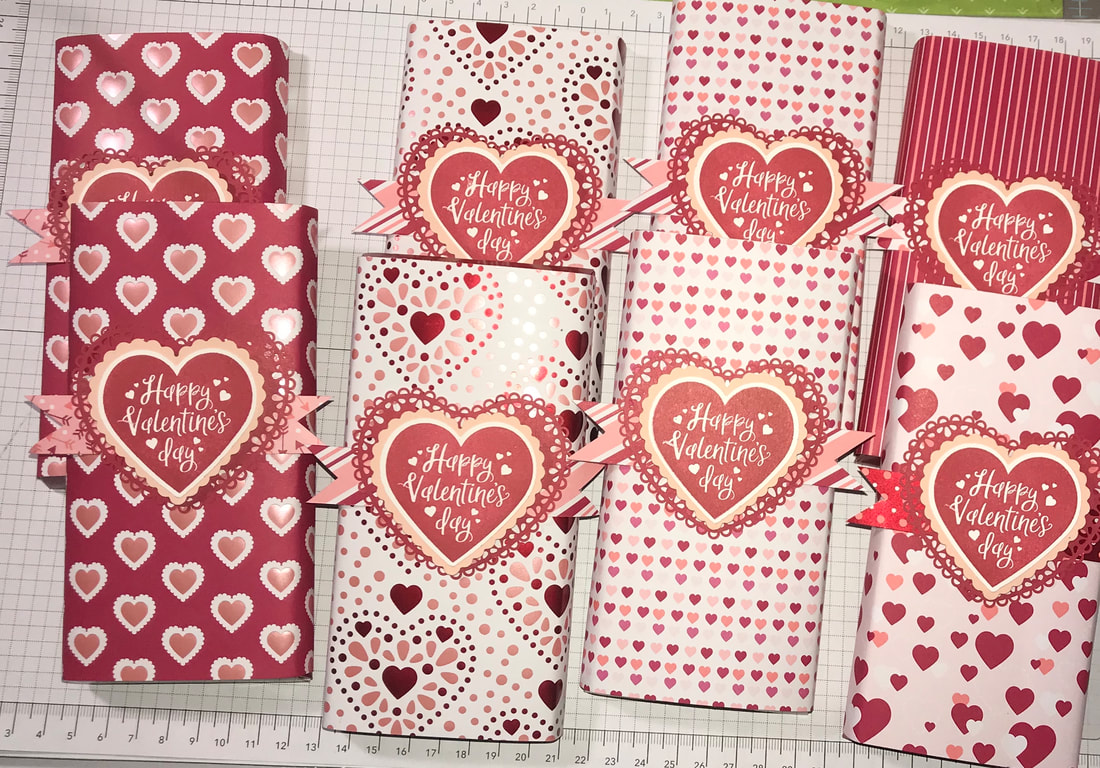
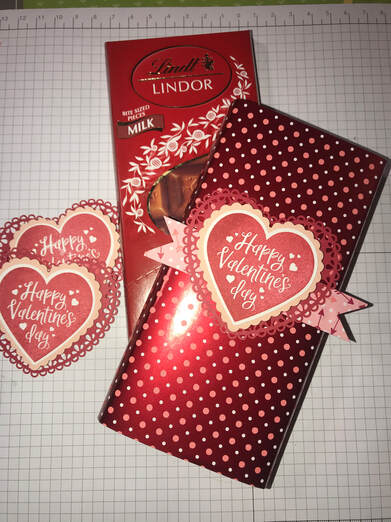 Today I wanted to share with you a quick teacher treat I put together, with the help of my 2 kids. I purchased 20 of these Lindt chocolate bars on sale and honestly....do not want them in my house. But my initial purchase was for kids...and then I thought hmmm they would make a quick easy treat for my son's teachers. They were super easy to make and I didn't really have to worry about measurements. Honestly the first one I eyeballed the paper size and then went from there. So the overall paper measures 3Lx8 1/2H and I simply wrapped it around the chocolate bar and adhered in the back. I used the bundle called Heartfelt, it is part of the From My Heart Suite by Stampin Up, and this came together really quickly. The bundle includes the stamp set Heartfelt and 2 heart punches, 1 scallop and 1 regular. So I stamped the Happy Valentine's Day on White and punched it with the heart. I also punched a Powder Pink scallop heart and layered ontop of the Heart Dolies. I added a strip of paper 3/4x4 and flagged the ends to add a little more dimension. And WaLa. After I finished the 4 for my son's teachers, my middle daughter, 13, wanted to make them for her teachers so we whipped out 4 more, plus we added another 4 for the 2 secretaries, principal and bus driver So 12 in total and made in about 30 minutes.
How great!! Just a sweet and simple way to show our appreciation. I hope enjoyed my projects Thanks for stopping by! Happy Valentine's Day and Happy Stampin! Steph 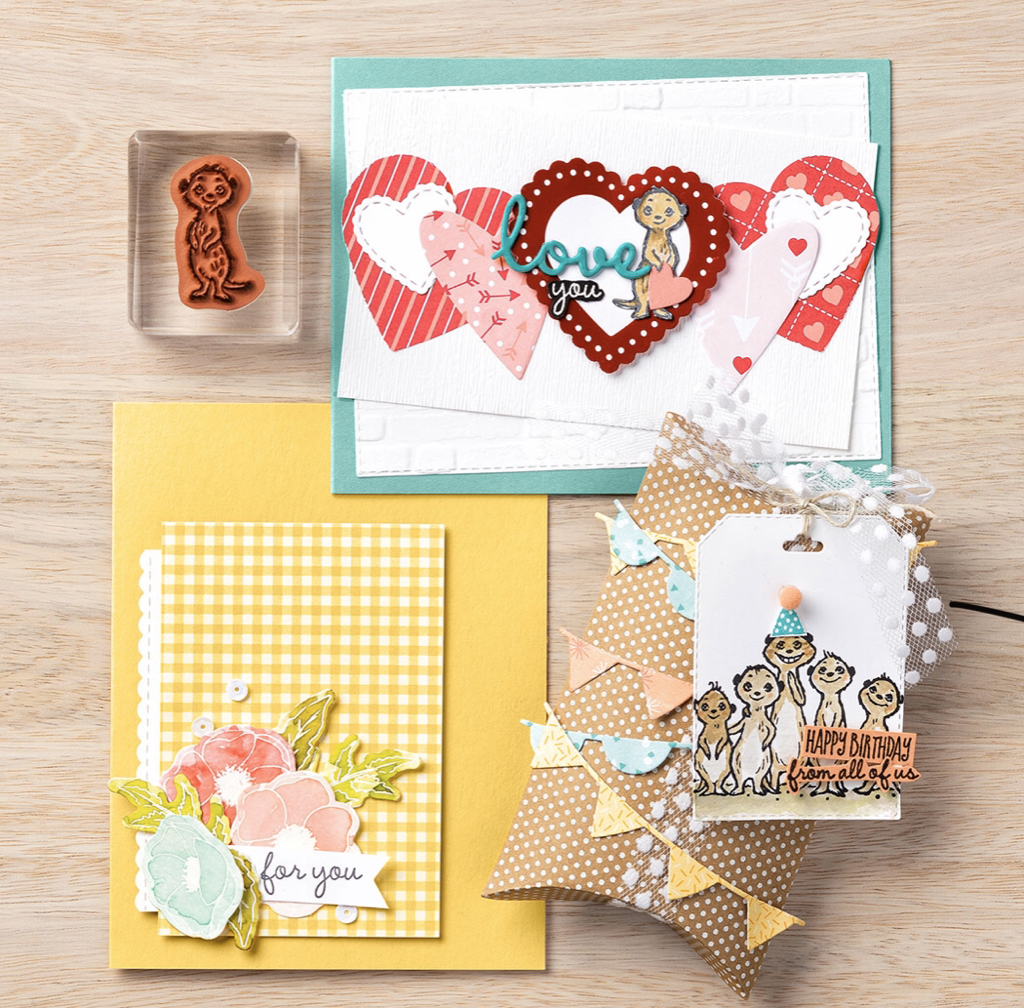 The Gang’s All Meer Stamp Set is a fun one to bring out the smiles and you can see its versatility with our projects here. To create a darling valentine, we paired the set with From My Heart Specialty Designer Series Paper, the Heart Punch Pack, and the Stitched Be Mine Dies. The beautiful For You card shows how to pair sentiments with embellishments, in this case, the Peaceful Poppies Elements. And on our cute birthday box, we combined the stamp set with the Bonanza Dies. There are so many ways to share creativity—and Sale-A-Bration!
Be sure to contact me for your new catalogs Happy Stampin Steph Today I want to share with you my projects using the Parisian Blossoms Suite. This is a new suite in the Stampin Up Mini Catalog. You can find information on pages 14-17. Each product in the suite can be purchased separately or together as one whole bundle. And best of all, because of Sale-A-Bration, you would earn 2 free exclusives products, just from ordering this suite. Click here to view the Parisian Blossoms Suite.
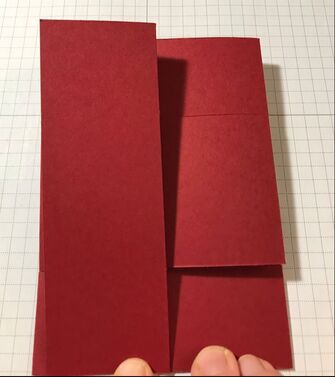
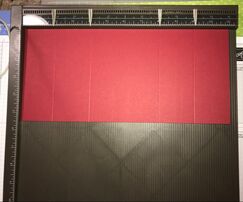
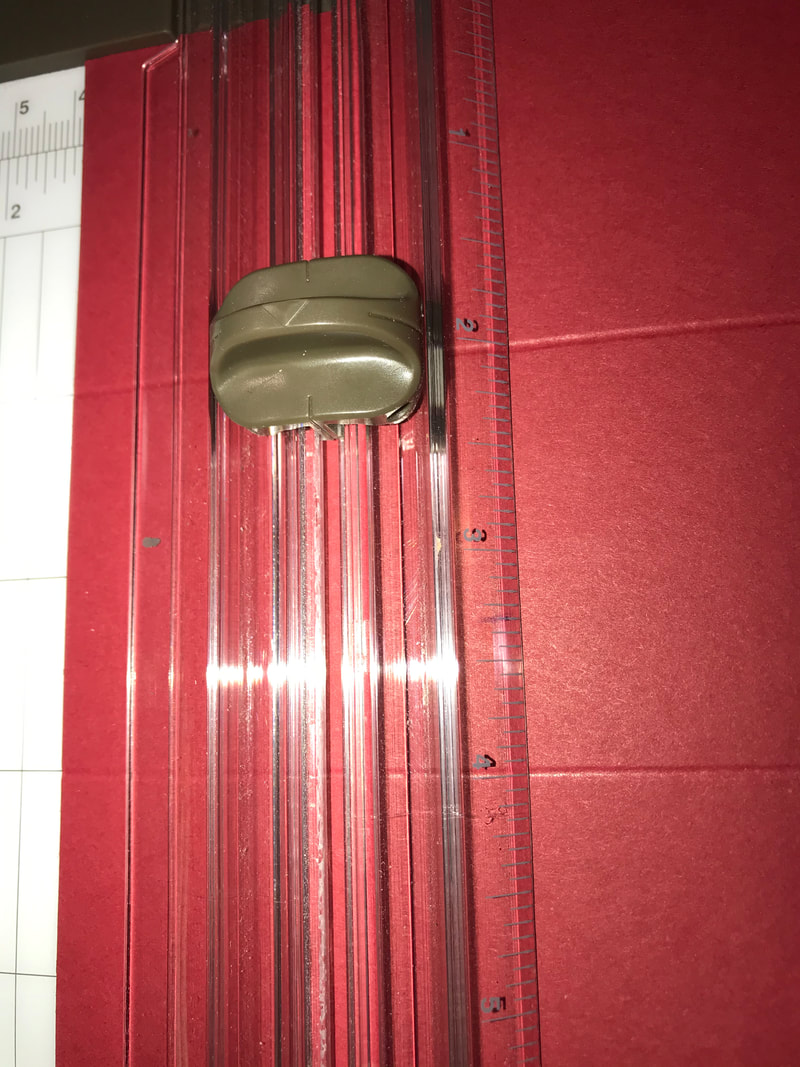
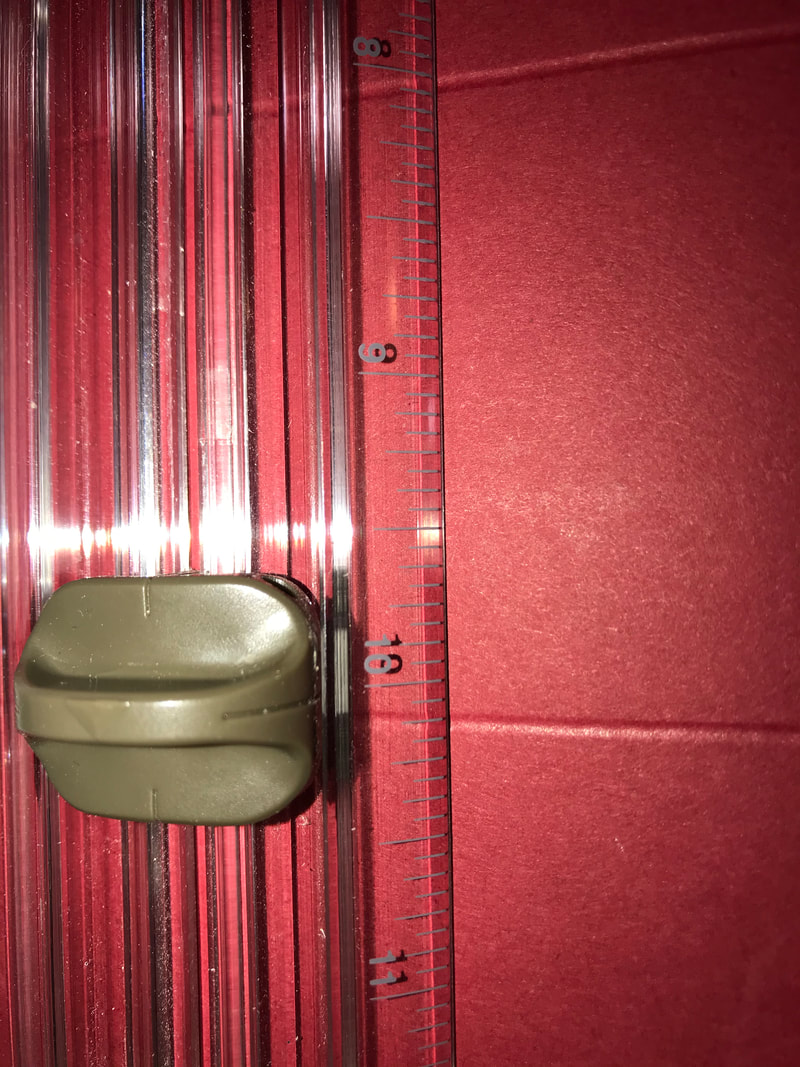
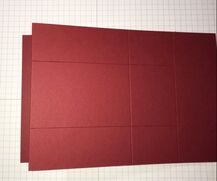
This beautiful card below, uses the Tri-Fold Shutter fancy fold technique. It's a little tricky but WOW how gorgeous is this!!! 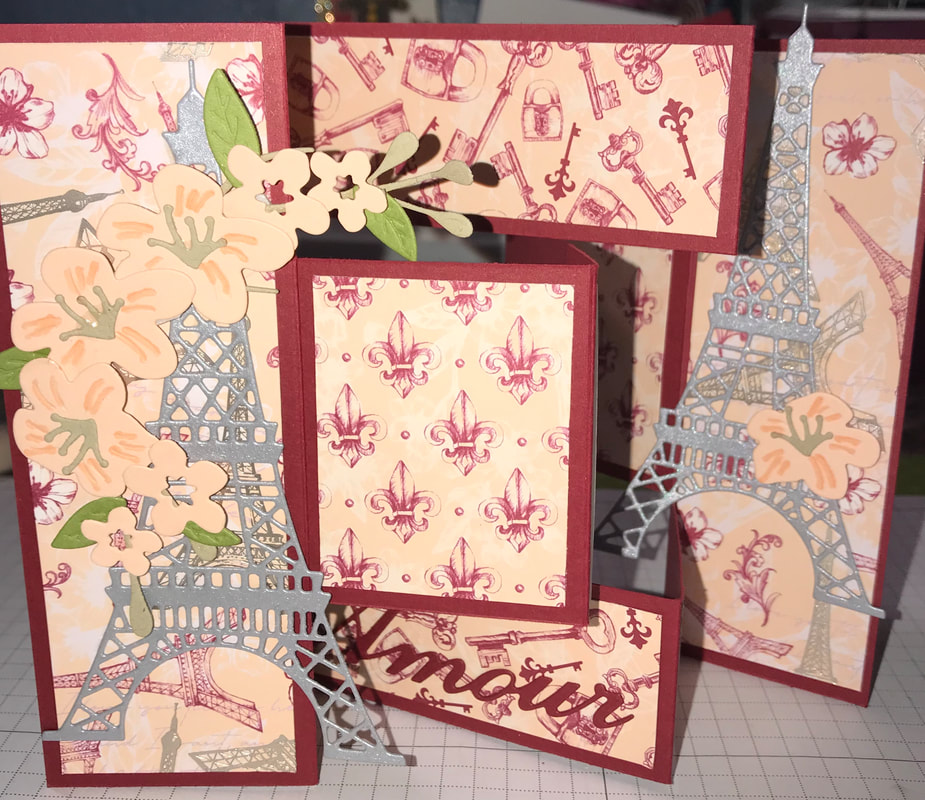 To make this card you need a piece of cardstock that measure 5 1/2x12. I used Cherry Cobbler.
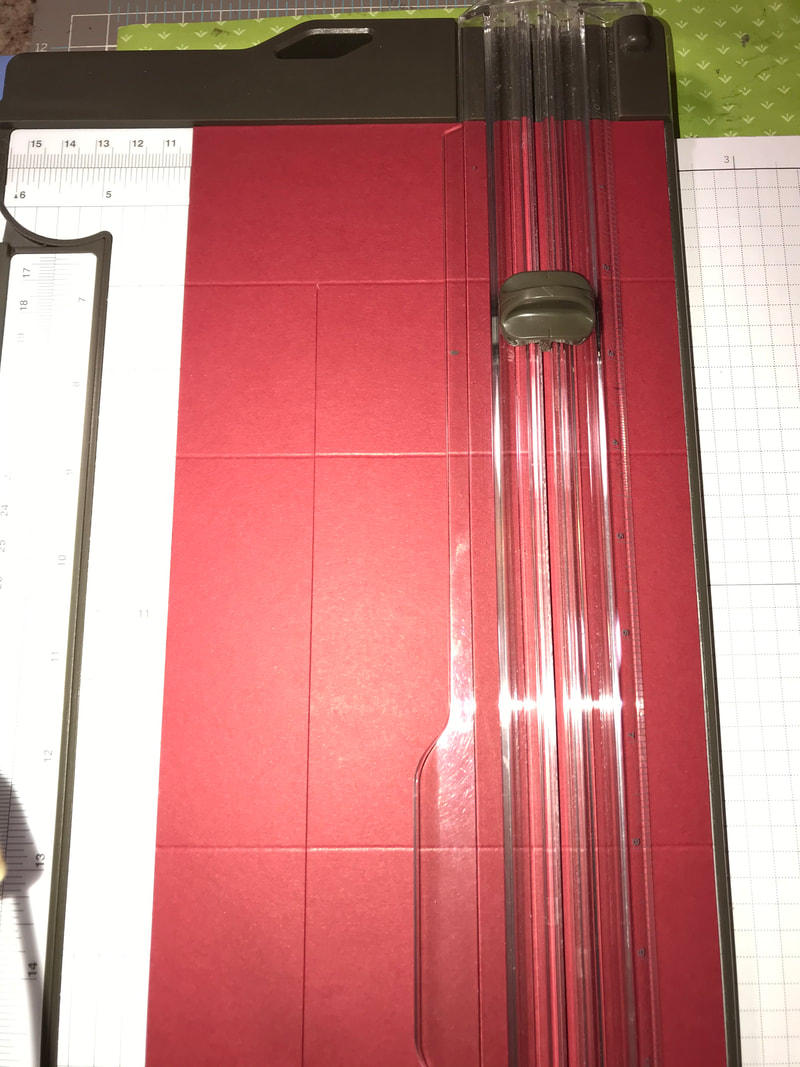
Now here comes the tricky part. The folding...so we will go fold by fold
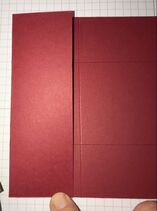
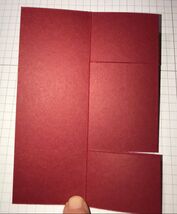
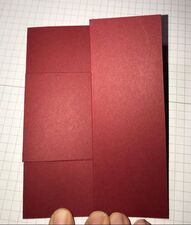
 Ok so now the picture above shows the correct direction of the card. We need to refold the middle section because right now it all folds the same way. We need to create the tri-fold part of it. 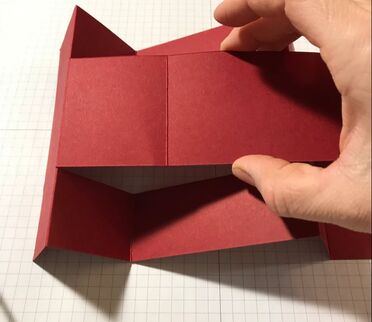 We are now going to take that second score line and fold it in the opposite direction. If you look at the picture below you can see that the middle section, second score line, is now folded opposite. 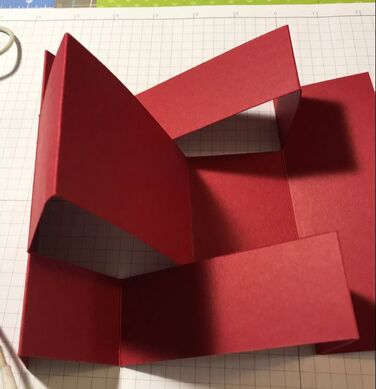 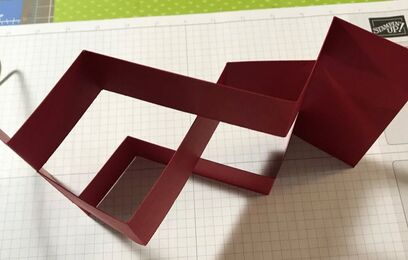 Now it's time to decorate. I used 3 sheets of DSP. And cut layers to be 1/4" smaller than each section. You can use one sheet of DSP if you prefer. But I liked the idea of mixing it up. So you will need: 2 - 1 3/4"x5 1/4" outer edges 4 - 13/4"x1 1/4" flaps 1 - 3 3/4" x 2 1/4" inside 2 - 1 3/4" x 2 1/4" inside -sides 2 - 3 3/4"x 1 1/4" top insides 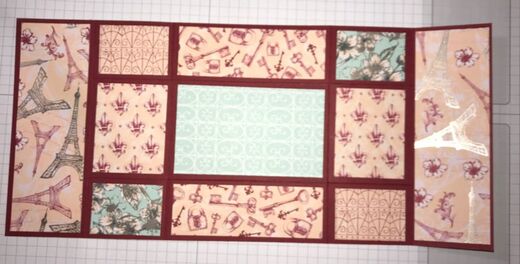 You can see below, that the blue (Pool Party) is that section we went back and folded opposite.  For my embellishments, I used the stamp set and dies in this suite. The Eiffel Towers were cut from a piece of silver paper using the Die in Parisian Dies set, as well as the word Amour. This die is from the same set and I used Cherry Cobbler. The stamped flowers are from the Forever Blossoms stamp set cut out with the Cherry Blossoms Dies. I used the same dies to cut out the flowers on the Eiffel Towers. The greeting in the middle is from the Parisian Beauty stamp set. Stamped in black on vellum and laid over the diecutted flower. As you can see from the picture at the top, the card layers fold nicely!!! 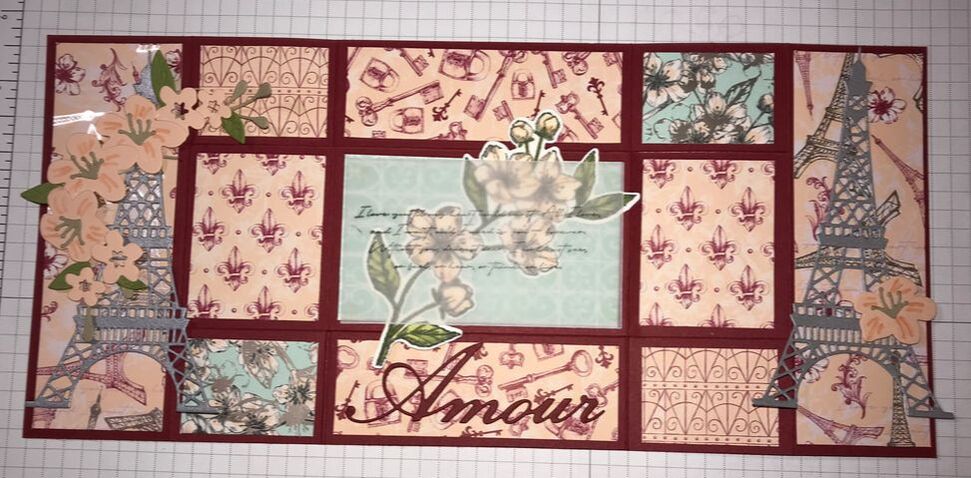 This fancy fold card, took a little bit of work, but the end result is totally worth it. It is just beautiful in person. Remember you can find all the products I used to make these cards by clicking here.
I hope you enjoyed the cards I shared with you today. If you have any questions or are interested in this Suite, please contact me and I would be happy to help. Thanks for stoppin by Happy Stampin Steph
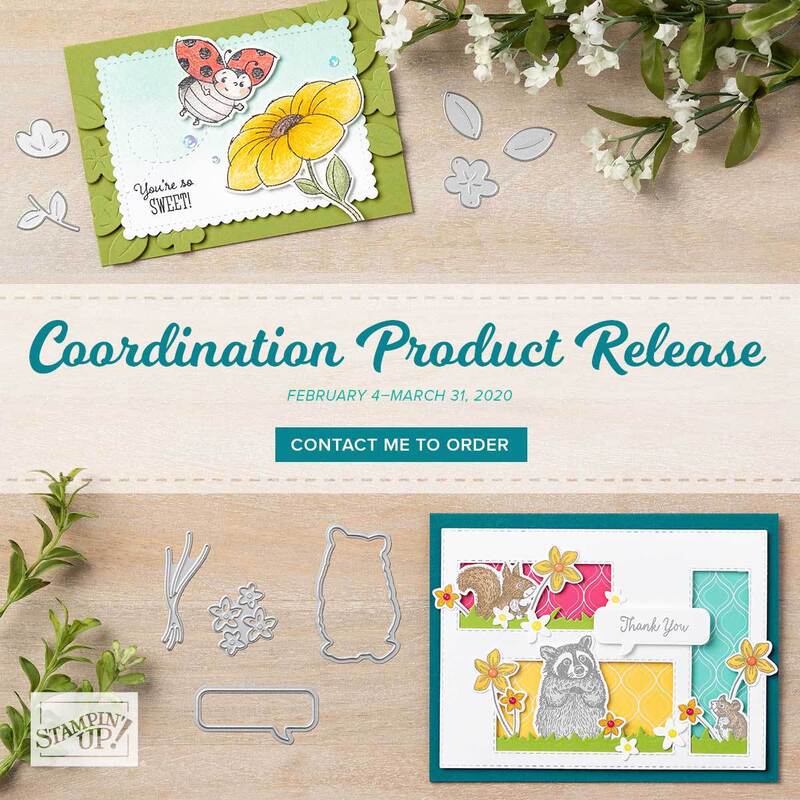
So if you have been make a wish list with many of our new products release this month, and thought hmmm I wish those sets came with matching dies....well your wish has been granted. Check out the video below and see all about the coordination product release happening on February 4th through March 31. But....don't wait... many of these items will sell out way before March 31. And that's not it, remember, Stampin Up's Sale-A-Bration event is in full swing...sooo with every $50 you spent, you can earn free product. Check out the catalog links to the right or click here to view Sale-A-Bration You can find a complete list of the products in the document below. And as always, feel free to contact me for any questions! |

New 2023-2024 Stampin Up Annual Catalog


Kits Collection


Join today

Categories
All
Archives
January 2024
|


 RSS Feed