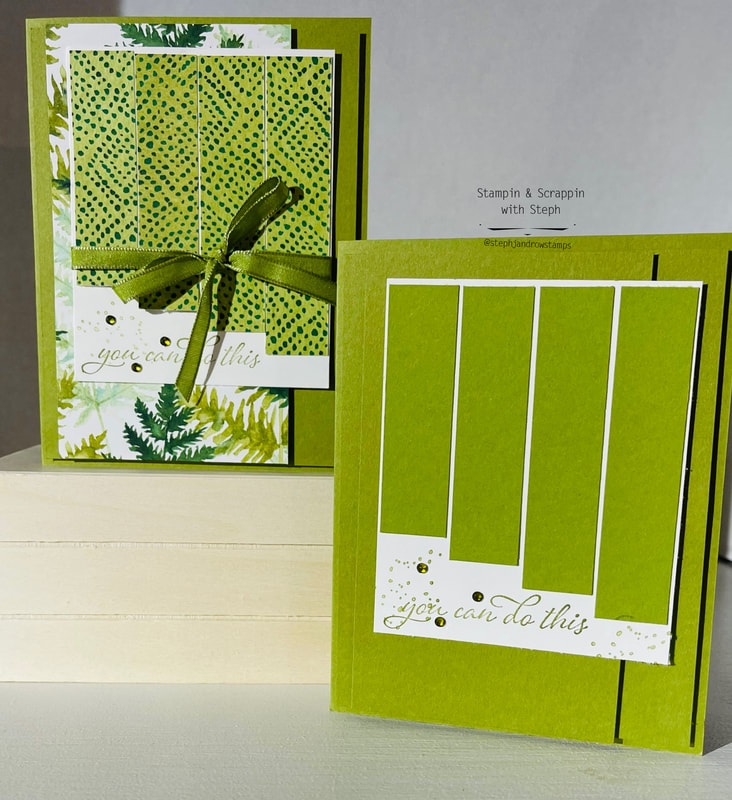
 How can it already be March 26th...I feel like this month has gone by so quickly! And it's even more shocking to me how much our lives have changed since last March! I am excited that things seem to be moving along nicely lately. And with that said I am also excited to share with a fun Monochromatic Project for the March Stampin Friends Blog Hop. I hop you joined me from Heidi Collin's Blog and after viewing mine, be sure to continue on to Melissa Thomas's Blog. And if you get lost along the way, there is a list of hoppers at the end of the blog. And please welcome Kirsty Pattrick to the hop this month!!! We are excited to have her join us. I hop you check out her projects!! I chose my favorite colors to make my projects. I used Old Olive with a mix of the Forever Greenery Designer Series Paper. 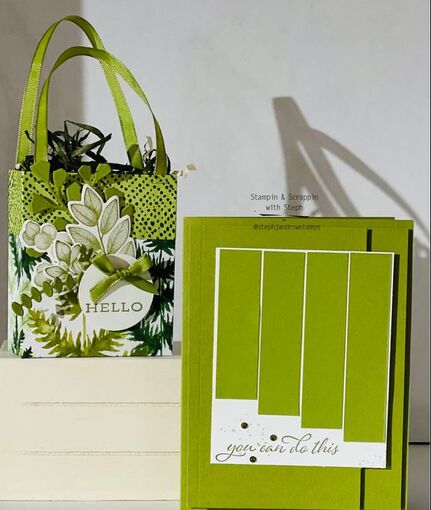 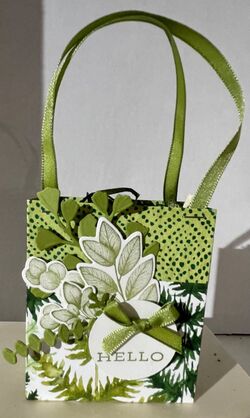 Lets start with the Mini Gift bag. It so easy to make. You will need a piece of card stock or DSP that measures 6x9. If you choose a patterned paper that has a directional pattern, be sure to make sure the paper is in the right position before you begin scoring. You can refer to my video below to see what I mean. Using your SImply Scored Score Bored, with the 9" side at the top, score at 1/2, 3 1/2, 4 3/4 and 7 3/4 Turn to the 6" side and score at 1 1/4 and 4 3/4. Fold and burnish your score lines. You will have 2 scores lines at the top and at the bottom that are 1 1/4 wide choose what will be the top of the bag and what is the bottom. The top, fold on the score line, opposite, so the fold is on the ouside of the bag and the reverse pattern is visible. On the bottom, remove that 1/2" bit up to the 1 1/4 score line. Then cut up to that score line for the others. Adhere the top fold down. Add adhesive to the remaining 1/2 side and fold to meet the opposite edge. Fold the bottom flaps in to create the bag. I deocrated the front by stamping the images with the Forver Fern Stamp Set, using Old Olive, and then cutting out with the coordintating dies. I stamped the greeting on a 1 1/2 circle. Finished with a Old Olive bow. Such a perfect little bag for a gift card, some candy or treats! Whatever you need!!!!
I used dimensionals to assemble the first layer, on Basic White I stamped the greeting and image from the Forever Fern Stamp set in Old Olive. I then added each strip, with Stampin Seal, from left to right, adding the smallest strip to the largest. I added the Basic White layer using dimensionals. I added some rhinsetones that I colored using the Stampin Blends Dark Old Olive marker. For the card with the DSP, I added the ribbon around the Basic White layer and finished it in a bow, before adhering it to the card. I have created this video for you to refer to while making the bag and card. I have also added a bonus mini card! I hope you enjoyed my projects. I had lots of fun designing them for you! Be sure to leave a comment and hop to the next! Thanks so much for visiting! Happy Stampin Steph Below is a list of participants in this month's blog hop!
9 Comments
 Have you ever heard the saying “A simple hello could lead to a million things?” The same applies to a simple card. Sharing your best wishes could make someone’s day—or it could change their whole life! That’s why we think everyone should have plenty of simple cards on hand—so you’re ready to make a difference whenever you can.
We’ve got a trio of fun, easy cards that you could create in an hour or less. And fancying up a card with a little trick here or there is easier than you might think. For instance, our concept artist used Watercolor Pencils to color the cute flower images on the Bonheur card—no water or blending needed! To create the You Make Me Happy card, we designed our own patterned paper with tone-on-tone stamping. Note: Though the background images are meant to be flower centers or small clusters of flowers, we used them to create playful design elements. There are no hard and fast rules with stamping. Just have fun with it! For the Freude card we used classic stamping off to create a dynamic background using a single ink pad. Isn’t it gorgeous? And the technique is so simple and fast. For all of you avid stampers out there: Do you have a craft room full of supplies that you could use in unusual ways? What can you create with minimal supplies to achieve standout results? Whether your work is simple or detailed, post it on social media so we can all be inspired! Happy Stampin Steph #stampinup #simplestamping #stampinandscrappinwithsteph 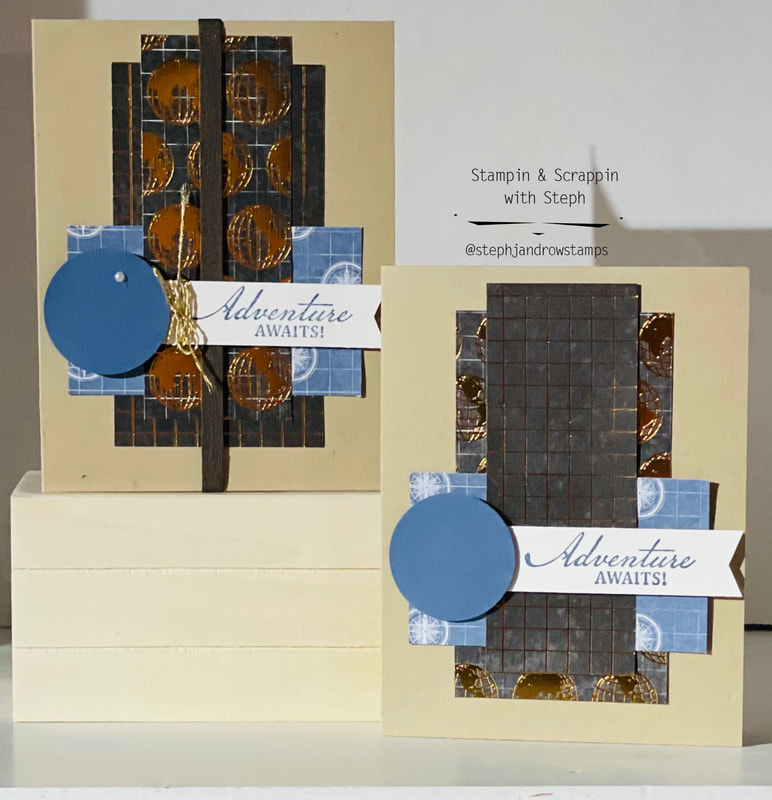 I often struggle with making more neutral cards. Or even Masculine cards. I haven't used this paper for quite sometime and while it is perfect for someone who has a passion for travel! The colors in the World of Good Specialty Designer Series Paper also make for the perfect masucline or neutral style cards! I created 2 verison of this card, a more simple and a stepped up! Here are the dimension to make this card. Crumb Cake cardbase DSP 2 1/2x 4 1/2 DSP 2 x 3 1/2 DSP 1 3/4 x 4 1/2 Misty Moonlight 1 1/2 circle Basic White Banner 3/4 x 3 3/4 I have created this video showing how I made the 2 versions of this card! Thanks for stopping by
Happy Stampin Steph #msscardchallenge10 #stampinup #stampinandscrappinwithsteph #worldofgood #adventureawaits #masculinecards
I made this video to show you how to assemble the card! Be sure to ring the bell and subscribe, so you will be notified when I post my videos!! Thanks so much for stoppin' by
Happy Stampin' Steph #stampinup #stampinfriendsbloghop #stampinandscrappinwithsteph #foreverygreenery #mss2021cardchallenge11 #monochromaticmarch 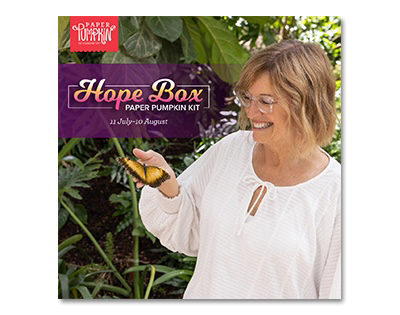 The next stop, is stop number 3! Are you still guessing? Do you know what the new In Colors could be? #stampinup #incolors2021-2023 #stampinandscrappinwithsteph Happy Stampin Steph  INTRODUCING: THE 2021-2023 IN COLORS! Are you ready to embark on this exciting journey? The incredible In Color adventure awaits! Starting today, make sure you drop by daily to watch the magnificent mystery unfold. #incolors2021-2023 #stampinup #stampinandscrappinwithsteph happy Stampin Steph 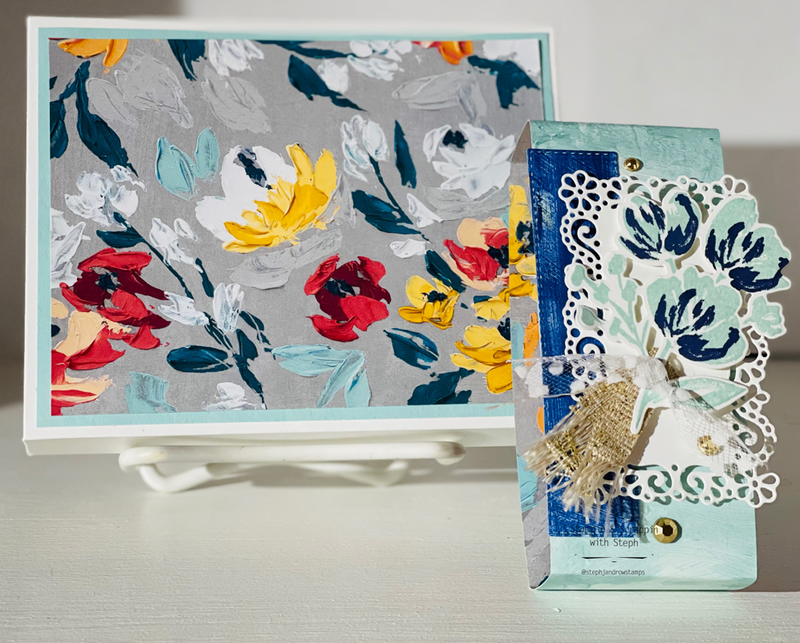 INTRODUCING: THE 2021-2023 IN COLORS! Are you ready to embark on this exciting journey? The incredible In Color adventure awaits! Starting today, make sure you drop by daily to watch the magnificent mystery unfold. #incolors2021-2023 #stampinup #stampinandscrappinwithsteph https://youtu.be/TLqV6w-bYUM 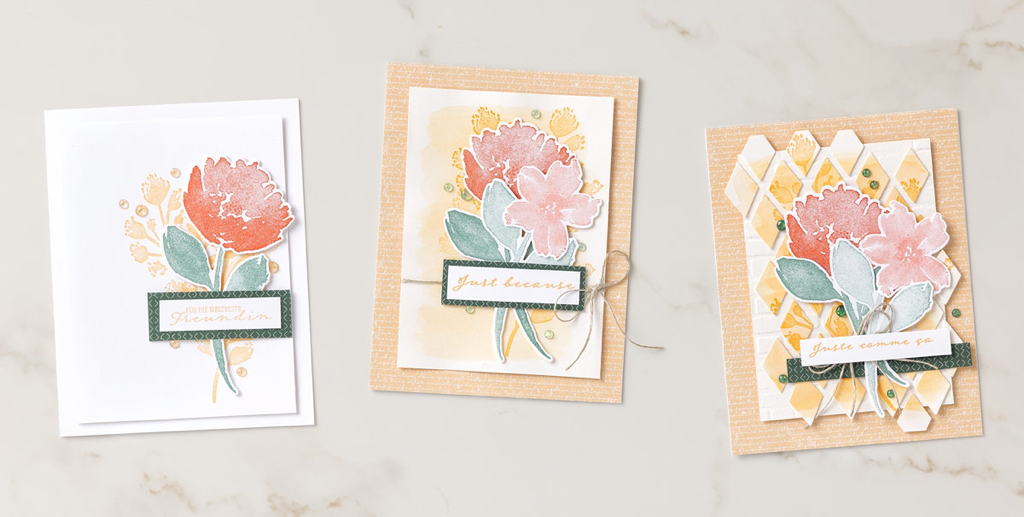 Time for you to stock up and save on your favorite Stampin’ Up! products! What’s the big occasion? On 17 March only, we are offering FREE shipping on orders subtotaling $50 USD/$65 CAD or more. This incredible deal lasts for 24 hours only, so tell your friends and head over to my website and start ordering today! Happy Stampin Steph
The Ice Cream Corner Suite is featured in our January–June 2021 Mini Catalog. The kit and suite go together perfectly, just like summer and fun! To view the Ice Cream Corner Suite, click here!
Be sure to subscribe by April 10th! To check your subscription or to subscribe, click here. To learn more about Paper Pumpkin, visit the Paper Pumpkin page. Happy Stampin Steph 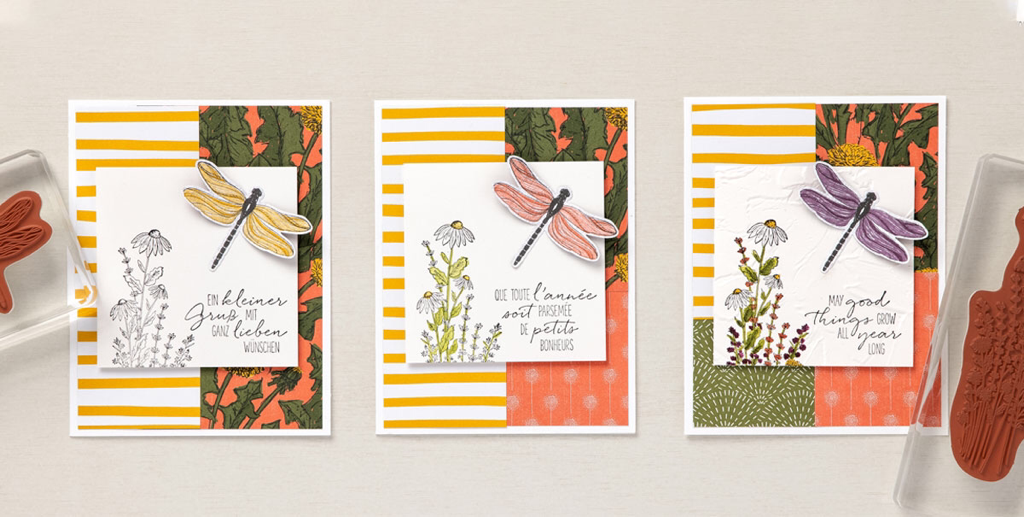 Did you know? In some cultures, the dragonfly is a symbol for good luck and prosperity—perhaps because dragonflies hovering over the water meant fish were below. We love them for their jewel tones and luminous wings—so pretty!
CASUAL To begin creating our dragonfly cards, start simple. Fold Basic White Cardstock in half; add layers of Dandy Garden Designer Series Paper to the card front plus a floral image and sentiment stamped on Shimmery White Cardstock using Jet Black StazOn ink. The dragonfly is the crowning touch of this card, but how did we make it? Piece of cake! We sized the dragonflies on our Dandy Garden Designer Series Paper to fit the Dragonfly Punch, so you can easily “capture” them for use as accents on cards and other projects. Simply punch your favorite dragonfly from the Designer Series Paper and adhere it to the card front with Stampin’ Dimensionals; it almost appears to hover above the paper! This classy card takes only minutes to create—making it perfect for a casual crafter workshop. AVID Step up our second card by adhering an additional layer of Dandy Garden Designer Series Paper. We also added a little color to the stamped floral image using Water Painters. The Bumblebee and Pear Pizzazz inks really brighten the flower and bring it to life. ARTFULLY AVID Our most detailed card features another layer of fun Designer Series Paper, plus some additional color for the stamped floral image. This time we chose Blackberry Bliss, Calypso Coral, and Mossy Meadow. Once the stamped piece was dry, we embossed it using the Stampin’ Cut & Emboss Machine and the Painted Texture 3D Embossing Folder. We think the extra dimension and depth add the perfect touch to this beautiful, nature lovers card. Contact me to order today! Happy Stampin Steph |

New 2023-2024 Stampin Up Annual Catalog


Kits Collection


Join today

Categories
All
Archives
January 2024
|

 RSS Feed