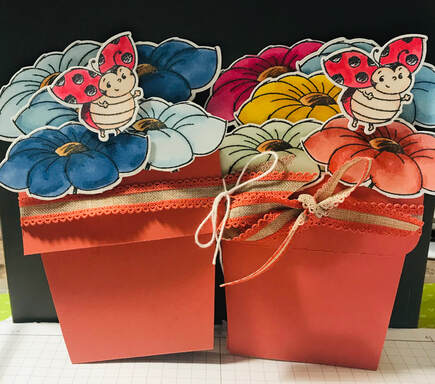
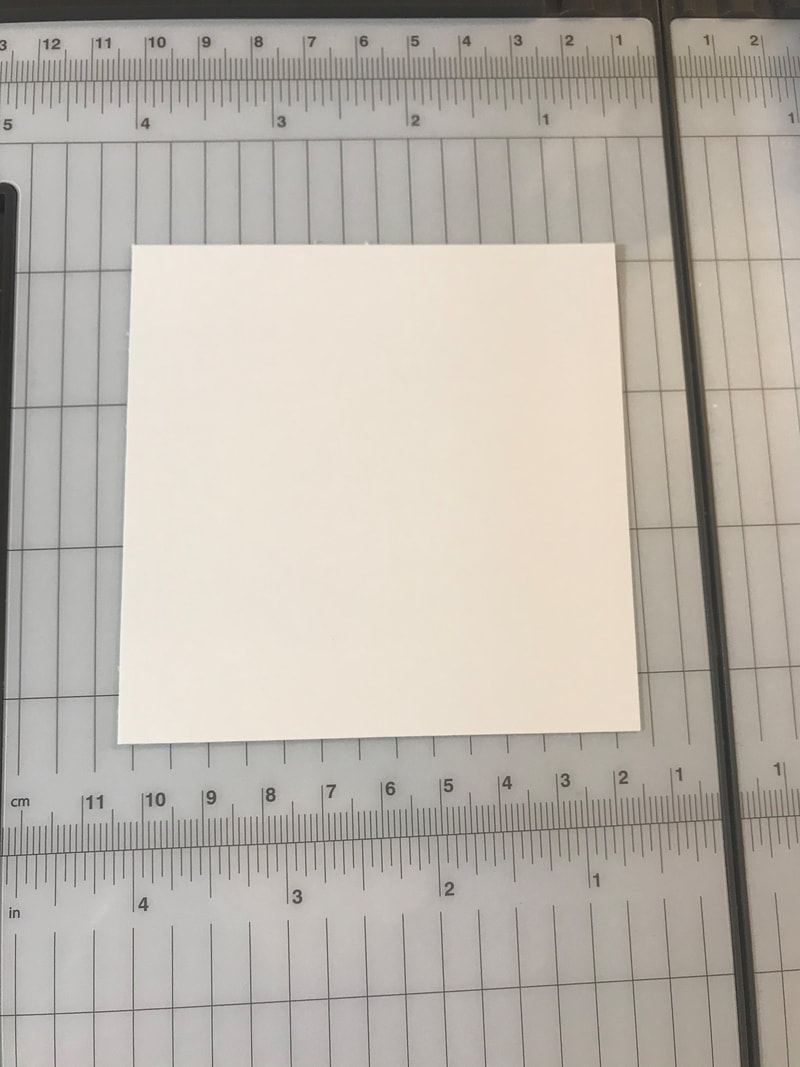
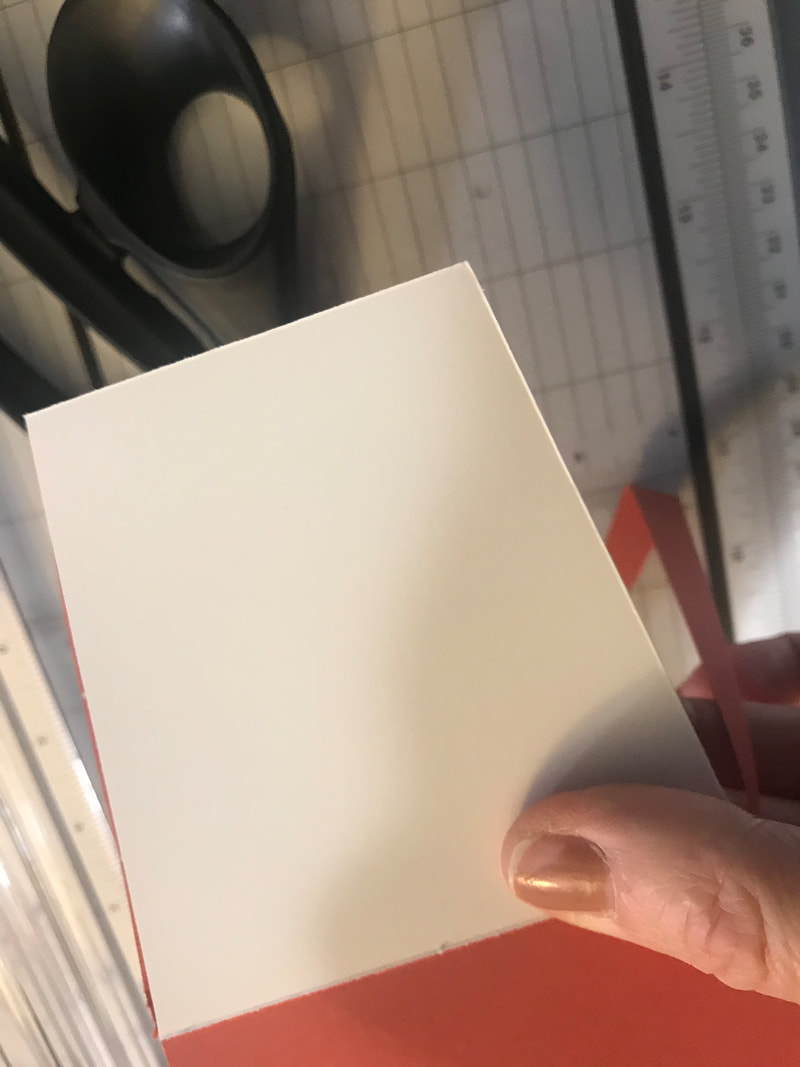
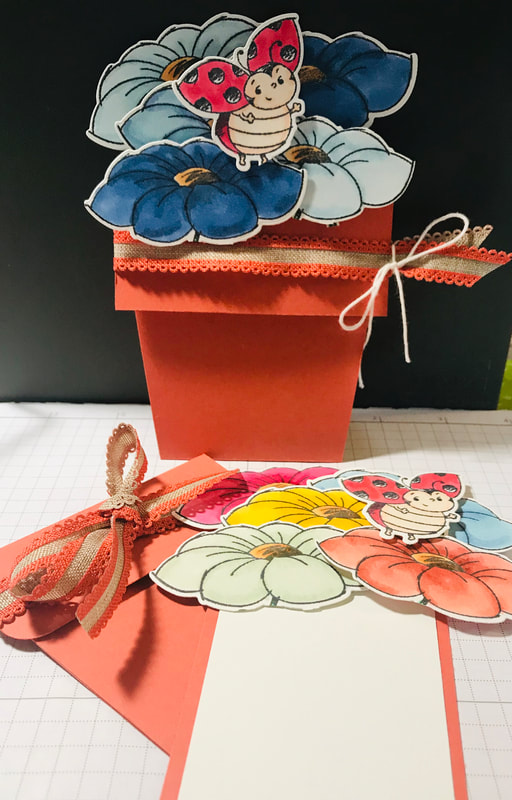
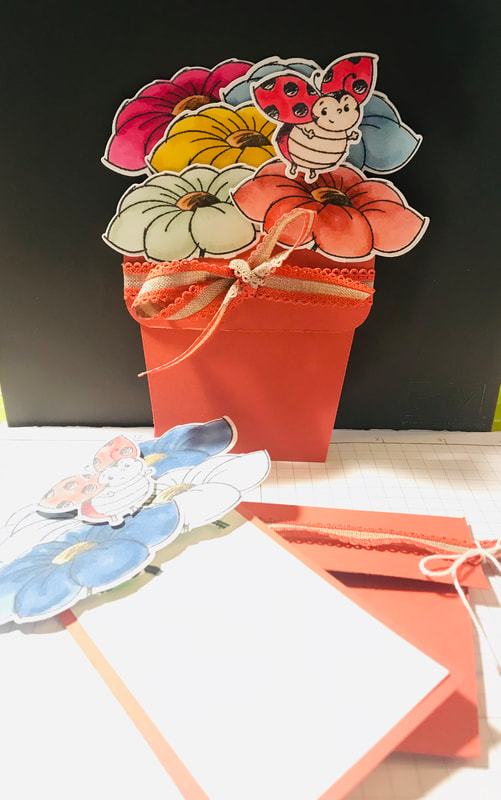
 Hello everyone, and welcome! I have this adorable flowerpot pocket-card to share with you! I was so easy to make. This card features the Sale-A-Bration's Little Ladybug hostess stamp set from Stampin Up...Get the adorable Little Ladybug Host Stamp Set FREE when you host a qualifying party or place a personal order totaling $300 or more during our Sale-A-Bration promotion (January 3–March 31, 2020). Visit my website link here to see all the products I used to make this card, it makes shopping so easy! To make the card you need to pieces of cardstock one that measure 3 1/2"x9", UPDATE: after making the first card, I changed my cardbase measurements to 3 1/2"x8 1/2" and one that measures 2 1/2"x4 1/2". You will also need a piece of white that measures 2 1/4"x4 1/4" and more to stamp your images on. I used Terracotta Tile Cardstock...how perfect is this color for a flower pot??!! Score the card at 3 1/2' and 7". 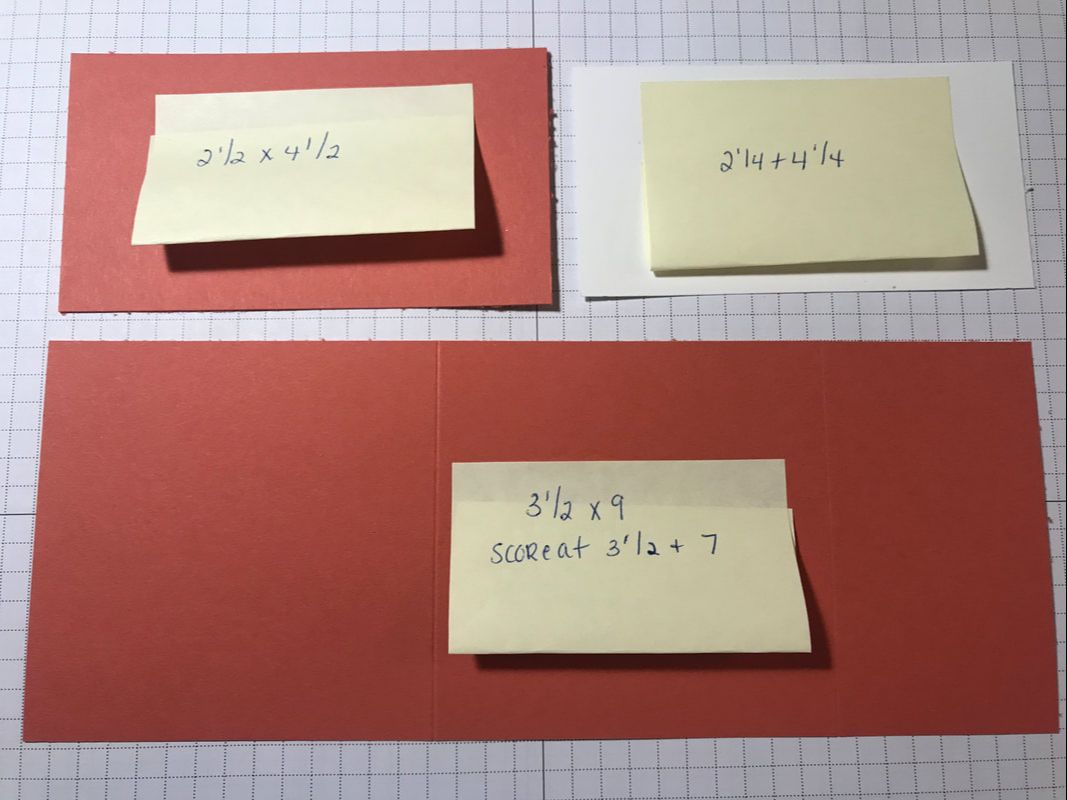 Fold the paper in an accordion fold. Fold the 3 1/2" score line in one direction and the 7" score line in the opposite direction. See picture below. By folding this way, it creates a pocket and a flap. The flap will be the rim of the flower pot. Now, when I took this picture with the old measurements, the flap to me was too wide, so what I ended up doing is trimming 1/2" off. You could choose to leave the original measurements and use a decorative border punch or edglit die. But I decided 1/2" off and I rounded the corners on the second card I made. 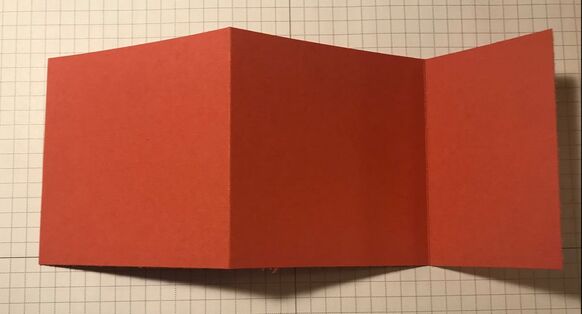 To cut the shape of the flowerpot, create a template, or if your comfortable enough just place on your trimmer and make the cuts. What I did was take a scrap of cardstock, you can use chipboard also, and cut to 3 1/2"x3 1/2", place it on the trimmer with the top edge in the cutting track and the bottom edge at 1/2". Cut. Turn over and do the same thing. The with the card folded and the flap up, lay the template ontop and cut through both pieces of cardstock at the same time. This will cut the cardbase into the shape of the flowerpot. Super easy. So now it's basically assembling the card, there is no adhesive, when the card is folding and the front flap is down, you can tie a ribbon or twine around, this will keep the card closed. Adhere the whisper white layer onto the Terracotta piece. This is your insert. I stamped 5 flowers and 1 ladybug. for my original card, I colored using the Stampin Blends in different blues, the hard part, is deciding how you wanted to arrange the flowers. Adhere them onto the insert. I made sure that a couple of flowers would hang over the edge. I had originally stamped the flowers and colored the stems, but once I started assembling, the stems were hidden and unnecessary in the front, so I ended up trimming them off. For the second card, I used different colors of Stampin Blends, and I rounded the corners of the flap and tied a forward facing bow. Either way I love the cards and so happy with how they came out. What do you think??
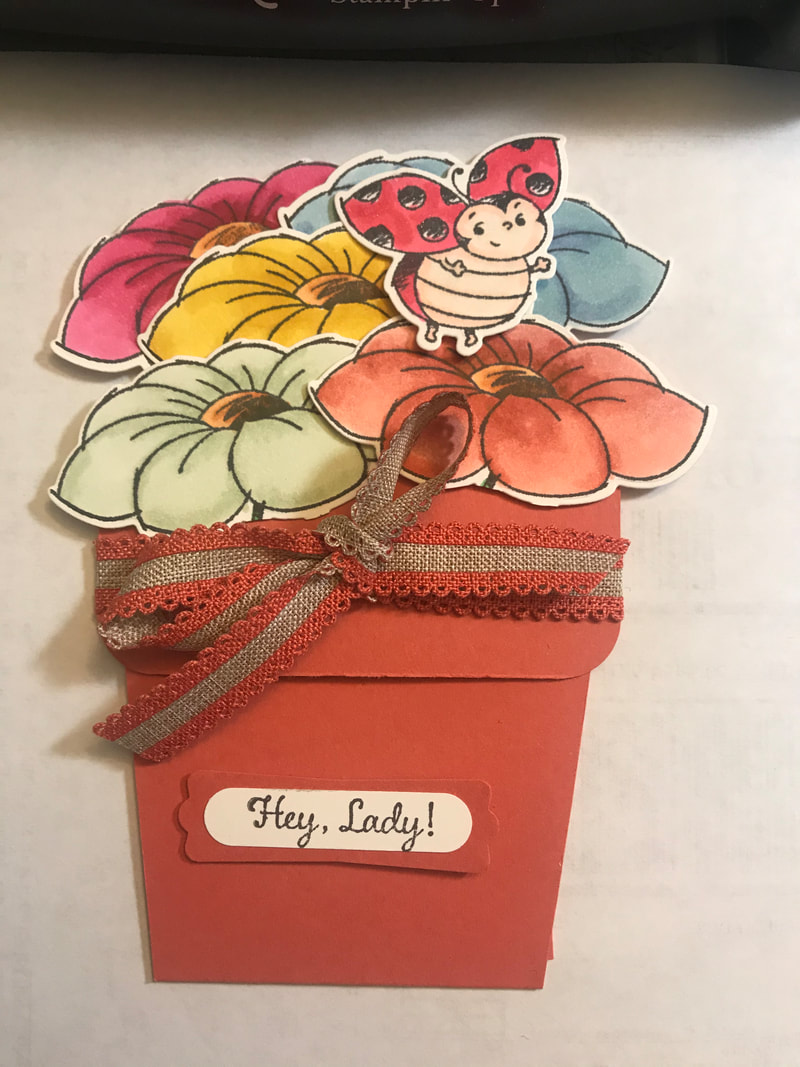
At lastly, I felt a greeting was needed, but I struggled with what I wanted to use, below is a few I tried. Thanks for much for stopping by and learning about this fun card. Remember you can check out my site and see all the products I used! And best part, it's all set to be added to your cart and you will be on your way to earn the Little Ladybug hostess set.
Enjoy and be sure to share all that you create too! Stay safe & healthy Happy Stampin Steph
0 Comments
Leave a Reply. |

New 2023-2024 Stampin Up Annual Catalog


Kits Collection


Join today

Categories
All
Archives
January 2024
|


 RSS Feed