|
Today I want to share with you my projects using the Parisian Blossoms Suite. This is a new suite in the Stampin Up Mini Catalog. You can find information on pages 14-17. Each product in the suite can be purchased separately or together as one whole bundle. And best of all, because of Sale-A-Bration, you would earn 2 free exclusives products, just from ordering this suite. Click here to view the Parisian Blossoms Suite.
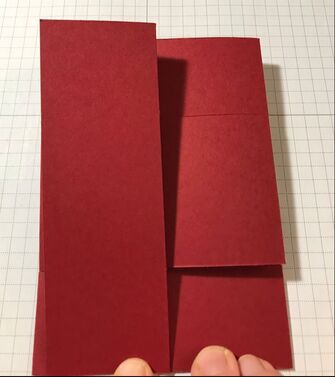
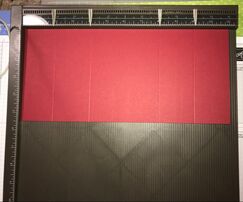
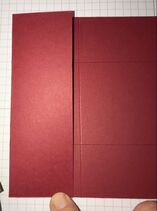
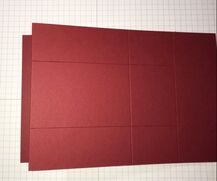
This beautiful card below, uses the Tri-Fold Shutter fancy fold technique. It's a little tricky but WOW how gorgeous is this!!! 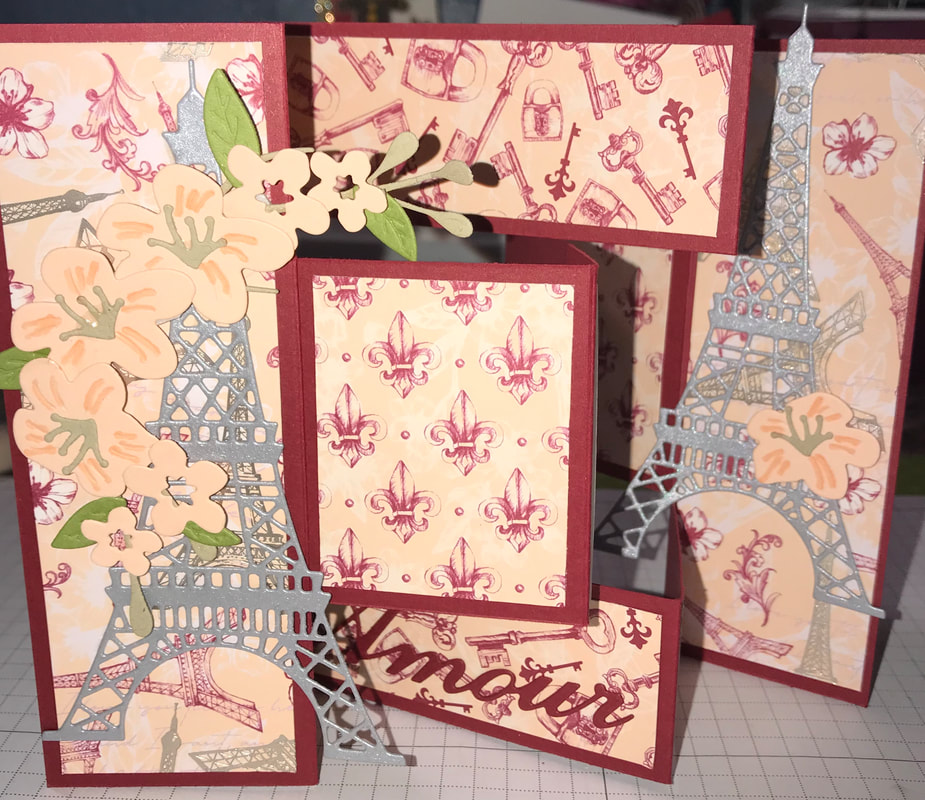 To make this card you need a piece of cardstock that measure 5 1/2x12. I used Cherry Cobbler.
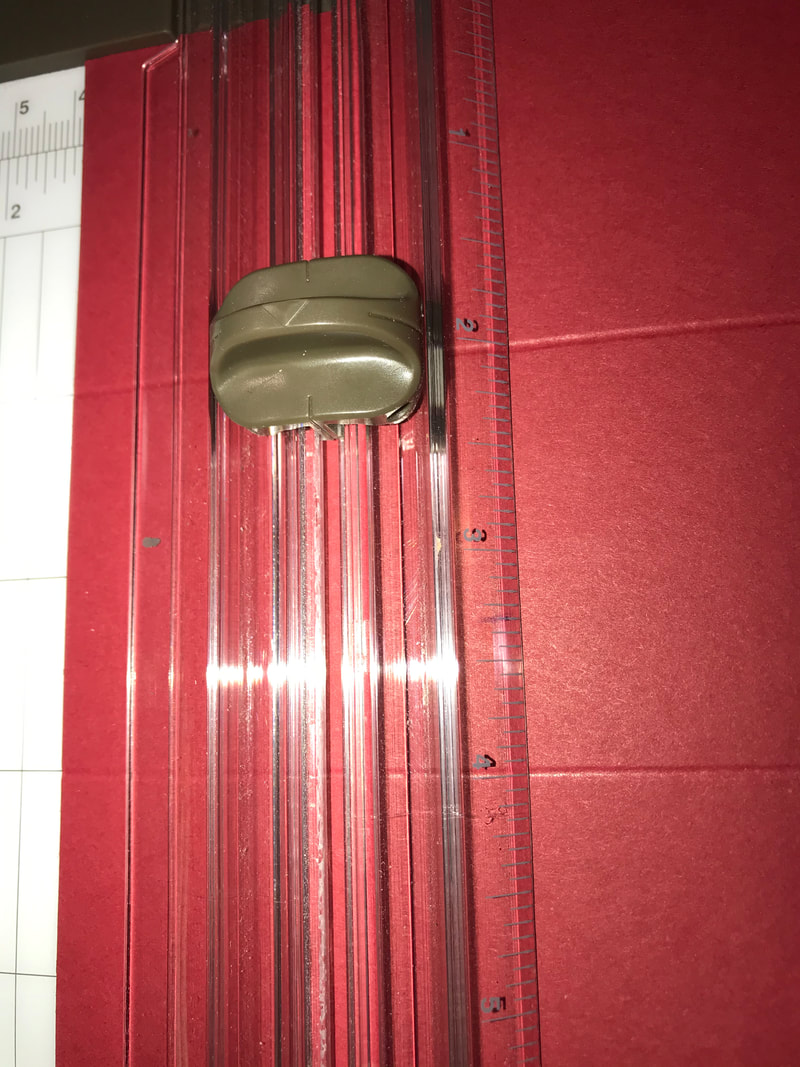
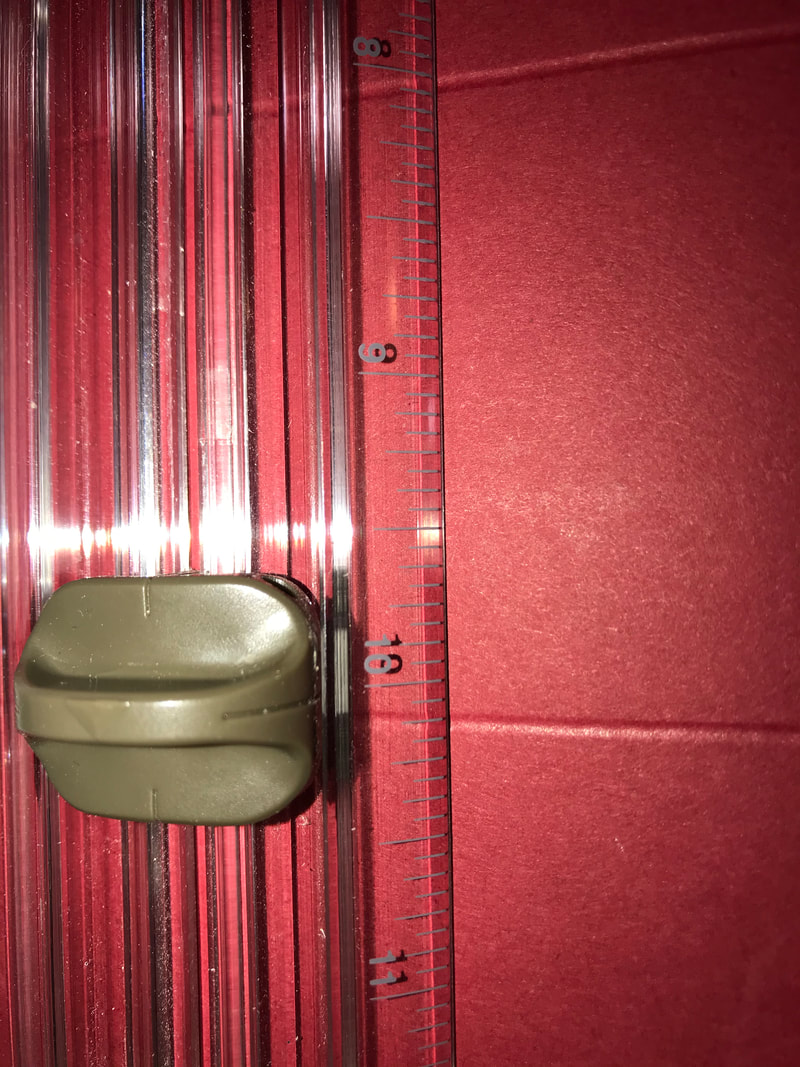
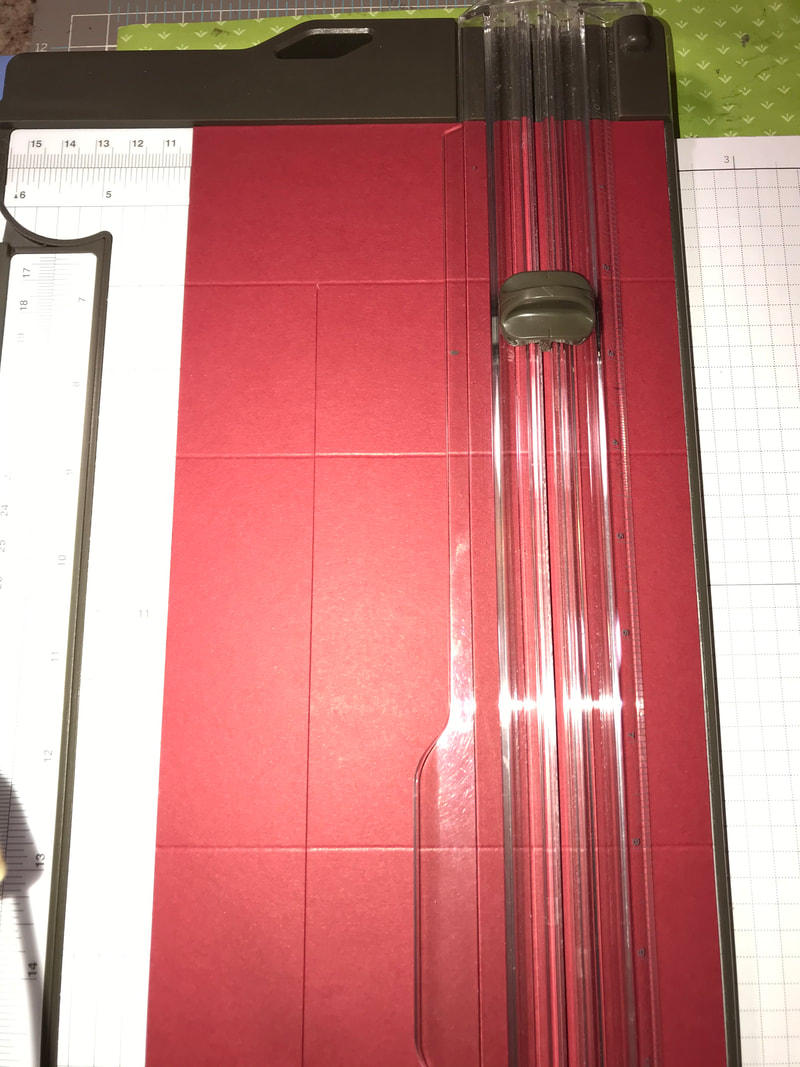
Now here comes the tricky part. The folding...so we will go fold by fold
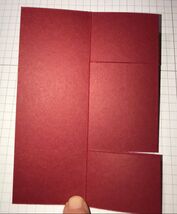
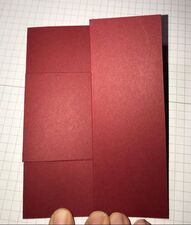
 Ok so now the picture above shows the correct direction of the card. We need to refold the middle section because right now it all folds the same way. We need to create the tri-fold part of it. 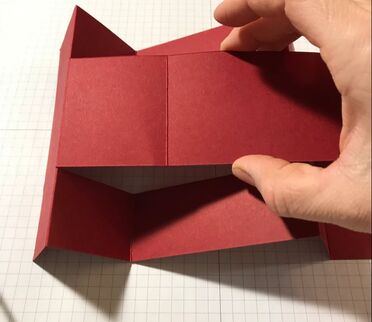 We are now going to take that second score line and fold it in the opposite direction. If you look at the picture below you can see that the middle section, second score line, is now folded opposite. 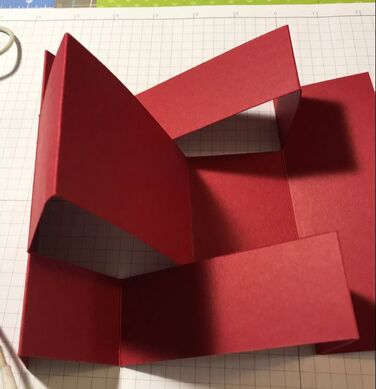 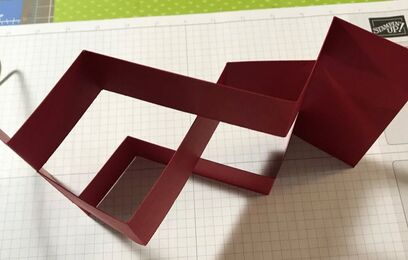 Now it's time to decorate. I used 3 sheets of DSP. And cut layers to be 1/4" smaller than each section. You can use one sheet of DSP if you prefer. But I liked the idea of mixing it up. So you will need: 2 - 1 3/4"x5 1/4" outer edges 4 - 13/4"x1 1/4" flaps 1 - 3 3/4" x 2 1/4" inside 2 - 1 3/4" x 2 1/4" inside -sides 2 - 3 3/4"x 1 1/4" top insides 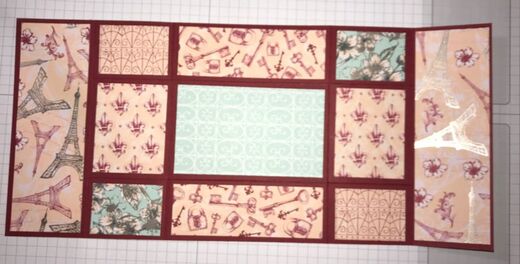 You can see below, that the blue (Pool Party) is that section we went back and folded opposite.  For my embellishments, I used the stamp set and dies in this suite. The Eiffel Towers were cut from a piece of silver paper using the Die in Parisian Dies set, as well as the word Amour. This die is from the same set and I used Cherry Cobbler. The stamped flowers are from the Forever Blossoms stamp set cut out with the Cherry Blossoms Dies. I used the same dies to cut out the flowers on the Eiffel Towers. The greeting in the middle is from the Parisian Beauty stamp set. Stamped in black on vellum and laid over the diecutted flower. As you can see from the picture at the top, the card layers fold nicely!!! 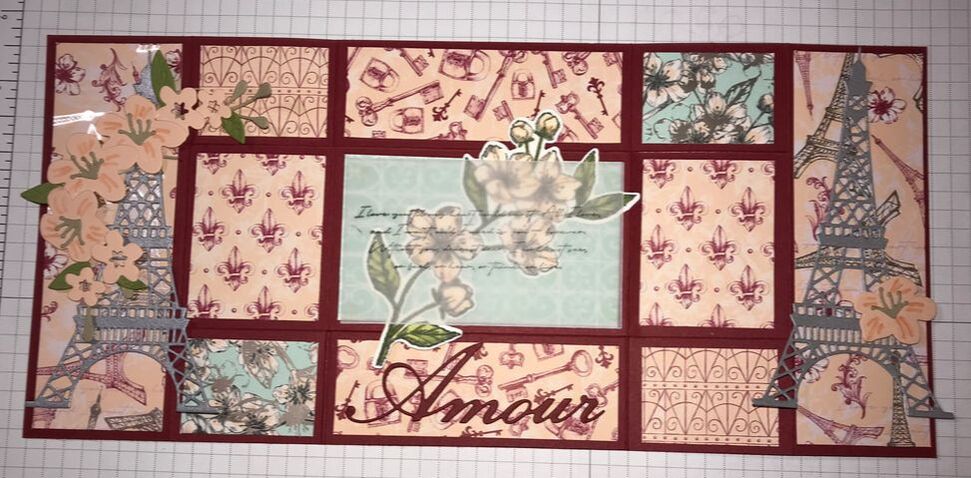 This fancy fold card, took a little bit of work, but the end result is totally worth it. It is just beautiful in person. Remember you can find all the products I used to make these cards by clicking here.
I hope you enjoyed the cards I shared with you today. If you have any questions or are interested in this Suite, please contact me and I would be happy to help. Thanks for stoppin by Happy Stampin Steph
0 Comments
Leave a Reply. |

New 2023-2024 Stampin Up Annual Catalog


Kits Collection


Join today

Categories
All
Archives
January 2024
|
 RSS Feed