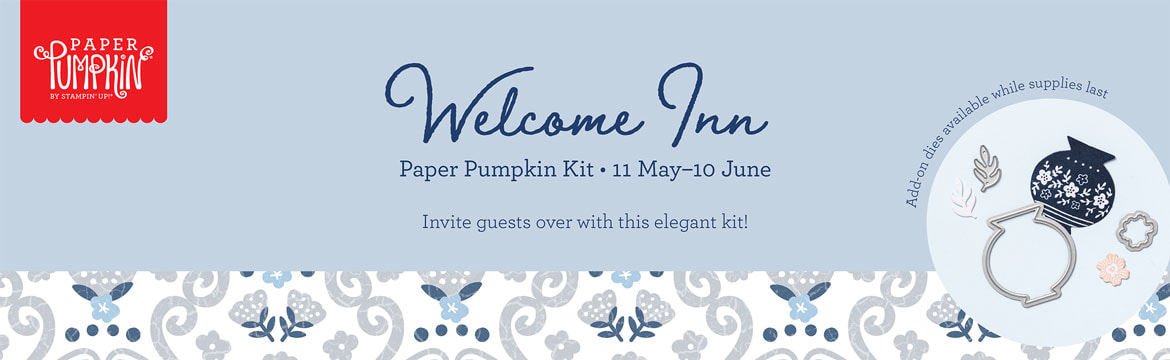
 Show hospitality to all your guests with the Welcome Inn Paper Pumpkin Kit! This kit includes nine elegant and detailed cards—three each of three designs. Whether you’re hosting friends and family, or want to invite someone over, this kit has what you need to create sophisticated and elevated cards! You can also pair this kit with a coordinating die add-on! (Available while supplies last. Stampin’ Cut & Emboss Machine sold separately). Keep reading to learn more!
0 Comments
Welcome to April Stampin Friends Blog Hop. It's spring and the flowers are blooming our theme goes hand and hand with the season. May is just around the corner and here in the US we celebrate Mother's Day so it's only fitting our theme is All About Flowers. I hope you visiting my page from Barb Pfeffer's blog and make sure to continue on to Maureen Rauchfuss and be sure to leave a comment.
Are you interested in joining a blog and sharing your projects? Contact me for more information! 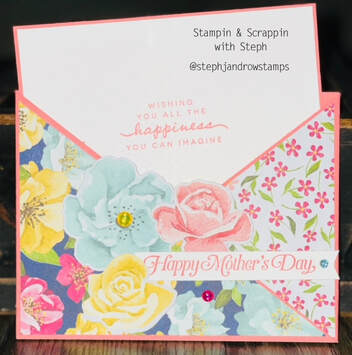
I decided to make a Mother's Day card. The card style I chose is a a fun fold called Criss Cross Pocket. But I like to call it an Envelope Pocket card, because that is what it looks like to me! It's such an easy card. I used the soon to be retiring Hues of Happiness Suite to make the card.
Here's how I made it: For the cardbase I used Flirty Flamingo cardstock and you need to cut two pieces 4 1/4 x 11 score the 11 side at 5 1/2. Then using your paper trimmer and cut one side of each panel on a diagonal from the top corner to the middle score at the bottom. When cutting the second piece of make sure the second sheet is cut so that it’s faces the other diagonal. Lay the pieces together so you have the 2 diagonal pieces lose. For the DSP, you need to create 2 triangles to fit ontop of the diagonal sections. DSP cut 4x5 1/4 on in half on the diagonal. Make sure you choose a DSP that has a pattern on both sides that you want to use. If you want the same pattern you will need to cut to pieces at 4x5 1/4 and cut 1 at a diagonal with the pattern you want to use facing up when you cut. Then the other 4x5 1/4 with the pattern you want to use facing upside down. This will allow you to have the same pattern cut opposite. Adhere the DSP to the front flaps of the cardbase. Then add adhesive to the bottom of each diagonal to creat the pocket. For the inside of the card inset you need Flirty Flamingo at 3 3/4 x 5 1/8 and then Basic White at 3 5/8x 5 The front of the card was so easy. Using the coordinating dies in the suite. Line up the flower dies with the flowers on the DSP and cut them out. I adhered them with dimensionals. And some glossy Gems. I realized as I was typing this out that I did not take pictures of making the card. So I will update this and add some assembly pictures to make it easier to follow. I hope you enjoyed the card I made for you today! Thanks for stopping by Happy Stampin Steph 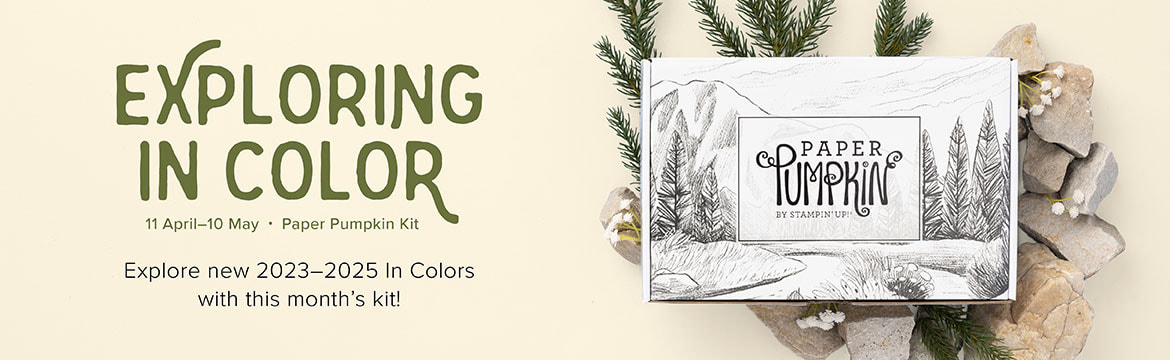 Say hello to mountain landscapes and new In Colors! This month’s kit features nine outdoors-themed cards in our new 2023–2025 In Colors plus exclusive FREE stickers. Want more? Get the cards & envelopes add-on (available 2 May while supplies last) and continue your creative adventure!
NEW IN COLORS This kit features outdoors-themed cards in our new 2023–2025 In Colors. It's a fun introduction to the new colors. Whether you're a current Paper Pumpkin subscriber or just starting out, you will love color, the outdoors, or both, this is a kit you'll want to get! FREE STICKERS! This kit includes a special bonus: FREE STICKERS! Look around and you’ll see stickers everywhere—on water bottles, laptops, coolers. And, of course, on pa per crafting projects! It’s an on-trend extra that youwill love. EXPLORING IN COLOR CARDS & ENVELOPES ADD-ONThis month, we’re offering a cards & envelopes add-on to keep the crafting adventure going! We’re sure you will love creating cards with the new In Colors and outdoorsy images, so we’re giving you opportunities to create even more. This add-on includes 18 cards, 6 each of 3 designs, plus 18 coordinating envelopes. This will give you lots of supplies to stay crafty and celebrate good friends and great adventures. The add-on is available starting 2 May while supplies last, so don’t wait! Contact me today Stephanie 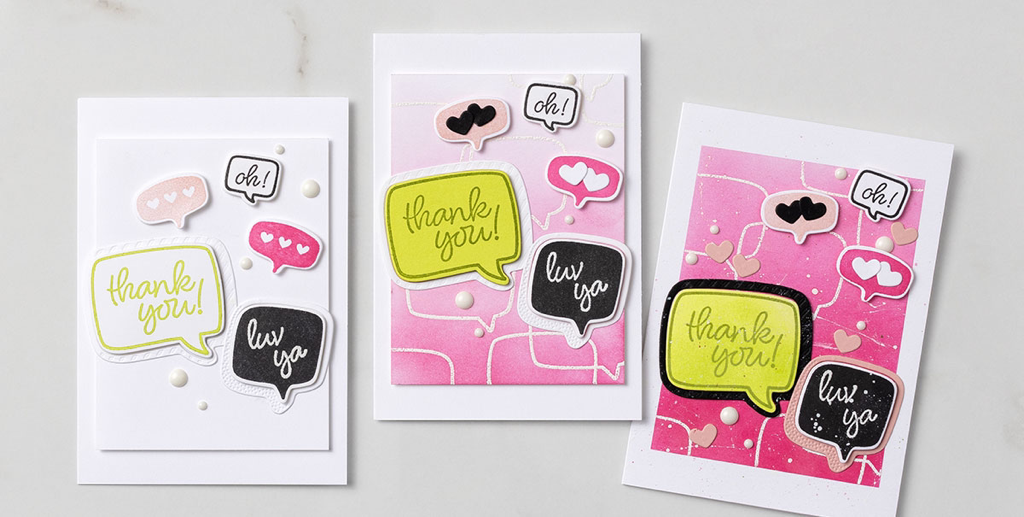 Stepping It Up: Conversation Bubbles Need fun card ideas for your friends or family? Something you could step up for more advanced look? Our playful Conversation Bubbles Bundle step-ups might be just the thing! The Conversation Bubbles stamp set is going to retire and is on saw now!!! So get it before it’s gone!!!! CASUAL To make the casual card, simply stamp the solid thought bubbles in your choice of ink (for this card, we used Jet Black StāzOn, Blushing Bride, and Polished Pink). After the ink is completely dry, stamp the sentiment or image inside the thought bubble with VersaMark ink. Sprinkle on some white embossing powder, shake off the excess, then heat set. PS We stamped the remaining thought bubbles in Parakeet Party and Jet Black StāzOn. So cute! AVID To make the background layer for the avid card, use the emboss-resist technique! First, stamp and heat emboss the thought bubbles using white embossing powder; then, use a Blending Brush to add ink over the top. To capture the ombre effect, apply the color in darker and darker layers, saving the deepest application of color for the bottom of the card. To remove the excess ink from the embossed areas, use a dry cloth. ARTFULLY AVID For our artfully avid version, take the ink blending up a notch by using Masking Paper and Blending Brushes to create a border around the outside edges. After inking and removing the Masking Paper strips, you’ll have a nice, crisp border. To make this card different from the avid sample, use the Blending Brushes to add even more ink and deepen the color as much as you can while retaining the ombre look. Add an ink splatter to finish. Gorgeous! Thanks for stopping by
Happy Stampin Steph 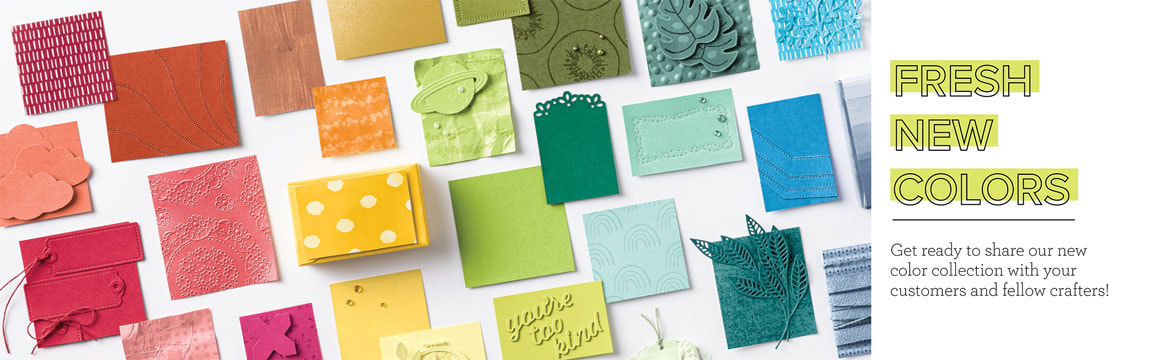 We’re all about creativity and sharing what we love with those we love. And that means providing a compelling selection of high-quality craft supplies in coordinating colors and designs. We’re always working to not only meet trends but set them. That means evaluating and even refreshing our current products—and this year we’re refreshing our complete color collection!
You’ll find some new friends and returning favorites among our Brights, Neutrals, Regals, and Subtles. And you won’t want to miss our new 2023–2025 In Colors. We hope you’re as excited as we are to start crafting with these fresh new colors and to share them with your customers and fellow crafting enthusiasts. check back for more Happy Stampin Steph 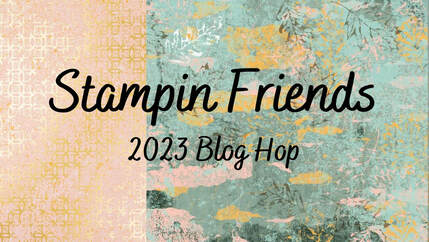
Welcome to the 2023 Stampin Friends March Blog Hop! This month we are sharing monochromatic cards. Monochromatic cards are fun to make, focusing on 1 color and making it shine! There are so many possibilities! For my card I chose Stampin Up Sun Prints DSP and the Blessings of Home Stamp Set. Be sure to hop along to each participant's blog, you can find a list of our blog hop participants below. After viewing my projects, continue on to Tiziana Milano'ss blog to see her monochromatic card! As you go through the hop, if you feel like you could do this, send me a message! We are always looking for crafters who love to create and share!!! Be sure to leave comments along the way, I'd love to hear what you think!!! 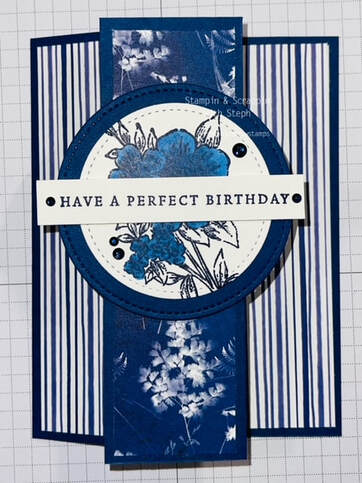
I chose a Fun Fold for my card using the Sun Prints DSP. This designer paper is so pretty it features a fern and botanical imagery with a mix of blue and with colors on one side and Gray Granite and white on the other side I thought it was perfect to use for a monochromatic theme.
To make the card, you need: Cardstock - I used Night of Navy Basic white and pieces for stamping. Rhinestones Circle punches or dies Night of Navy in and Stampin Blends Directions Cardbase 5 1/2x9 - on the 9" side score at 4 1/4 and 7 1/4 and piece to punch circle layer Basic White 4 x 5 1/4, I used Stitched Circle and piece that was 3/4 x 3 for the greeting
DSP 2 at 1 1/4 x 4 1/4, 1 3/4 x 4 1/4 and 2 3/4x 4 1/4
Fold the cardbase in half on the 4 1/4 score line and then fold back on the 7 1/4 score line. Stamp the floral images in Night of Navy onto the Basic White Layer. Stamp the greeting on the 3/4 strip,and stamp the flower on the circle. Add the Basic White layer to the inside of the card. Take the 2 - 1 1/4 adhere on to the section on the cardfront - left side. And the the other one on the inside to the right edge of the Basic White. Adhere the 1 3/4 piece to the top piece that is folded over. The 2 3/4 piece goes on the inside section. See picture below. 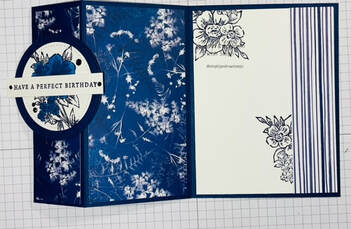
I colored the flowers using my Night of Navy blends and layered onto the Night of Navy Circle. Attached to the card front with dimensionals. Then I added the greeting with dimensionals over the center of the circle. I finish it off with Rhinestones, that I colored using the Dark Night of Navy Stampin Blends.
I hope you enjoy the card that I made for this month's blog hop. Please visit Tiziana's blog and leave a comment! Thanks for hopping with me today! Happy Stampin Steph 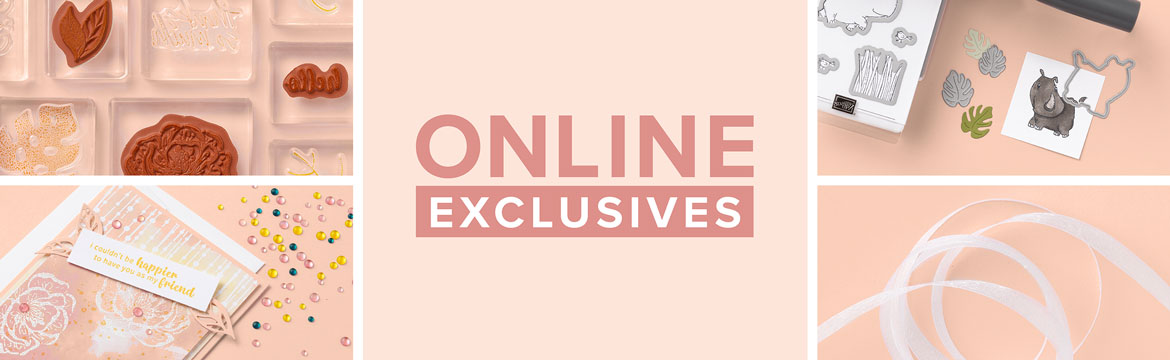 Online Exclusives are all about the future of shopping and selling. And a great opportunity for new experiences! You won’t find these products in any catalog, which means you will view fresh, never-before-seen products to spark your creativity and expand your crafting collection (and mine too!). All from the convenience of my online store.
Dont delay - check out these amazing online exclusives today!! Happy Stampin Steph 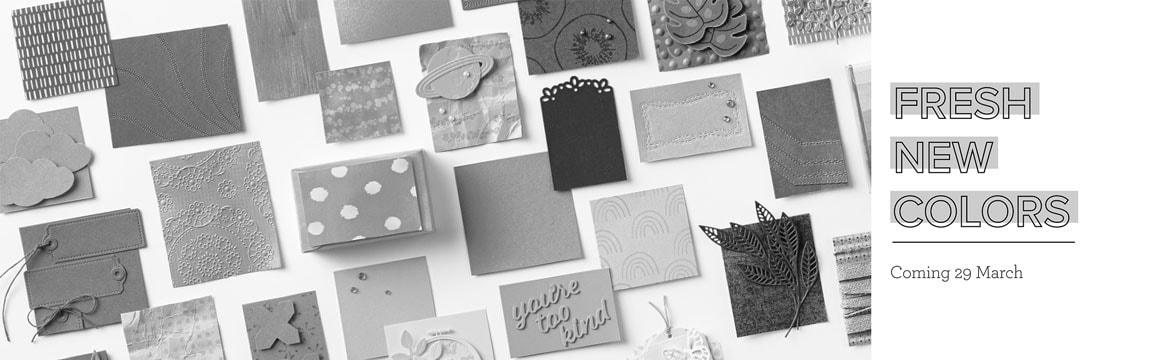 I love a color revamp. I can't wait to see what exciting new colors will be joining the Stampin UP color collections! And colors will they be bringing back??? AHHH I can't wait to find out!!
We’re all about creativity and sharing what we love with those we love. And that means providing a compelling selection of high-quality craft supplies in coordinating colors and designs. We’re always working to not only meet trends but set them. That means evaluating and even refreshing our current products—and this year we’re refreshing our complete color collection! You’ll find some new friends and returning favorites among our Brights, Neutrals, Regals, and Subtles. And you won’t want to miss our new 2023–2025 In Colors. We hope you’re as excited as we are to start crafting with these fresh new colors and to share them with your customers and fellow crafting enthusiasts. Be sure to check back for more details. Happy Stampin Steph 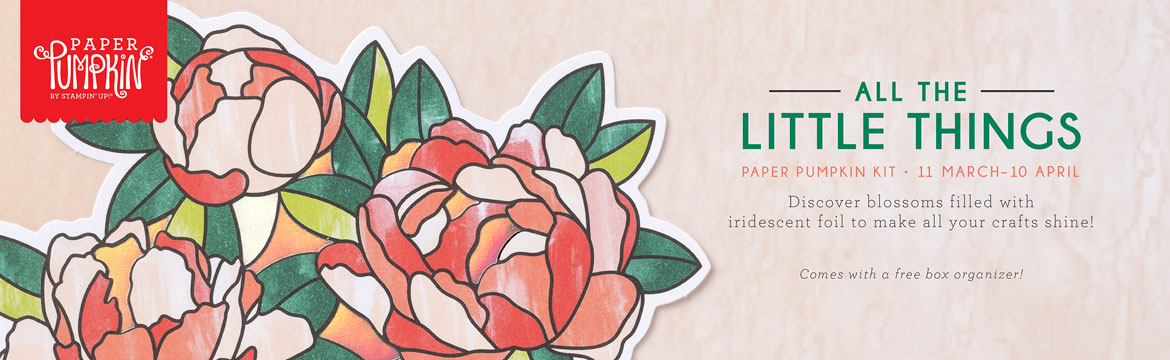 Discover blossoms filled with iridescent foil in the All the Little Things Paper Pumpkin Kit! This month’s kit is special for its elegant cherry blossom theme. Cherry blossoms have a unique symbolism that represent renewal, encouragement, and positivity. With thoughtful sentiments, embellishments, and a unique color pallette, this kit is here to remind you that only the best is yet to come!
And this month, we are throwing in a FREE box organizer for everyone that subscribes! The box organizer will help you save left over product from past kits. Subscribe by April 10, 2023 - click here to subscribe or to view your subscription! ABOUT THE KIT Name: All the Little Things This kit includes:
Be sure to subscribe to get your kit! Happy Stampin Steph 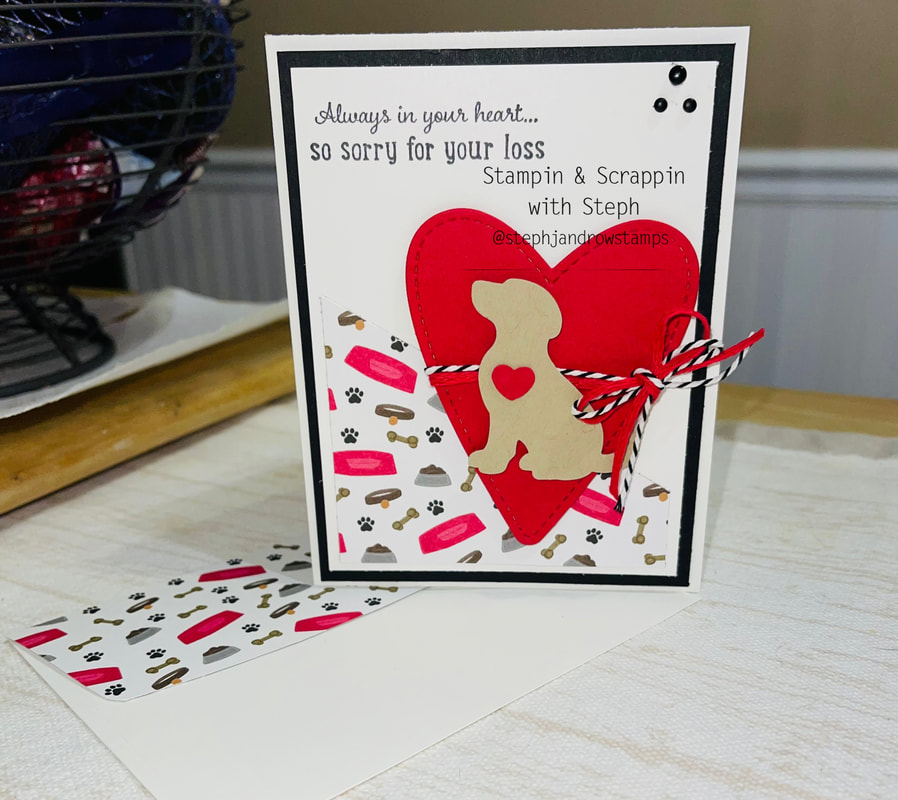 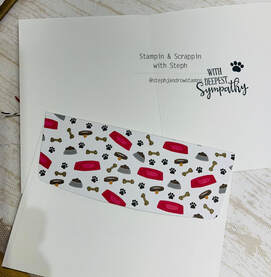 Sometimes the hardest cards we have to make is due to loss of someone we love dearly! This includes our pets! We all know that animals become part of our family and we mourn them just as much as a person!
I needed to create a special card for a co-worker who lost her beloved dog! I pulled out some of retired items that I couldn't part with to make the card! I used the Stampin Up Playful Pets DSP and the following stamp sets, Peaceful Moments, Pampered Pets and Happy Tails. I also used the Dog Builder punch and Be Mine dies. For the card, I used a combo of Basic Black, Real Red, Crumb Cake and Basic White. My cardbase is Basic White You will need: 4x5 1/4 Basic Black 3 3/4x5 Basic White DSP cut 3 1/12x 3/12 and cut an offset triangle..cut pint to almost half of the other side Large Stitched Heart - Be Mine Dies cut in Real Red 1 Dog punched in Crumb Cake and the heart from the punch in Real Red I used the twine combo that was included in the Playful Pets Suite and some Matte Black dots To assemble: Stamp the greeting from Pampered Pets in Momento Black Ink onto the Basic White Layer. Attach the Basic White layer onto the Basic Black layer and attach to the cardbase using dimensionals. Add the DSP to the bottom of the Basic White. Tie the 2 twines around the Stitched Heart and finish in a bow. Attach the heart to the dog with a glue dot. Add the dog to the Stitched Heart with dimensionals Attached the Stiched Heart to the cardbase with dimensionals. Embellish with 3 Matte Black dots. I stamped the inside of the card with the greeting from the Peaceful Moments Stamp Set with a Paw Print from the Playful Pets Stamp Set. Both also stamped in the Momento Black Ink. I also added a piece of the same DSP to the envelope flap to create a completed look. I love how the card came out. Let me know what you think!!! Thank you for stopping by! Happy Stampin Steph |

New 2023-2024 Stampin Up Annual Catalog


Kits Collection


Join today

Categories
All
Archives
January 2024
|
 RSS Feed