Welcome to our Stampin Friends February blog hop. Today we are sharing fancy fold cards! A fancy fold doesn't have to be difficult or intimidating. Simply scoring and folding different, can have a fancy and fun affect!!! SO if you have seen all those fancy folds and thought, that seems too hard, give one of ours a try and you will see how easy they can really be. And there's more, we have included a bonus 3-d project!!!
I hope you are joining me from Tiziana Milano's blog. Her projects were amazing!!!!! Take a look at what I've made, leave a comment and hop on over to Jo Blackman's blog. Just click on her name at the end of the post!
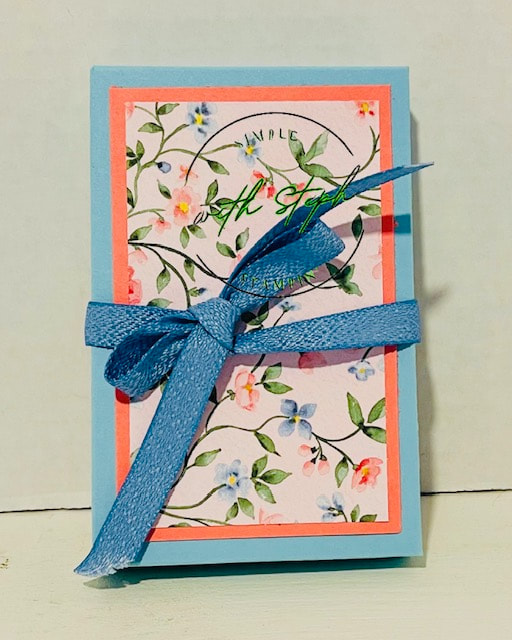
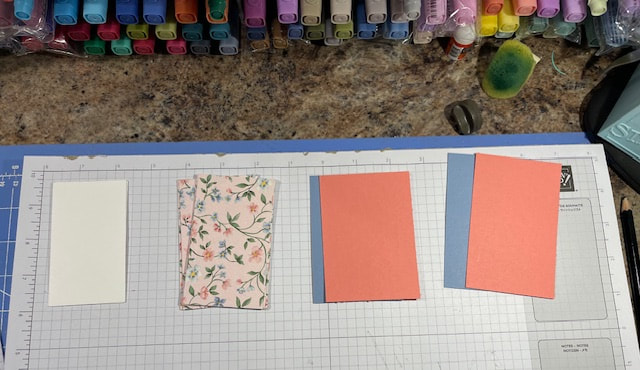
DSP - I used Flirty and Airy from the Stampin Up Sale-A-Bration. I paired together 2 different patterns.
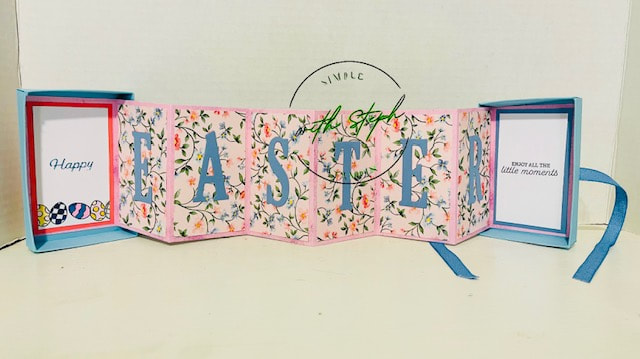
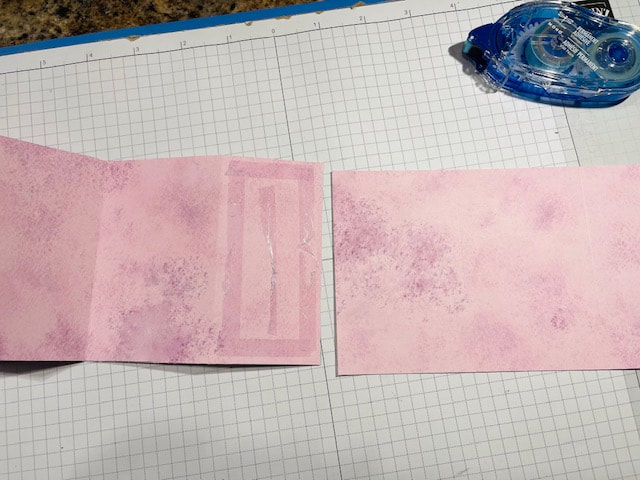
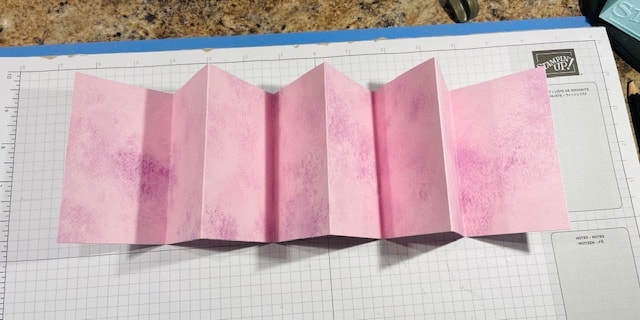
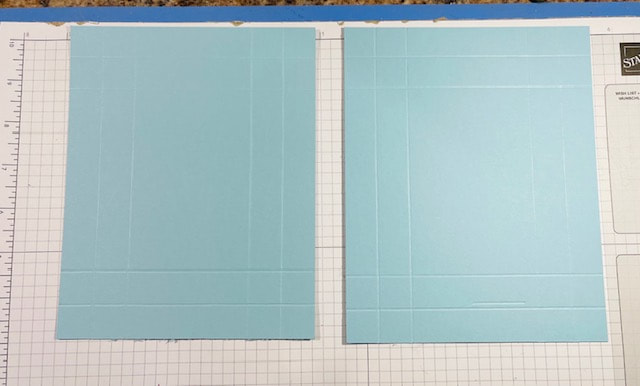
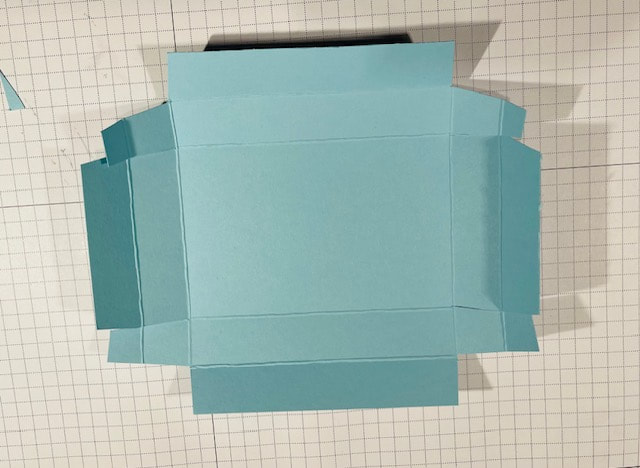
You will need: 1 piece 4x12 score on the long sides at 2 1/2, 5, 7 1/2 and 10and 4x10 score on the long sides at 2 1/2, 5, 7 1/2 8 pieces 3 3/4x2 1/4 2 pieces of Cardstock 4 x 2 1/2 outside of box. 2 pieces of cardstock 3 3/4x 21/4 inside of box 2 pieces of Basic White 3 1/2x2 Box bottom 5 3/4x7 1/4 score on all sides at 3/4 and 1 1/2 Box top 5 7/8x7 3/8 score on all sides at 3/4 and 1 1/12 Fold the DSP in an accordion fold. 2 attach the 2 strips together, the 12" strip has a section that is 2 inches instead of 2 1/2. Add adhesive to the section and attach the 10" to it to make 1 long strip. Use your favorite dies or stickers for the letters. Begin adhering the 3 3/4x2 1/4 pieces to the strip. Start with the second section(leave the first and last sections blank, these will attach to the inside of the cards. Add your letters and embellishments. Fold on score lines for the box top and bottom. See picture below for cutting. See the Youtube video for full details of how to assemble - please note, in the video I cut 3 strips of DSP for the word Birthday. This can be adapted for different words as long as your paper is scored at 2 1/2 sections.
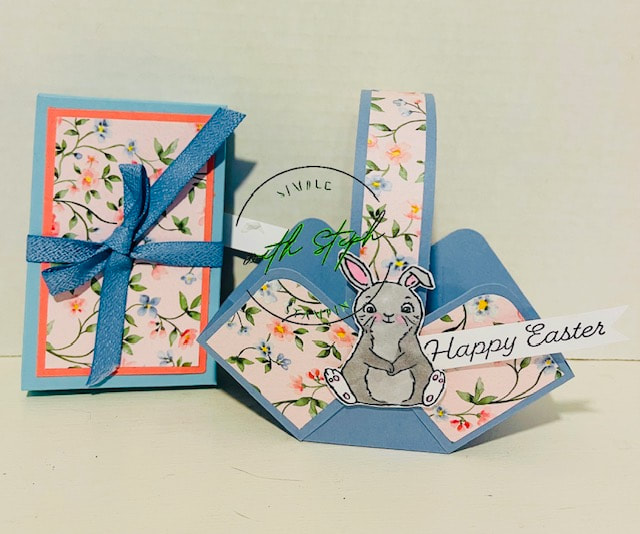
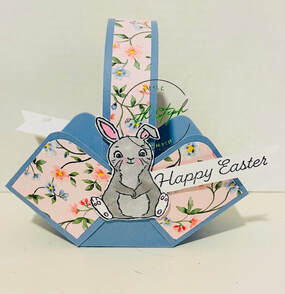
Fold and trim on score lines. Corner round 1 corner of each section, and DSP Attached 3/4 strip of DSP ontop of the cardstock Stamp bunny twice and color with blends and fussy cut. Stamp greeting twice and flag one end. Fold up 2 sections in a diagonal, attach the handle and staple or adhere together. Repeat on other side. I added the bunny with dimensionals on both sides, this also hides the staple. Then add the greeting to each side. This basket is soo easy to put together! And that bunny is sooo cute! 
I hope you like the projects I have made for you today! Be sure to leave a comment and continue to the Tiziana's blog.
Thanks for stopping by Happy Stampin Steph
3 Comments
Barb
2/23/2024 09:32:29 am
What a surprise that card in a box is! And I love your little bunny. :)
Tiziana
3/2/2024 01:22:42 am
Great card in a box and I’ll never get tired of those baskets, so cute! Leave a Reply. |

New 2023-2024 Stampin Up Annual Catalog


Kits Collection


Join today

Categories
All
Archives
January 2024
|
 RSS Feed