|
Welcome to my favorite hop of the year! I look forward to January, when we kick off the new year with a fresh blog hop! I am energized and organized after a much needed December hop break! Each year I look at my perpetual calendar and review all birthdays for the year and begin to go through current cards to send! I then plan to make more birthday cards if I don't have enough....and then some! So it's so fitting that we start our 2021 Stampin Friends Blog Hop with Birthday Celebrations! So here’s to a new year, new beginnings, new possibitlities and a new 2021 Stampin Friends Blog Hop!! Be sure to hop along and visit everyone's blogs, if you miss anyone along the way, you can find a list of participants to the bottom of each blog. I hope you came from Teri Pocock’s blog, wow weren't her projects amazing?? After you view my blog, continue onto Maureen Rauchfuss’s blog, you're going to be blown away. You are guarantee to find projects that you will want to make!
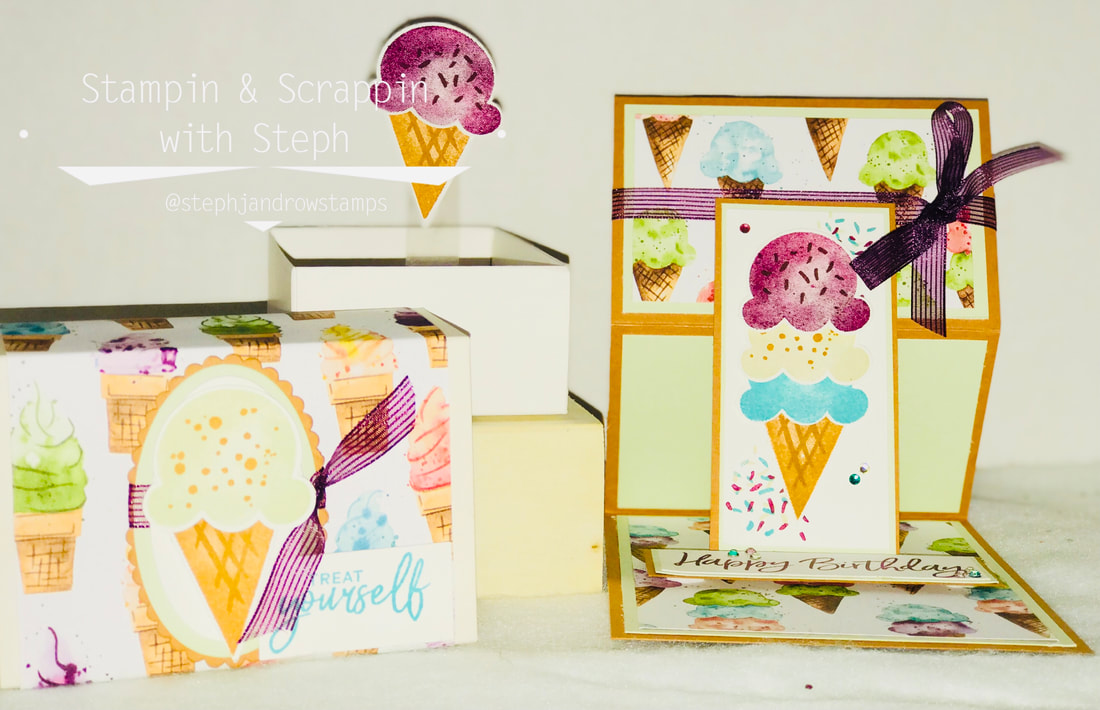
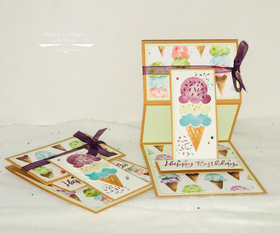
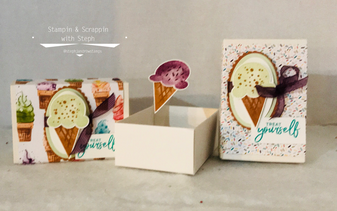
I chose a fun fold card that I have never made before! This Easel Card is so easy to make! I choice Cinnamon Cider as my base with a layer of Soft Sea Foam! Can you say Mint Chip? Ok, maybe just me!! Then, I added the layer of DSP. Rich Razzleberry, Soft Sea Foam and Bermuda Bay are the perfecct scoops! I see Black Raspberry, Mint Chip and Cotton Candy!! Well around here, those would be colors of so fun flavored ice cream. What about were you are??? Stamp the images and use the Ice Cream Cone Builder Punch to punch them out! Add the fun sprinkles or jimmies and chips on the scoops and then don't forget the criss-crosses to define the cone! The Happy Birthday Greeting can be found in the Sweet Ice Cream stamp set and I stamped that in Rich Razzleberry. Below is the measurements of the paper used! For more details on how I put this card & box together, I created a video for you to follow! To make the card: Cardstock: Cinnamon Cider 11x4 1/4; on the 11" side score at 2 3/4 and 5 1/2. Fold on the 5 1/2 score line and then fold back on the 2 3/4 score line. Layer 1: Soft Sea Foam 5 1/2x4, DSP 5x3 3/4 adhere to the bottom section of the card Layer 2: Soft Sea Foam 2 at 4x2 1/2, DSP 1 at 3 3/4x2 1/4. Adhere 1 of the Soft Sea Foam pieces to the center section (measures 4 1/4x2 3/4). Adhere the other piece of Soft Sea Foam and then DSP to the top section. Layer 3: Cinnamon Cider 2x4, Soft Sea Foam 1 7/8x3 7/8, and Whisper White 1 3/4x3 3/4. Stamp the sprinkles in different colors on opposite corners of the Whisper White. Adhere layers togther and then add about 1/2 way down on the top section. Use dimensionals. Make sure to only add the adhesive to the part that sticks to the card base. Layer 4: Cinnamon Cider 1 1/4x3 1/2, Soft Sea Foam 1 1/8x3 3/8 and Whisper White 1x3 1/4 Stamp the greeting in Rich Razzleberry. Ink Colors used to stamp ice cream scoops, jimmies/sprinkles, chips and cone on Whisper White. Bermuda Bay, Cinnamon Cider, Early Espresso, Rich Razzleberry and Soft Sea Foam. Punch out using the Ice Cream Cone Builder Punch. Add to the Whisper White Sprinkle layered piece. Wrap and tie in a bow, on top section, with the Rich Razzleberry Ribbon. Lift the card up, so the ice cream cone section stands almost up right, then add the greeting to the base of the card, so it holds up the top section.
To decorate the box;
What do you think? SO FUN right? I just love how adorably fun this suite is!! Thank you for joining me today, be sure to leave a comment and visit blog! Happy Stampin! Steph 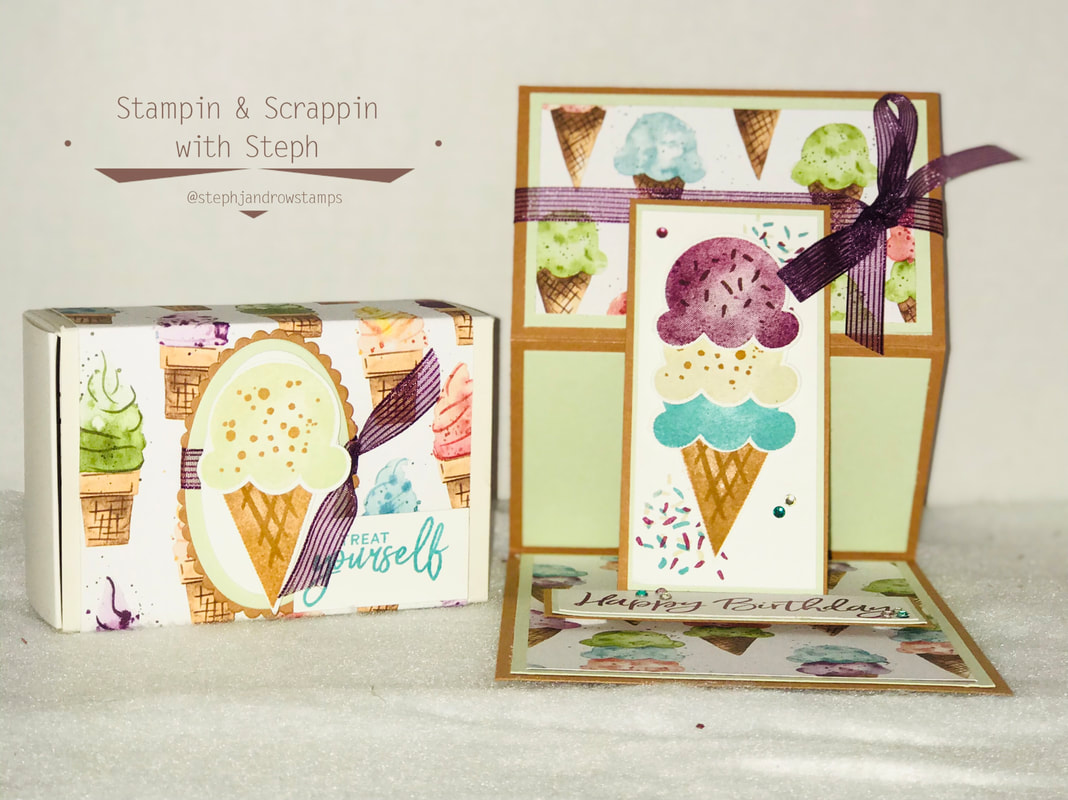 Below is the list of hoppers for this month's Blog Hop.
7 Comments
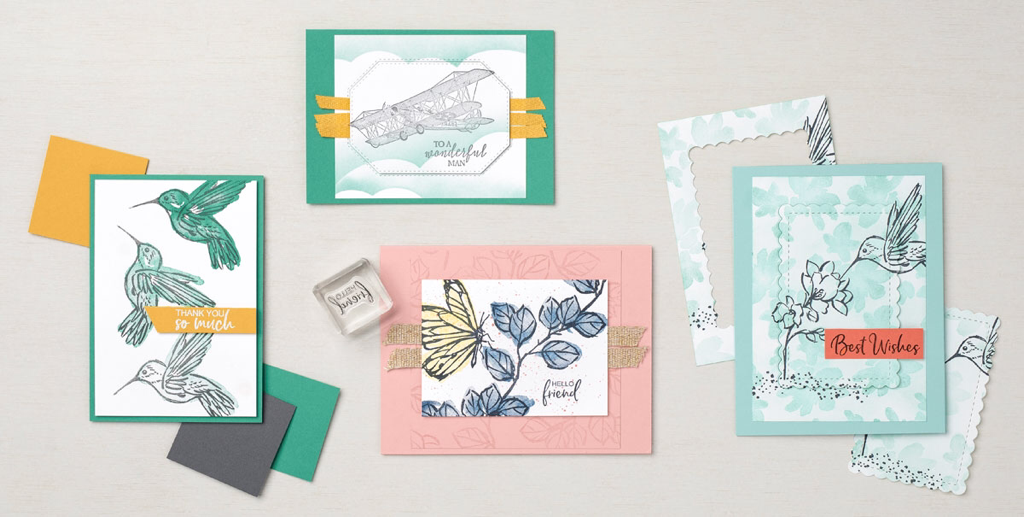
Famous painters look at each other’s work for ideas, and so can papercrafters! If you’re feeling stuck and need something to fan your creative spark, go online and check Pinterest. Or look through the catalog and put a check mark next to every card you love and want to CASE (Copy and Share Everything). Copy the layout, the color scheme, or the technique‑or do a combination of all three.
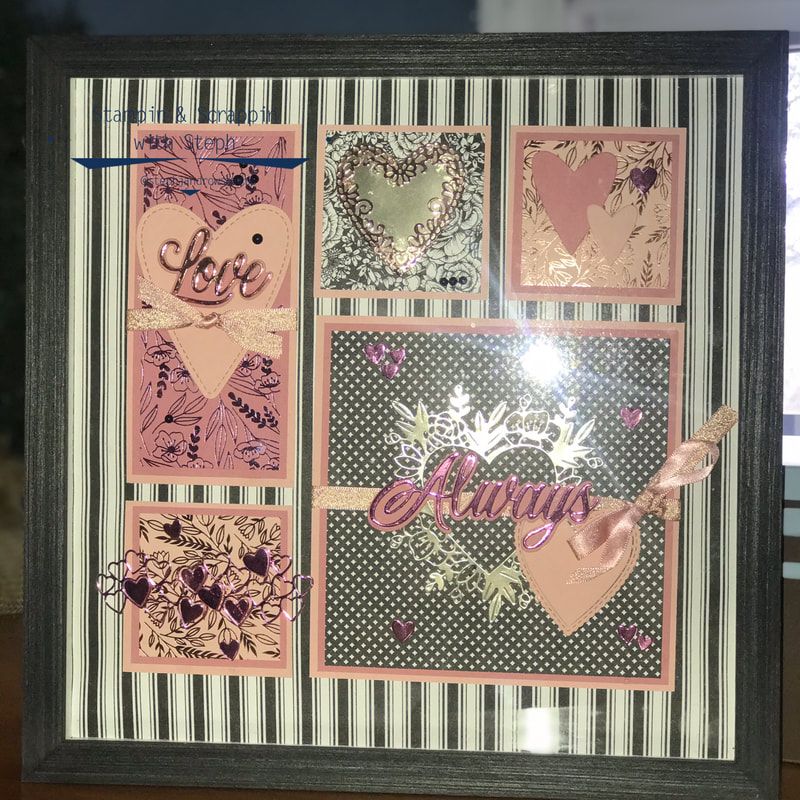
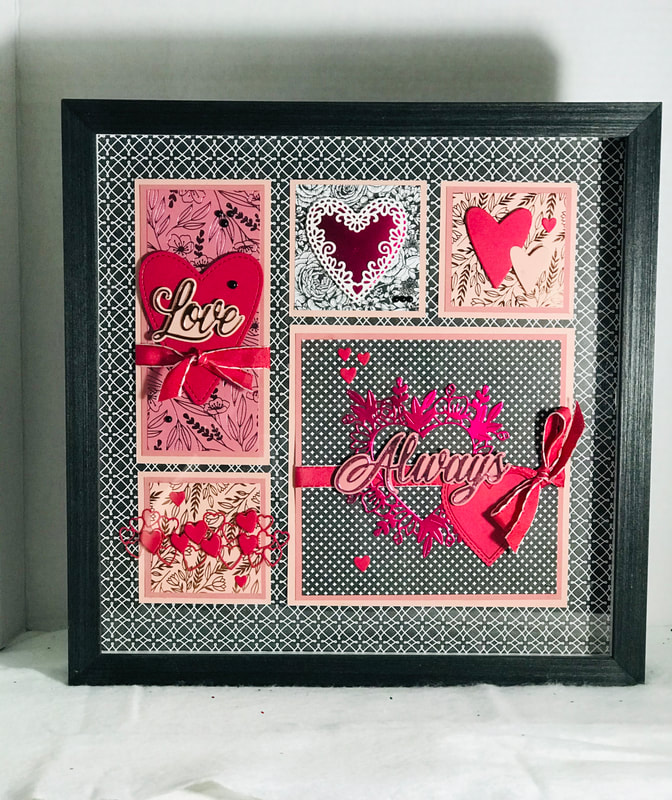
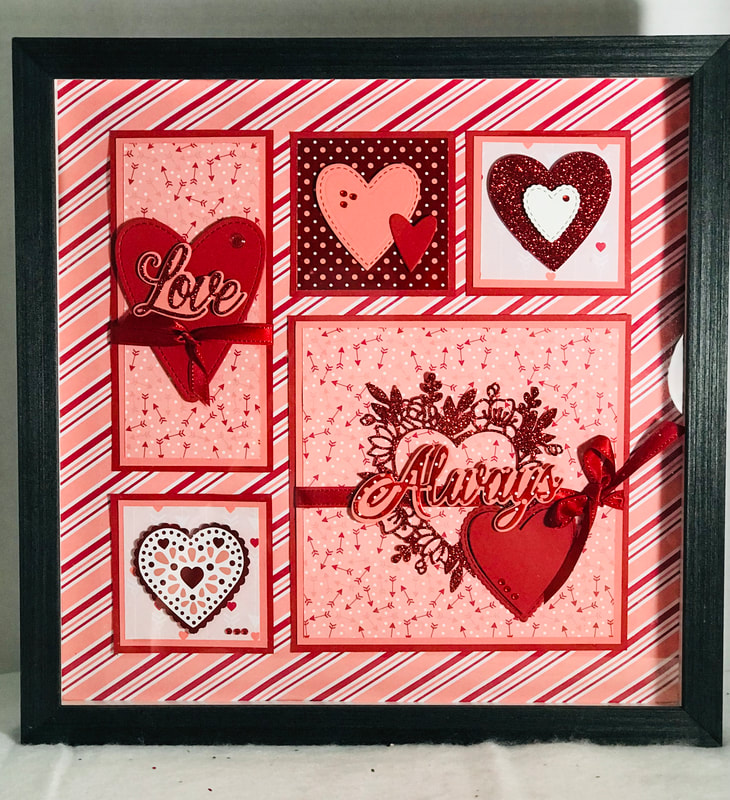
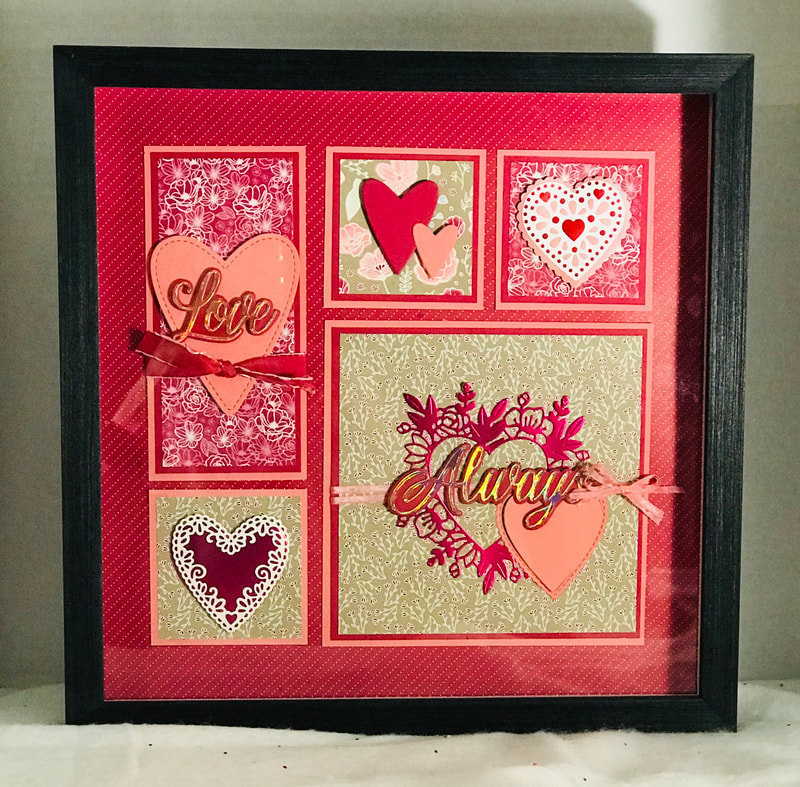
Our concept artist CASEd the To a Wonderful Man card by drawing inspiration from the layout, color combo, and technique to create her hummingbird cards. Aren’t they beautiful? To duplicate her technique CASE, simply use a die cut to create a frame using the main stamped image, then pop it up using Stampin’ Dimensionals. If she can do it, so can you! Make a goal for 2021 to CASE on a regular basis. As you study others’ work, your skills will strengthen‑and eventually you’ll be generating unique ideas. Before long, others will be CASEing you! Happy CASEing Happy Stampin Steph I’m so excited to add this beautiful addition to the Seasonal/Holiday Sampler Collection! Featuring brand new products from the new Mini Catalog called Love You Always! I offered this as “to-go” kit and created this video as an at-home workshop to show how to put the sampler together! Once completed, you can add to your shadow box and proudly display in your home. Below is the details I used to create this 12x12 Sampler. True Love DSP 12x12 and 2 3/4x2 3/4 Blushing Bride Cardstock: 3 at 3x3, 1 at 3x6 1/4 and 1 at 6 1/4x6 1/4 Rococo Rose Cardstock: 2 at 2 3/4x2 3/4, 1 at 2 3/4x6 and 1 at 6x6 Love You Always Speciality DSP: 2 at 2 1/2x 2 1/2 1 at 2 1/2x 5 3/4 and 1 at 5 3/4x5 3/4 Dies: Stitched Be Mine, Always and Floral Heart - use the cardstock and foil sheets to create the images shown in the sampler! Blushing Bride Metallic Ribbon: Love You Always Foil Sheets Matte Black Pearls Thanks so much and enjoy! Happy Stampin Steph The photos below are just a few variations to the Sampler made for custom orders!!!
Back to Back Blooms Step It Up
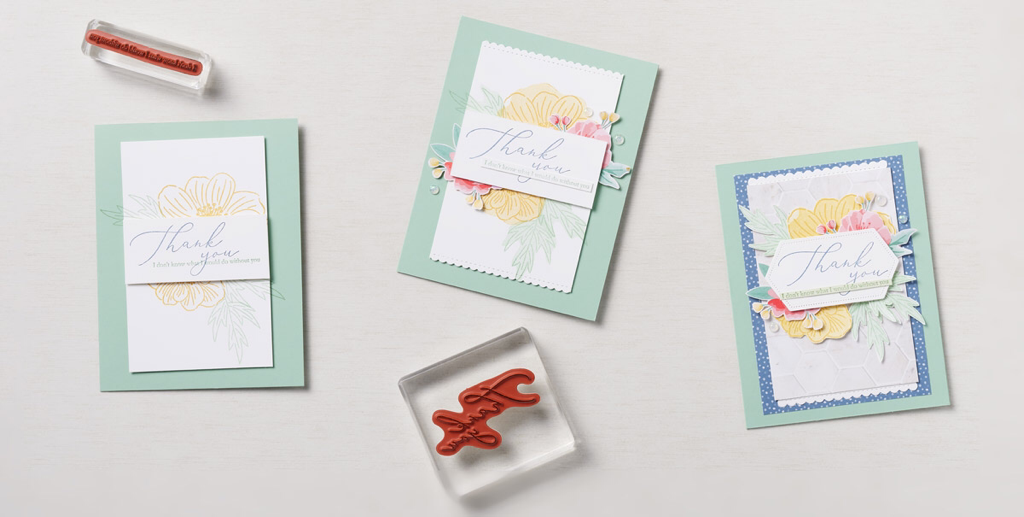
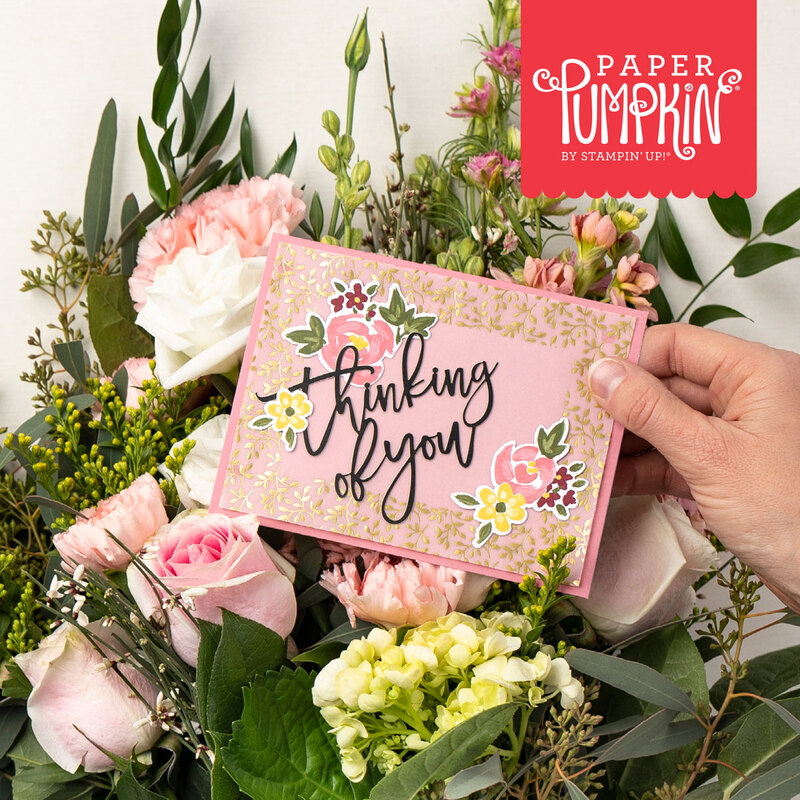
Back to Back Blooms is a beautiful set that is prefect for any level stamper! CASUAL To create this lovely, heartfelt card, use a Stamparatus to line up the floral images from the Back to Back Blooms Stamp Set, then stamp them in Bumblebee and Mint Macaron ink on a Basic White Cardstock layer. (We overlapped the stamping onto the Mint Macaron Cardstock card base for some extra sophistication and prettiness!) Stamp the sentiment from the Heal Your Heart Stamp Set in Mint Macaron and Misty Moonlight ink on the Basic White Cardstock label. Finally, adhere the label to the card using Stampin’ Dimensionals. Done! You have an elegant thank you card ready to send in no time at all! AVID Step up the second card by adding a lacy edge to the Basic White layer using the Stitched So Sweetly Dies. This additional step takes about a minute and instantly enhances the card’s beauty. Once that’s finished, adhere fussy-cut flowers from the Flowers for Every Season Designer Series Paper to the front of the card to create a gorgeous, full bouquet. A sprinkling of Opal Rounds completes the look. Tip: Use your Stamparatus to stamp the line art images first. Then, clean the stamp and position it to stamp the solid floral image. (Stamp off the solid image before stamping on the project.) ARTFULLY AVID For our fanciest card, we fussy cut the stamped images and adhered an additional layer of Designer Series Paper to the card front. We also die cut the label using the Stitched Nested Label Dies and then—for a final touch—stamped the sentiment on Soft Sea Foam Cardstock. Isn’t it stunning? Sometimes the smallest details can make all the difference in your papercrafting! Whatever your level of stamping, Stampin Up has the perfect products! Check out the Back to Back a Blooms here! Happy Stampin Steph The Bouquet of Hope Paper Pumpkin Kit provides enough supplies to create nine cards and coordinating envelopes. This soft, sympathetic kit includes patterned card bases, die-cut floral elements, ribbon, embellishments, and more! The kit’s exclusive Bouquet of Hope Stamp Set features supportive sentiments centered around comfort, care, hope, and love. Such a versatile stamp set can be used throughout the year! Sadly, there is heartache in the world all around us. We all know someone who could use a heartfelt, handmade card that gives sympathy and strength during a difficult time. This kit’s cards are a must to have on-hand!
Subscribe to the February 2021 Paper Pumpkin Kit between 11 January and 10 February HERE Note: Supplies may be limited toward the end of the subscription period. COORDINATING PRODUCT 155223 | Flower & Field Designer Series Paper
What is Paper Pumpkin? Paper Pumpkin is our monthly One-Stop Box™ that offers a unique variety of paper projects for subscribers of any skill level to enjoy! These thoughtfully-themed and all-inclusive craft kits encourage Stampin’ Up! customers to explore their creativity, try new techniques, and discover their potential in papercrafting.
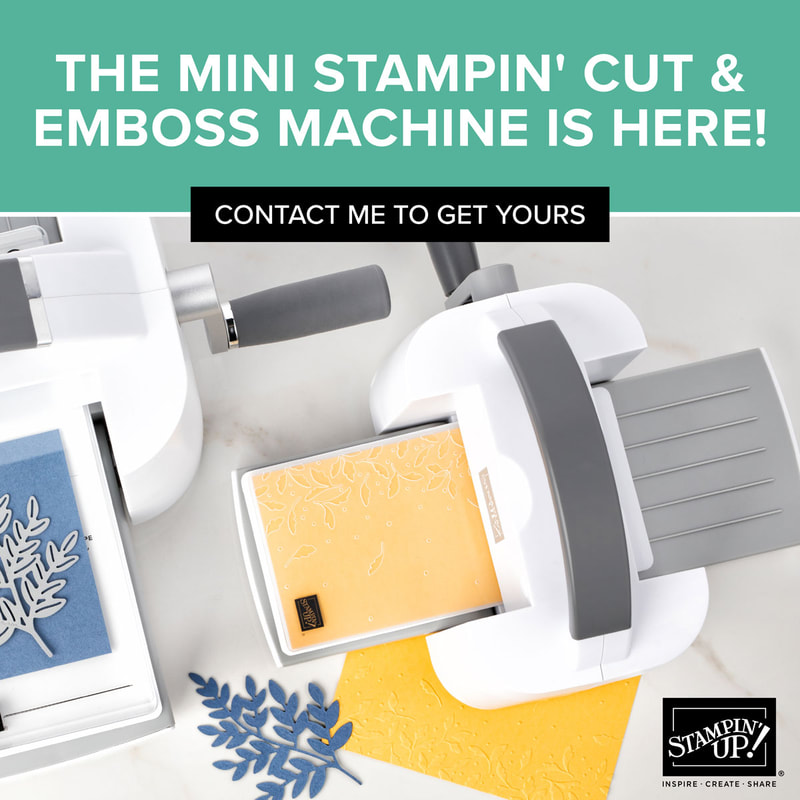
Why Paper Pumpkin? Paper Pumpkin introduces you to an impressive collection of Stampin’ Up! products, from our one-of-a-kind ink pads to our eye-catching embellishments. Plus, the carefully-chosen components of each Paper Pumpkin kit highlight the unbeatable versatility and coordination our products provide! This easy and exciting way to stock up on supplies—and create small-batch projects for occasions of any kind—inspires you to continue crafting. With Paper Pumpkin, it’s simple: share what you love, and help others enjoy creativity! Happy Stampin Steph We thank you for your patience! The wait is finally over and the Mini Stampin Cut & Emboss machine is avaialble for purchase!
Contact me to today or visit my website to order yours now! Happy Stampin Steph A few weeks ago I shared that due to the unfortunate affects of the COVID, the plant that manufactures the Whisper White paper products, closed down for good. While this was not anything Stampin Up had planned for, they have work effortlessly to provide us with replacement products. Without further adue, I introduce to the Basic White Product line! You can view the flyer below or click here to order today! During Sale-A-Bration 2017, we were blown away by how much you loved the Hey Chick Stamp Set. We decided to bring it back—along with coordinating dies and a completely new bundle created in the same style. These two bundles are only available for a limited time, so be sure to get them in February 2021. ee the document below for Bundles, Stamp Sets and Dies. If you already have the Hey Chic from the 2017 Sale-a-Bration....just grab the dies!! AWESOME!! Happy Stampin Steph PREPARE TO SALE-A-BRATE
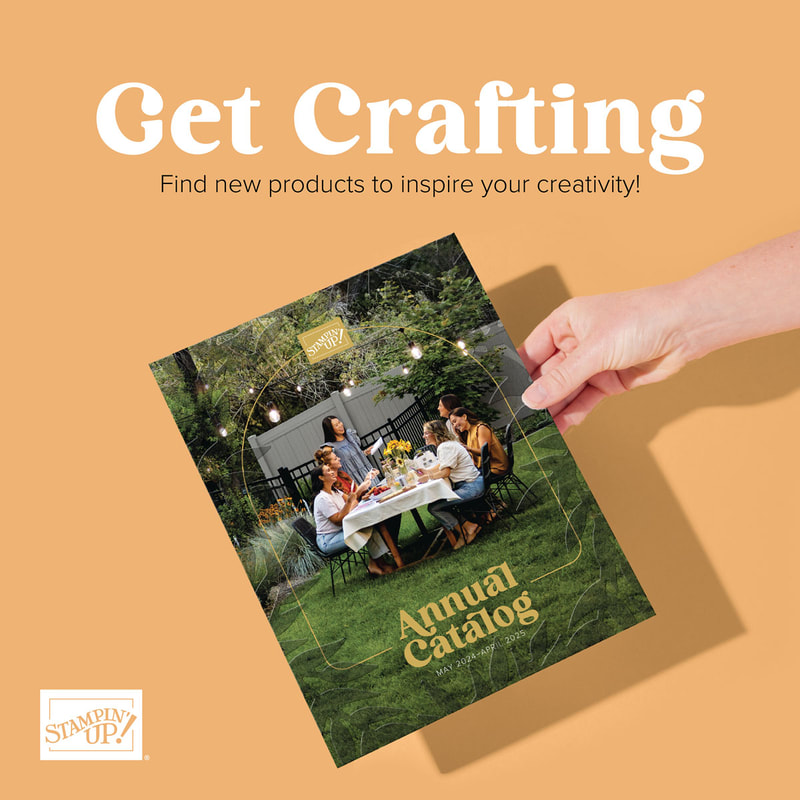
Sale-A-Bration is one of our biggest promotions of the year. It’s packed with perks for all, overflowing with opportunities for you, and filled with fun for everyone! During the Sale-A-Bration, you can earn free, exclusive products with a purchase. Plus, you can earn free by hosting your own events—and become Stampin’ Up! demonstrators yourself! This year our Sale-a-bration event is a little different, while we do have the separate catalog that offers a Level 1 free product with each $50 purchase and a Level 2 product with each $100 purchase.... Instead of one single Sale-A-Bration season, we’ve split the annual Sale-A-Bration event in two! The first Sale-A-Bration event will take place from January 5 to February 28, 2021, with the second beginning in July and ending in August. With this change, Sale-A-Bration will now extend over four months, giving me and you more time to Sale-A-Brate throughout the year! How exciting is this!!!!! Check it out! View or download here Need a copy, feel free to contact me, I'd love to help you out and get a catalog in your hands!!! Happy Stampin Steph Each year I look forward to Stampin' Ups catalog launches! June for Annual Catalog, September for our Holiday Seasonal Mini, and January for the Occasions Mini Catalog and Sale-a-brations! And each year, these catalogs just keep getting better and better!!! As a Stampin Up Demonstrator, we have the perks of reviewing, receiving and preordering from these catalogs! But the anticipation to share the catalog is awesome! I love the energy we have to show you all the new products!!!!! Take a peek at the video below for preview of the Mini Catalog! You can click on the image on the right to view the digital catalog or download the PDF version! Below, I have also included a Shopping List Sheet, you can print and jot down your favorite items to order from! Also, if you need one, please feel free to message me, I'd love to help you out and get a catalog in your hands!!!! Be sure to check subscribe so you can automatically receive updates when I post, that way you won't miss out on all the fun! Thanks for stopping by Happy Stampin Steph |
Categories
All
Archives
May 2024
|



 RSS Feed