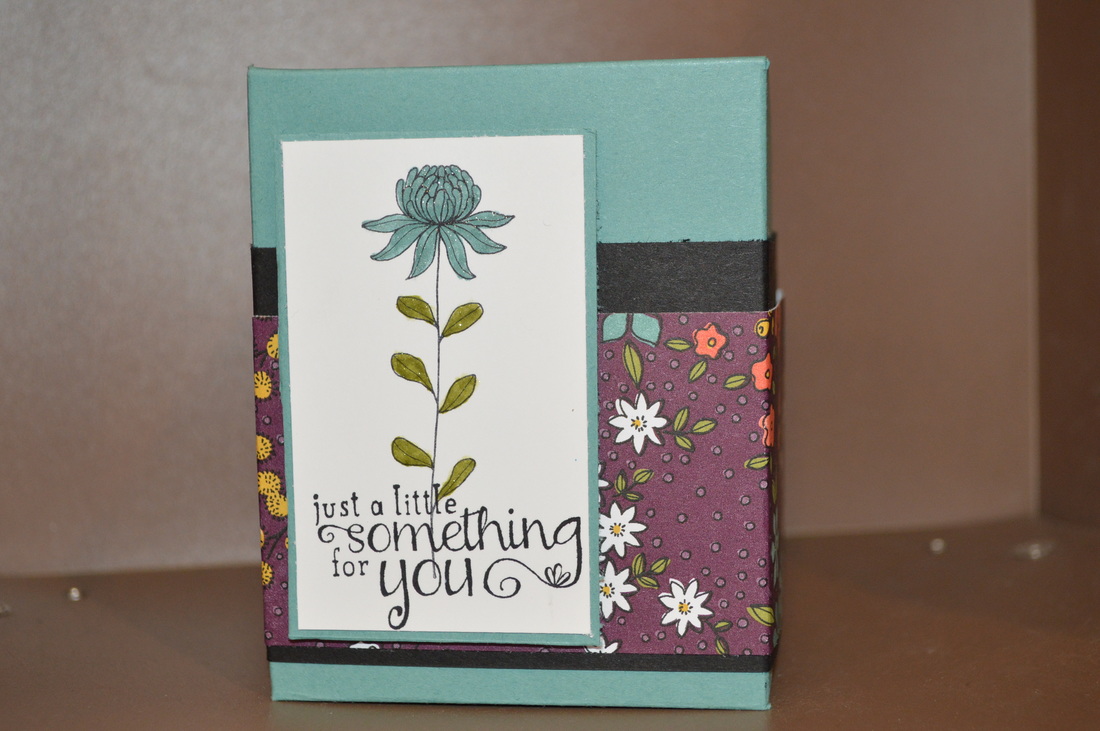
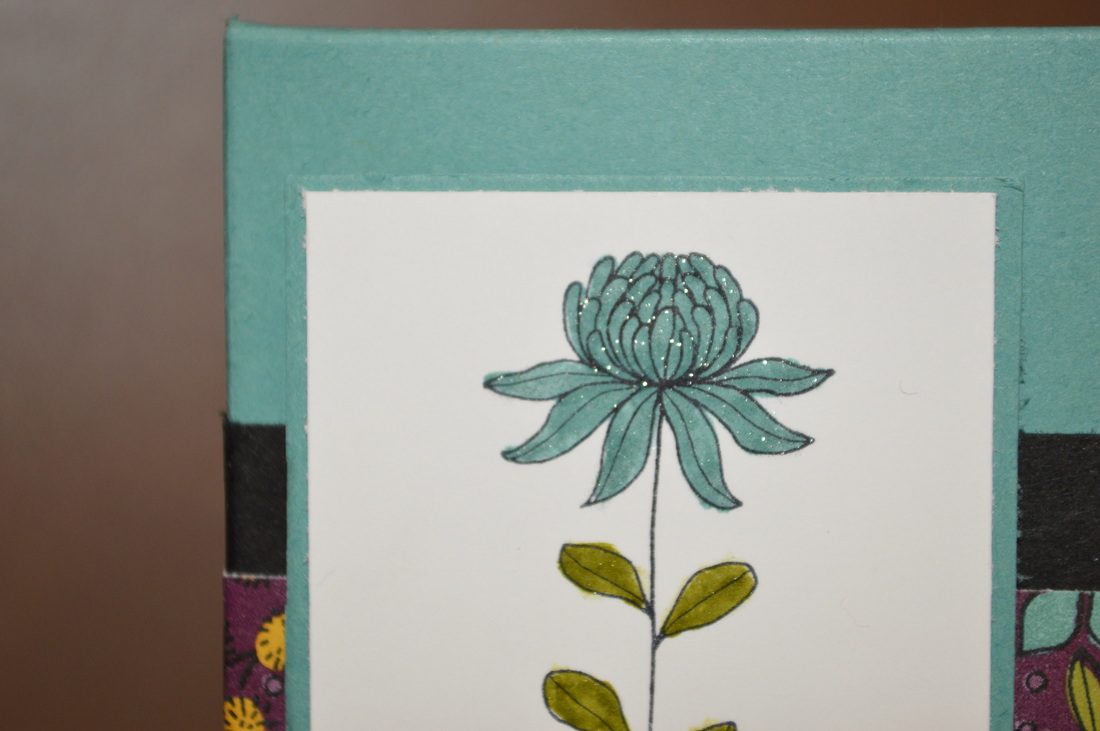
The soap is from Mangiacotti, which is made in Attleboro, MA. They smell so delicious!! At first I thought I would wrap them or put them in a gift bag with tissue paper. But hand palm to the forehead....UM what do I do??? I sell Stampin Up! I papercraft!!!!! Why wouldn't I make something to put the soap in!!! YES YES Hence, the reason I am starting early!!!! See what happens if I'd waited to long. So, I searched on pinterest for a box idea. I wanted something easy that didn't waste alot of paper. And low and behold, I came across this soapbox design by who??? Of course Sam Donaldson at Pootles Papercraft. She's amazing and I am not ashamed to CASE her box and bags designs! This box was absolutely perfect for this soap. I am truly happy how it all came together. It's easy and I can make 8 of these very easily! 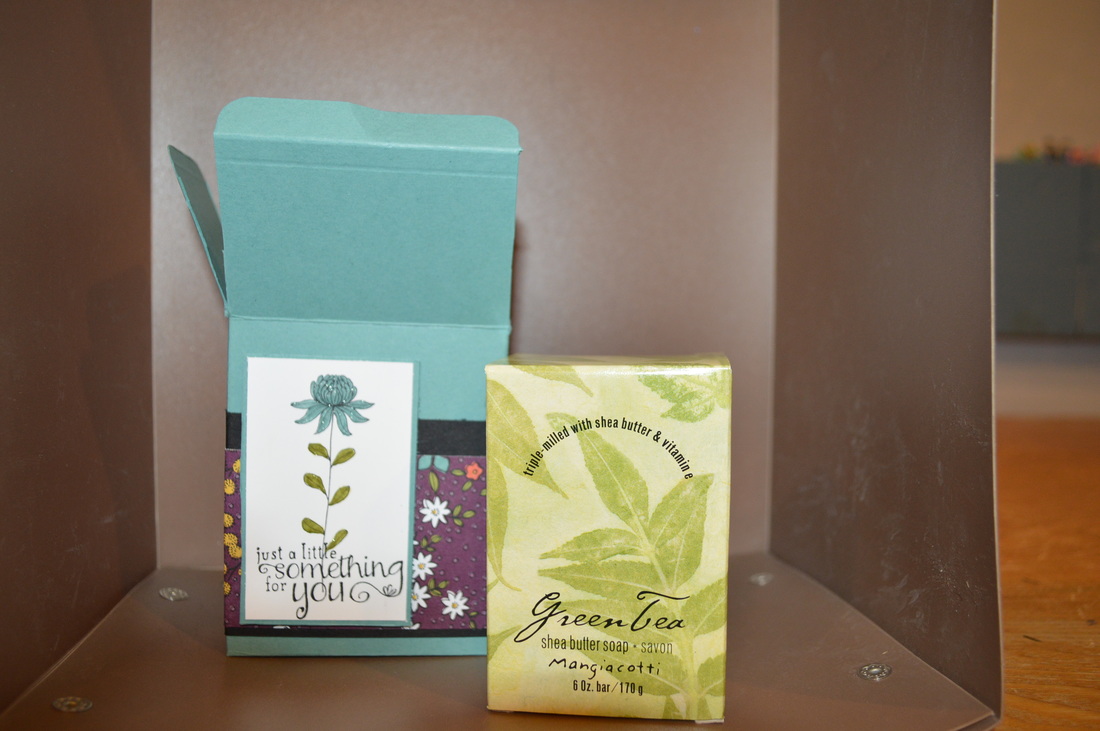 I used Lost Lagoon Cardstock as the base of the box and the belly band is basic black and the Wildflower Fields Designer Series Paper. I stamp the flower from Flowering Fields with Archival Black ink and colored it using Lost Lagoon and Old Olive. I stamped the verse from the Num Num stamp set.
Click here for Sam's tutorial. Hope you enjoy Happy Stampin Steph
0 Comments
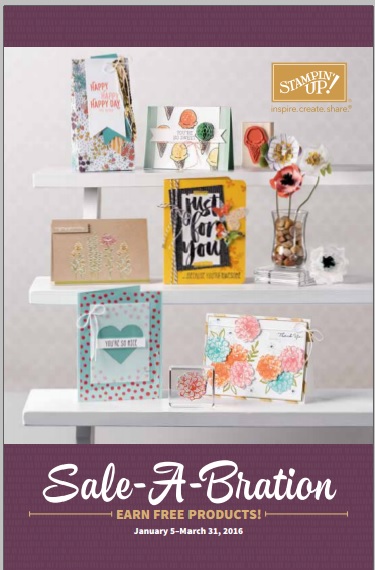 There's plenty of time left to shop now and get your favorite Sale-A-Bration items. Here's the deal: for every $50 you spend (before tax and shipping), you get a FREE Sale-A-Bration product. That means it's the perfect time to purchase those products you've had your eye on while earning more products for free. Note: Pages 4-15 of the Sale-A-Bration brochure show products available throughout the entire Sale-A-Bration sales period (January 5-March 31 2016); Pages 16-19 show limited-time products available only until February 15.* Watch for another batch of limited-time products coming February 16! *Based on inventory, availability may be temporarily extended. Click on the photo above to view the Sale-A-Bration catalog. There is also a Sale-A-Bration supplement flyer that offers a few more products. Check it out here below. Remember to order before March 31st to earn these products for free.
Happy Easter Happy Stampin 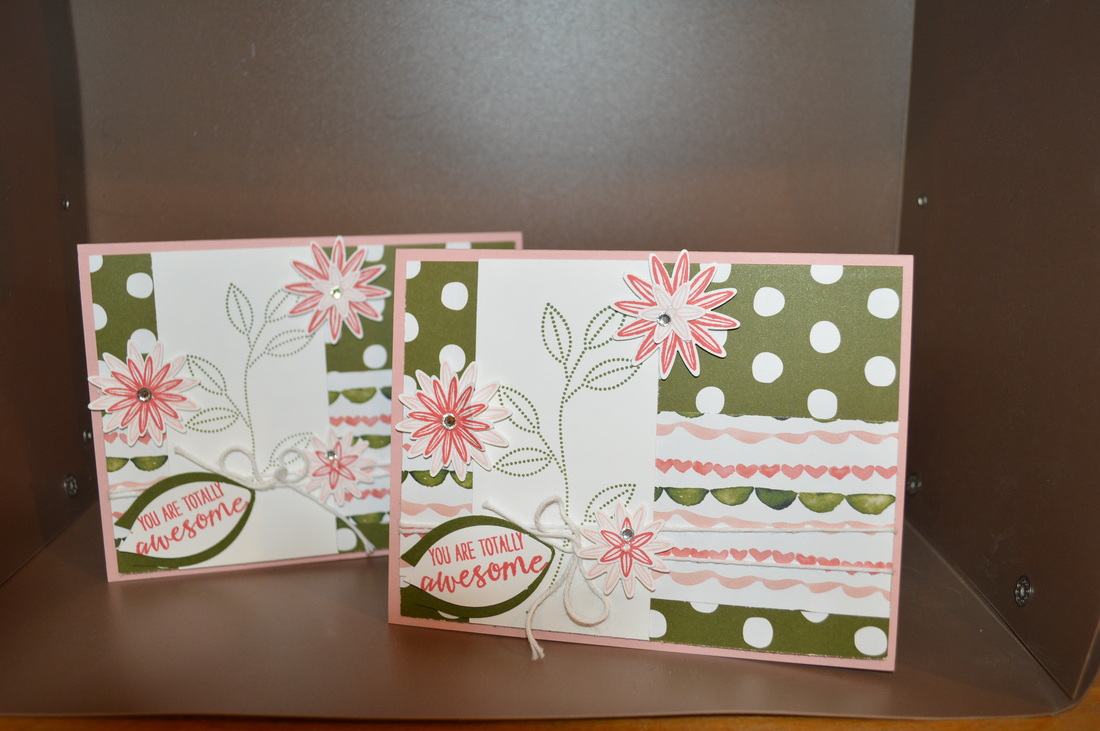 I love how this card came out so I just had to share. I used the Grateful Bunch stamp set and coordinating punch. The Designer Paper is Birthday Bouquet. The colors of Mossy Meadow, Blushing Bride and Melon Mambo go together so perfect. It really is a super easy card to make. Might be one I offer at an upcoming card club.
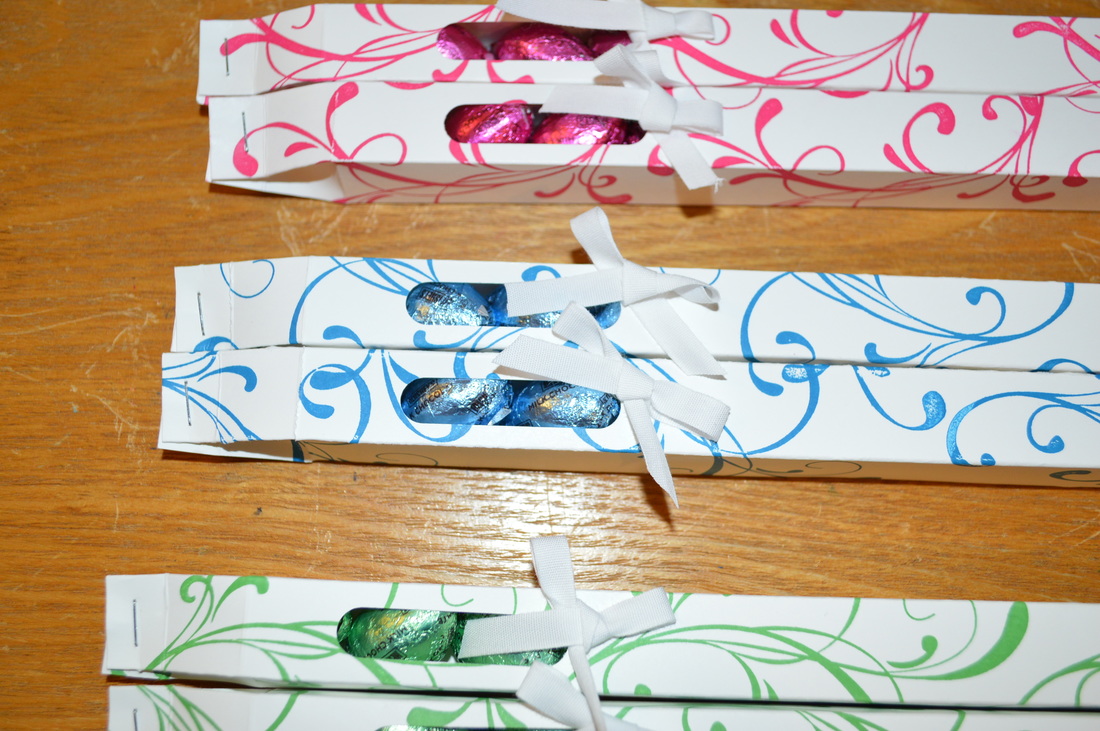
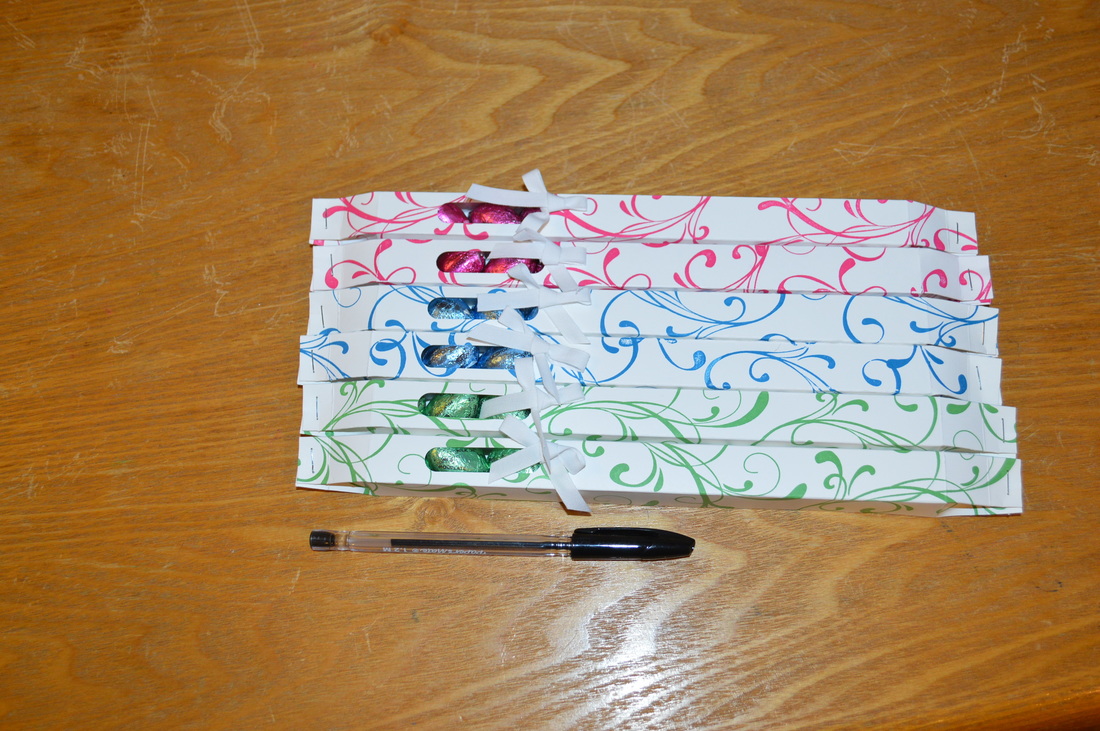
We shall see Happy Stampin Steph 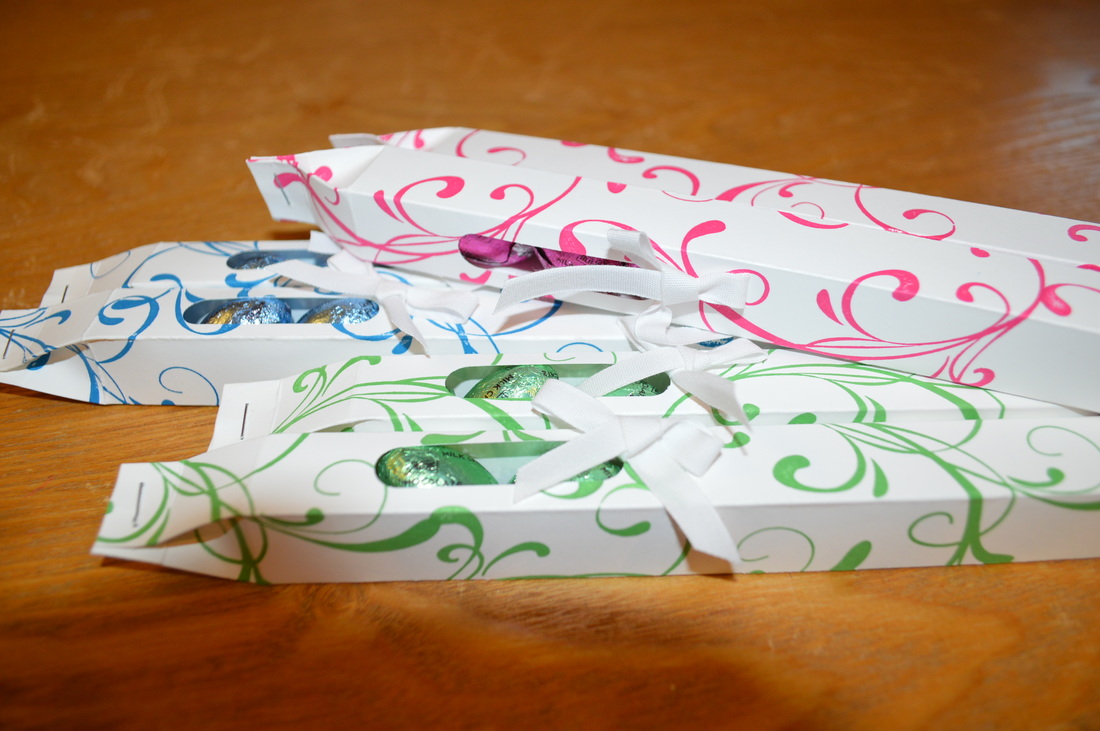 I recently watched a tutorial video by Sam Donaldson at Pootles Papercraft. I had bought these Hershey Chocolate Eggs and I had no idea what to do with them, besides eat them. So after viewing Sam's video, I decided why recreate the wheel? These could be cute little treats to give teacher to wish them a Happy Easter. Sam was able to fit 12 chocolate eggs in her sample. I was only able to fit 10, the Hershey eggs are probably a bit bigger. Since the bag I had only had 3 different colors. I chose Melon Mambo, Pacific Point and Cucumber Crush. I love how bright and vivid the colors are on the Whisper White cardstock. I used the flourish stamp from the Everything Eleanor Stamp Stamp and Whisper White Cotton Ribbon. 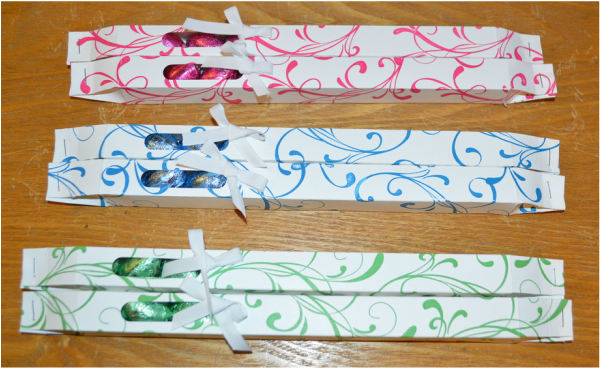 The 2 bags I had did not have an even amount of eggs per color. So, I made 2 of each color. I think I have enough left that I can make 2 more in Cucumber Crush and 1 in Melon Mambo. Just have decided if I need to make more just yet. upper You can view Sam's YouTube tutorial on how to make the box below. Super Easy!!! Happy Easter and Happy Stampin 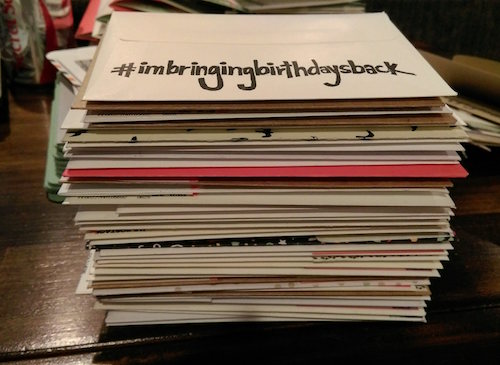 Back in January, Shannon West, Demonstrator Training Manager at Stampin Up, was kicking herself that she did not send Christmas cards out. She felt that there was more people posted a photo card on social media than mailing. I read her post, obviously awhile back, put this on my list and well out of sight out of mind. Story of my life lately. But as the old saying goes BETTER LATE THAN NEVER!!! Here is a quote from Shannon " For years I’ve complained about Facebook ruining birthday cards and now it would seem the same was happening to Christmas cards. A handmade, handwritten card in the mailbox seemed to be nearly extinct—and I was contributing to the problem!" I too must admit, here is the card making business, I put together cards to make at my card clubs or even cards from Paper Pumpkin, where do they go??? In my file drawer in their appropriate categories, where else?? But, I rarely remember to send cards anymore. The hustle and bustle of life and well the ease of simply saying "Happy Birthday" to a friend via Facebook or text has well, made it almost to easy to not have to mail a card. Thinking about this....I do, even at 42 years old, get excited to see a handwritten envelope in my mailbox from a friend or family member. I do mail Christmas Cards and have to say I really enjoy seeing everyone's cards in the mail. AND...well those handful of friends that did make handmade cards really made my holidays. Something as simple as, a personal piece of mail, can really make someones day. Sometimes it's truly the little things. So event though I am a little late jumping on this bandwagon....I challenge you to mail birthday cards out to those that you know the dates on. AND...comment on my blog with the #imbringingbirthdaysback and I will mail you a birthday card, handmade from me. After commenting, I will need to ask that you email me your full name and address so I can mail you the card. My email is [email protected] Below is a few cards I made in preparation to getting cards out. But I assure, I have many, many birthday cards sitting in my drawer. So although, I will be continuing to make new ones as needed...I do promise I have alot to send. You can click HERE to read the full article Shannon West wrote. 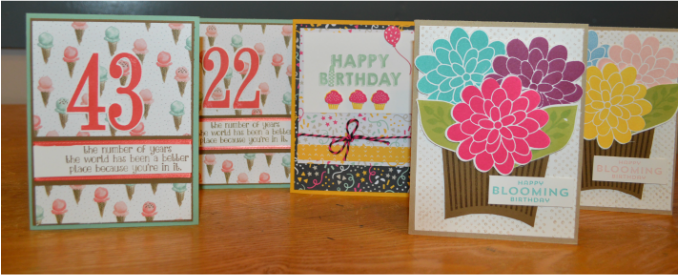 I really excited that Sara reached out to Shannon to find out what she could do to involve Stampin' Up and well...they decided to market the #imbringbirthdaysback stamp that Shannon had made. So the stamp is available as a wood block stamp only for $12. It's really cool and I can't wait to get may hands on it. I've included a picture below so you can see how the image will stamp. If you click on the picture it will direct you to my Stampin Up store where you can order your very own. How COOL!!! NOW PLEASE REMEMBER TO COMMENT ON MY BLOG WITH #imbringingbirthdaysback and email me at [email protected] with your name and address and I will send you a birthday card you can use for someone. I really hope your up to this challenge with me, there's no purchase need...well maybe a stamp to mail your card to someone else!!! Happy #IMBRINGINGBIRTHDAYSBACK Steph  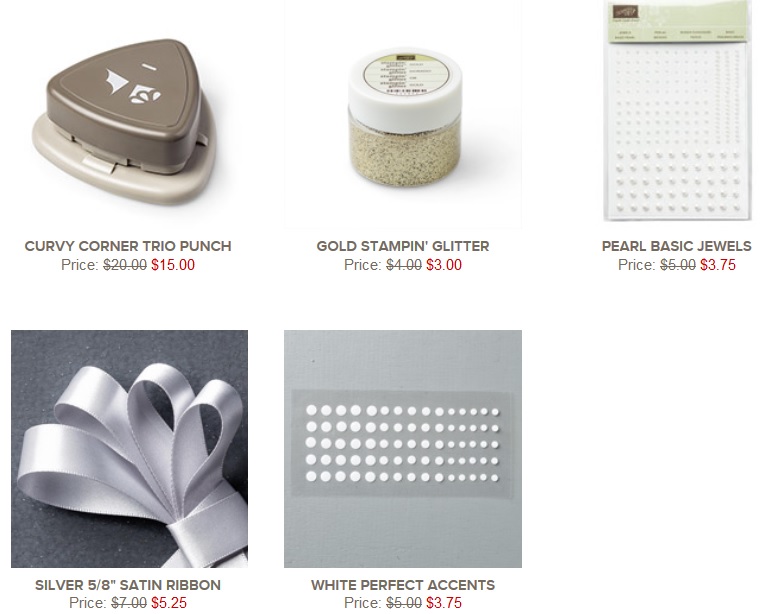 Every Tuesday Stampin' Up, brings you amazing deals on select product. The product offering changes each Tuesday; be sure to check to see what's on sale.
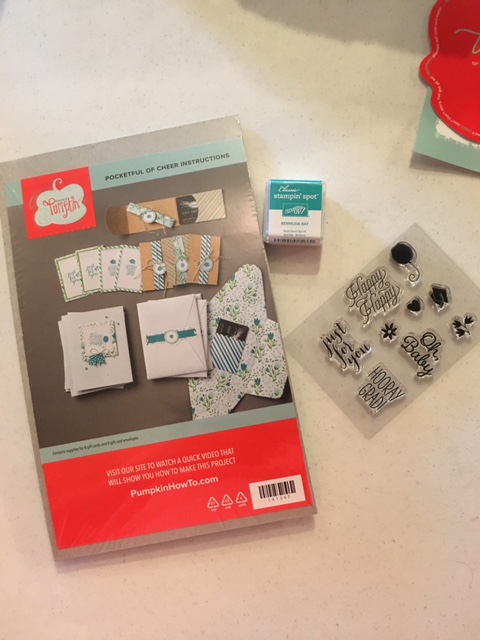
Click on the picture above to view information on this week's deals. Happy Easter and Happy Stampin Steph 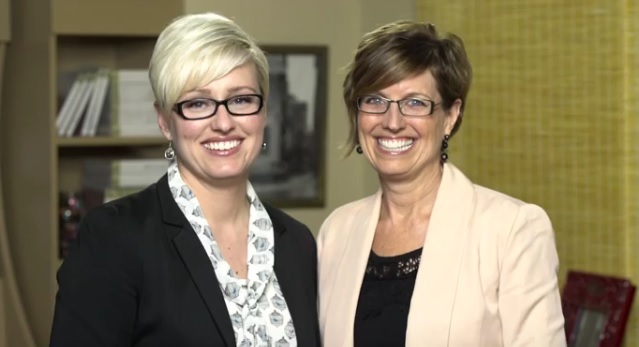 What an amazing duo this mother and daughter team are. This YouTube video shows a big announcement. It's very exciting that Sara will become the new CEO for Stampin' UP. Shelli assures us she will remain very involved with Stampin' Up as co-founder and board chair. I can't wait to see what this year has to bring. Sara has done wonderful as acting CEO while Shelli was away on a mission. I will keep you updated with any new information they may share. Happy Easter and Happy Stampin Steph  It's a big month for us! It's our third birthday and we just shipped our ONE MILLIONTH kit! I was super excited to check the mail is see this wonderful blue box sitting there. Now if you subscribe to Paper Pumpkin and have't received it, then don't scroll through this post. LOVE IT. Paper Pumpkin keeps getting better and better each month!!! And GUESS WHAT??? To celebrate, the April Paper Pumpkin kit will include a bonus stamp set called All about Everything. We're keeping the art a surprise, but we know you'll love EVERYTHING about it! This is just our little way of saying thank you to our amazing subscribers. Subscribe by April 10 to get in on the fun! LOVE IT LOVE IT...how adorable was this insert in March's box!!!!! 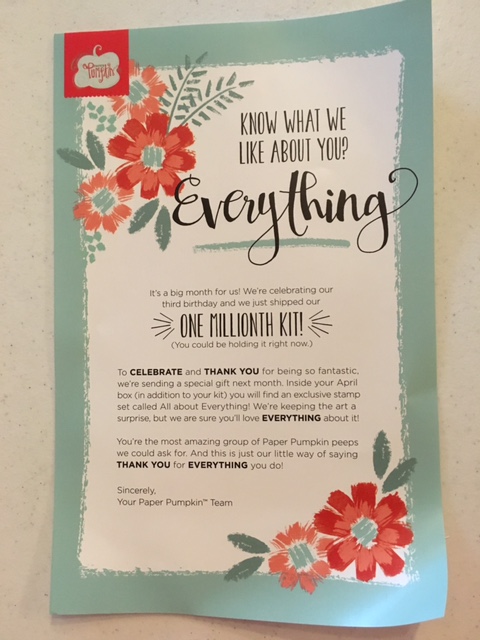 It's exciting to unwrap the contents each month and see what's inside. This month's is gorgeous. The kit will make 8 gift cards and 8 gift card envelopes. Amazing, who doesn't need gift card holders!!!!! I haven't had a chance to play around quite yet, I'm not sure I will get out of my comfort zone and turn this into something else too. But we shall see. Make sure to subscribe by April 10th to get in on the special offer!!!!! CLick here to join Paper Pumpkin Thanks for stopping by and
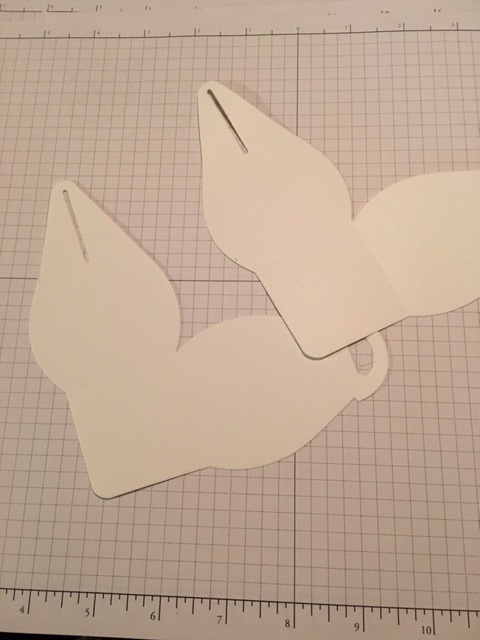
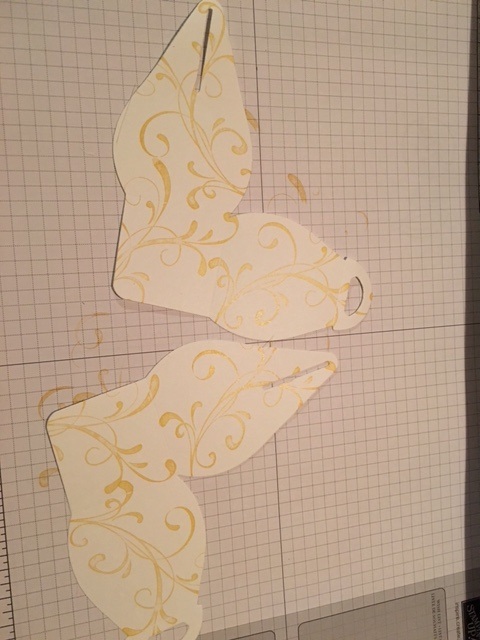
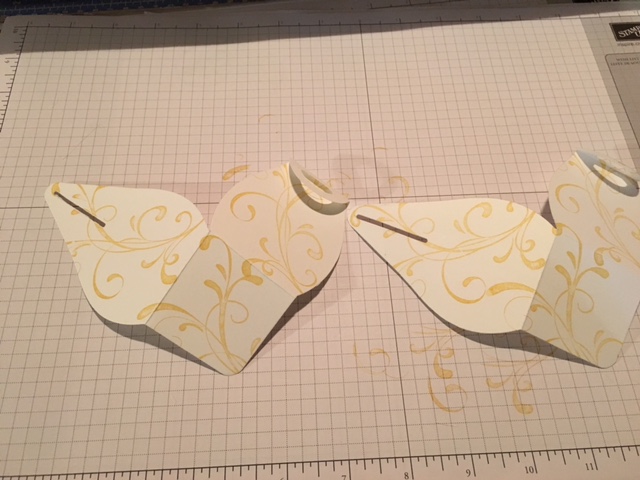
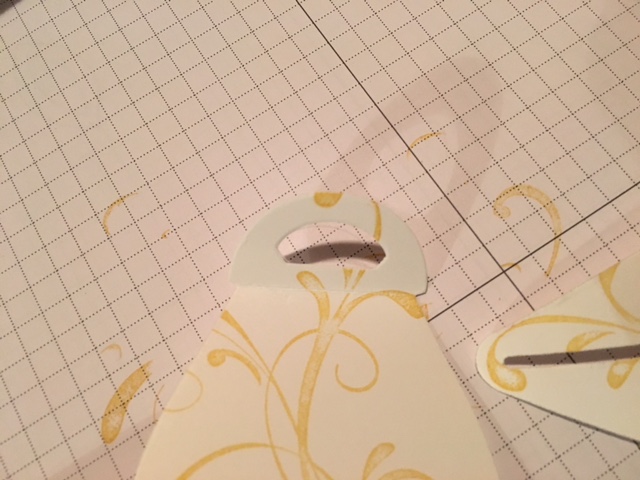
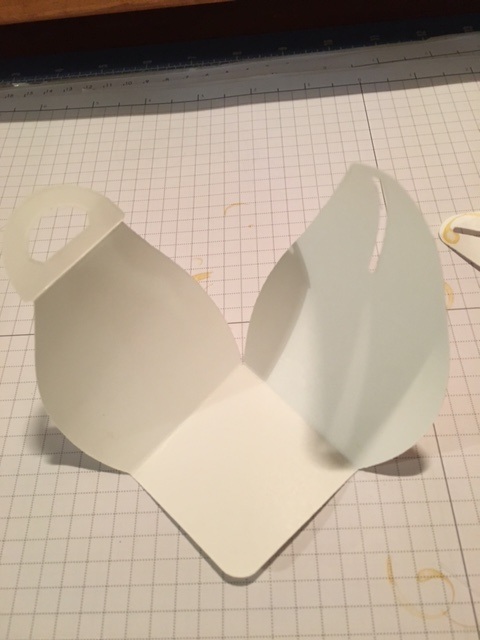
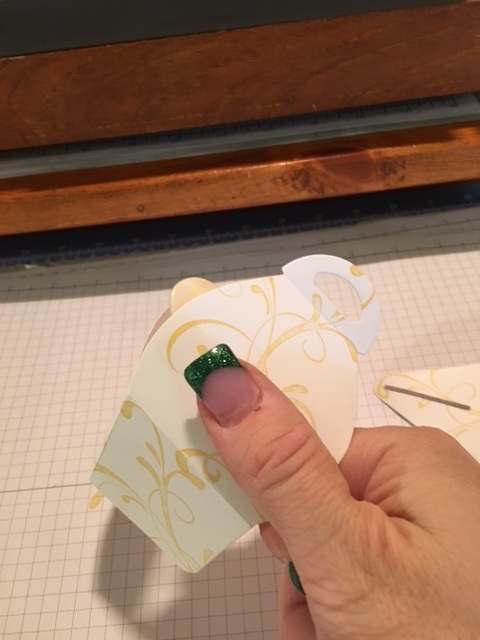
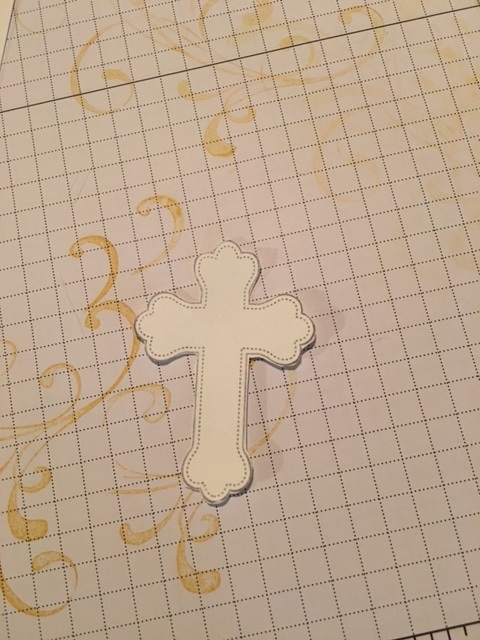
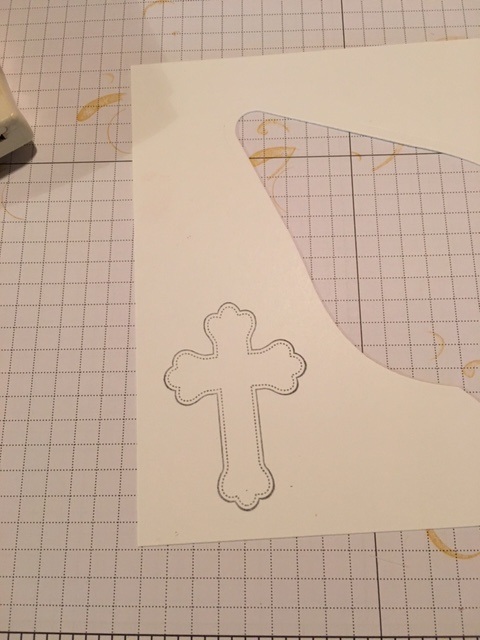
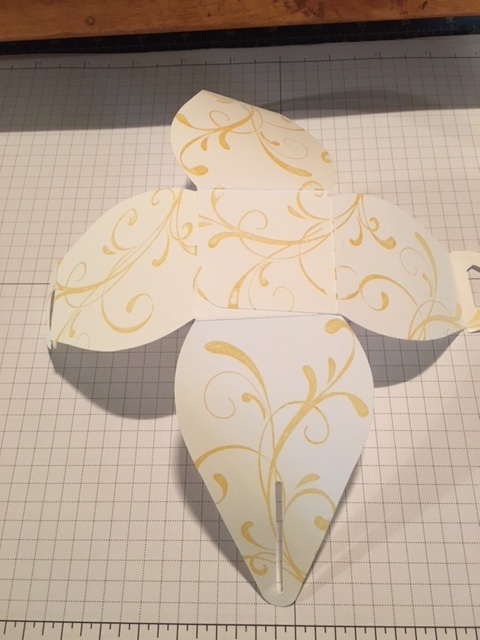
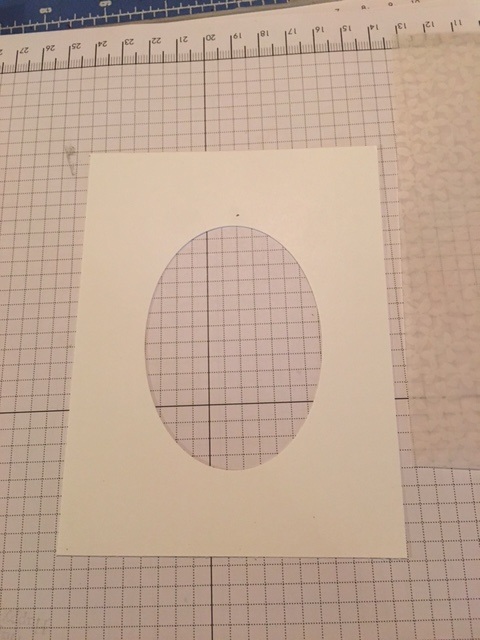
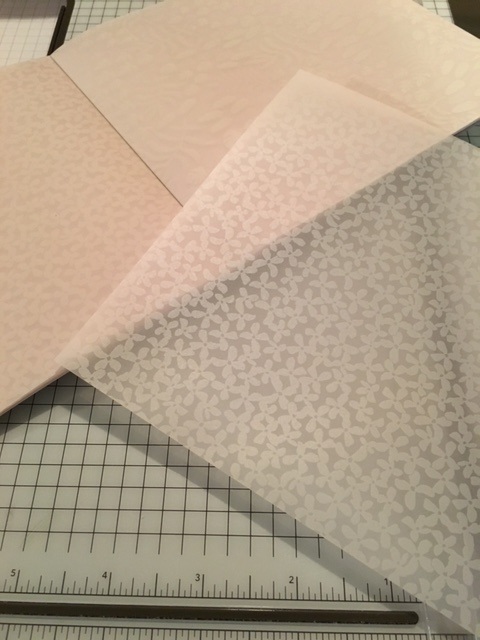
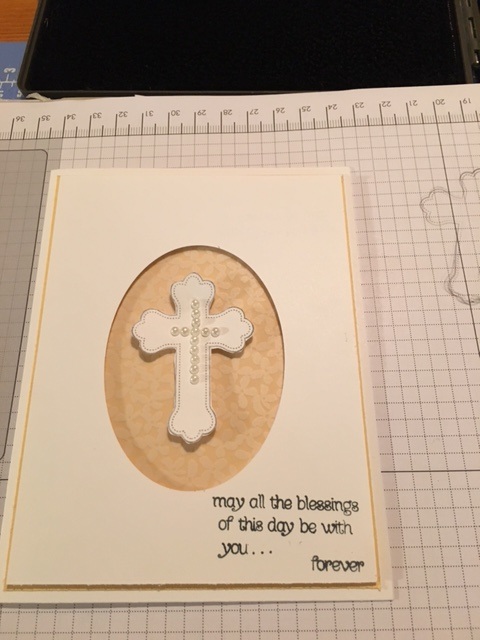
Happy Stampin Steph  Welcome to our Easter or Pastel Colors Like Stampin Friends Blog Hop! Don't forget to leave a comment to be entered in the Blog Hop. Read each blog, scroll to the end, and make sure to leave a comment with #SFMarHop!! Each member and guest blogger, will randomly select a winner from our blog comments. We will then pool those together and randomly select the overall hop winner. I would love to hear some feedback and you will earn a chance to win some Blog Candy! Thank you for visiting my blog from Cheryl's site, thanks so much for continuing with the Blog Hop. Make sure to check out my blog and at the end click the NEXT button to continue to Kathie Rottie's blog. Didn't come from Cheryl's blog?? That's ok, just click the PREVIOUS button or scroll to the end of the post to and click on Cheryl's name to visit her blog.  This Month's Guest Hoppers are: Cheryl Hillen Piotrowski Charlene Luks Barbara Welch  Planning in advance for March has been a little challenge. I've been knee deep in Girl Scout Cookies. I'm a troop leader in one daughter's troop and also helping my oldest daughter sell for her troop. So when I had several requests for Communion and Confirmation cards for my next Card Club. I figured I can make them works as Pastels. So I'd have my cards decided ahead of time for Card Club and for the Blog Hop. Love when things come together easily. Of course I still had to sit down and make the projects, right?!? I started with a little gift box. I love the Curvy Keepsake thinlit and haven't used it in a while. It's the perfect size for a necklace, earrings, some treats or even money. decided to use So Saffron as my starting color, using Whisper White as my base.. I kept the first design very neutral. I do not own religious stamps at all. In fact, I only own 1. I purchased All God's Grace when the current Annual Catalog went last in June 2015. I decided to use the flourish from the Everything Eleanor stamp set. 1. Cut an 8 1/2x11 sheet of cardstock in half to 8 1/2 x5 1/2,so you have 2 equal pieces. 2. To make the box you will need to cut out Curvy Keepsake panel twice. 3. I then stamped the flourish image using So Saffron all over the pieces. 4. Fold on the score lines, including the one on the handle. (see 4th image) 5. Take you bone folder and run it along the inside of the curvy keepsake panel to created a bend. Use your thumb as a guide. (see pics 5 and 6) 6. Add adhesive to the bottom of the panels and attach it to the top of the other, make sure your ends are the same when opposite. (See picture 7) You do not want to have the slit across from the handle the box won't close correctly. 7. Using the scrap paper left from cutting out the Curvy Keepsake panel, I stamp the cross from All God's Grace in Basic Gray. I fussy cut it out. 8. I finished it off by adding some Basic Pearls to the cross and attaching it the to box with a glue dot. I tied a bow on the handle to keep is secure. I used the Daffodil Delight cotton ribbon. Be sure to fill the box before adding your bow. 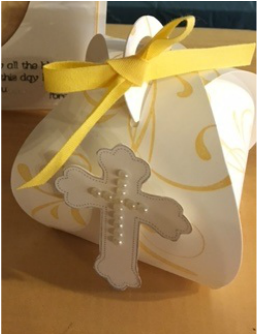 I just repeated the process to make them in pastel colors. I used Blushing Bride, Pear Pizzazz, Soft Sky and Wisteria Wonder. I'm not to crazy about the Whisper White bows. So I might need to change them.  I kept the card simple. I used the same color palette as the Curvy Keepsake box. I started my sample using So Saffron and went from there. 1. I used Whisper White as my card base 8 1/2x 5 1/2 folding in half 2. Cut a piece of So Saffron Cardstock to 4 1/4 x 5 1/4. 3. Cut a piece of Whisper White and 1/8 of inch shorter. 4. Ovals Collection framelits; use the 3rd from the smallest oval, center in on the Whisper White mat and cut it out. 5. I used a piece of vellum from the Sale-a-brations: Botanical Gardens Designer Vellum Stack. Keep in mind this is a Sale-a-bration products and will not be available after March 31, 2016 and you can earn it free with a $50 purchase!!! 6. I cut the vellum slightly smaller than the Whisper White. Attach to the So Saffron layer. ONLY put adhesive on the corners. You don't want the glue showing through the oval piece when assembled. 7. I stamped the cross using Basic Gray again. I use the scrap oval piece. 8. Before adhering the Whisper White piece down, I stamped in the bottom right corner "may all the blessing..." What I did was use my Basic Gray Stampin' Write Marker and color over all the words except the 'r' on your, child and forever. I cleaned the stamp and just colored 'forever' and stamp it again. I added the 3 dots... with the marker. I figured if this was being given to the actual child then this verse is more fitting this way. It is a bit tricky to line it up, as you can see it's a little crooked. If I was planning on giving this away, I would have redone it so it was straight,for the sake of time.....I left it. 9. Adhere the So Saffron layer to the cardbase using snail 10. Attached the Whisper White layer using dimensionals. 11. I added the Basic Pearls to the cross to match the Curvy Keepsake box. The attached it to the center of the oval using a couple dimensionals. Then, to keep the theme the same, I made each card using the matching pastel cardstocks to the Curvy Keepsakes boxes. I kept the verse off these cards, I am not quite sure what I will be using them for just yet. So I always add something later on. 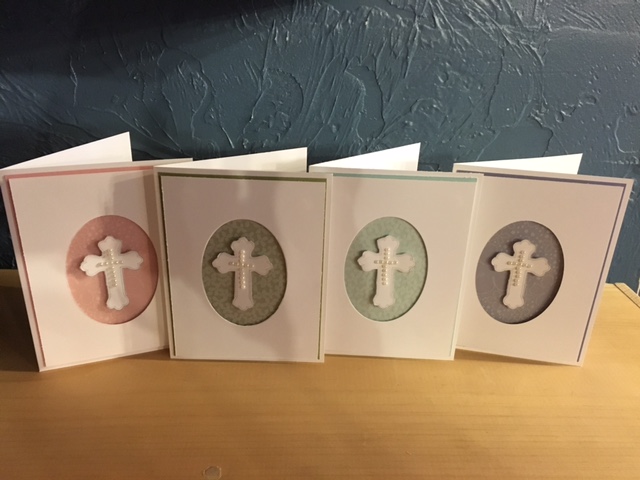 What do you think? I hope you like it. I think this is suitable for this time of year! Definitely fits the pastel portion of this blog hop. And certainly can be used for Easter, Baptism, Communion and Confirmation as well. Below is my original sample and then the cards and boxes in subsequent pastel colors. 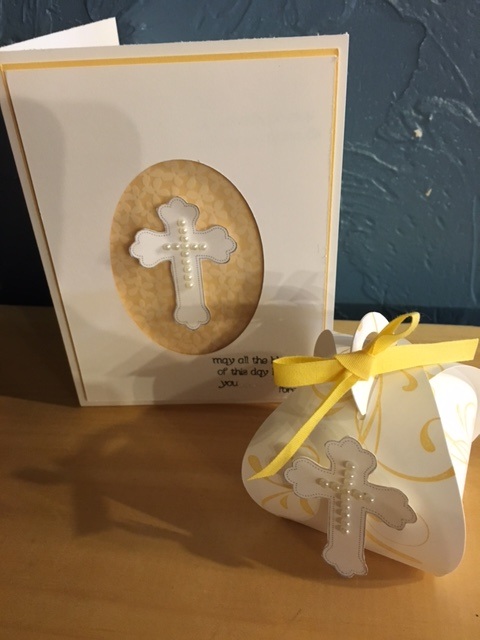  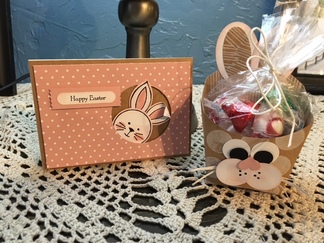 I saw several of these French Fry boxes on Facebook and Pinterest made to look like bunnies. I couldn't resist so I threw together a quick workshop and my guests made 4 cards and 4 French Fry bunny boxes. Super cute and very easy to make! 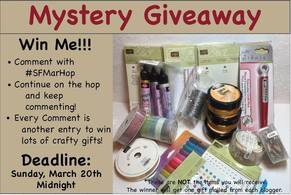 Thanks so much for stopping by my blog. Please remember to comment on my blog SFMarHop to be added to the raffle drawings to win a goody from each of the blog hop members. Please click the next button to continue to Kathie Rotti's blog. Thank again for stopping by Happy Easter, Happy Spring and Happy Stampin Steph  If you got lost along the way, here is the list of bloggers in this Blog Hop1. Melissa Thomas- http://stampinbythesea.weebly.com/blog/stampin-friends-March-2016-blog-hop-with-pastel-colors
2. Cheryl- http://handstampedbycheryl.weebly.com/blog/stampin-friends-spring-blog-hop 3. ME ME ME ME Steph Jandrow -- http://stampinandscrappinwithsteph.weebly.com/home/easter-or-pastel-colors-stampin-friends-blog-hop 4. Kathie Rotti - https://kathielovesstamping.wordpress.com/2016/03/17/stamping-friends-spring-hop/ 5. Barbara Welch - http://creativestampinspot.blogspot.com/2016/03/stampin-friends-spring-blog-hop.html 6. Charlene Luks - https://wickedawesomecards.wordpress.com/2016/03/17/stampin-friends-march-2016-blog-hop-fun/ 7. Carolina Evans - http://studioevans.blogspot.com/2016/03/stampin-friends-march-blog-hop-pastels.html 8. Leanne Johnson - http://literallymyjoy.blogspot.com/2016/03/stampin-friends-spring-blog-hop.html 9. Lynn Streifert http://lynnzcrafters.com/2016/03/14/stampin-friends-spring-hop/ 10. Kirsteen Gill http://www.creatinwithkirsteen.com/home/stampin-friends-february-hop1 11. Elizabeth Jeanne http://craftsbyhappystamper.com/2016/03/17/lots-of-inspiration-in-this-spring-inspired-stampin-friends-hop |

New 2023-2024 Stampin Up Annual Catalog


Kits Collection


Join today

Categories
All
Archives
January 2024
|


 RSS Feed