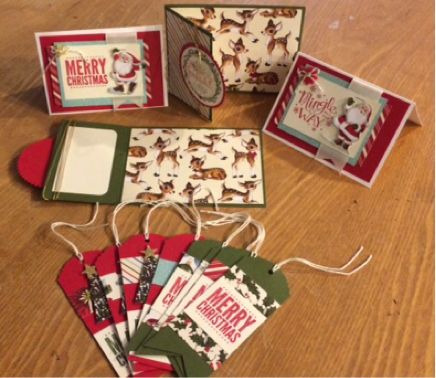
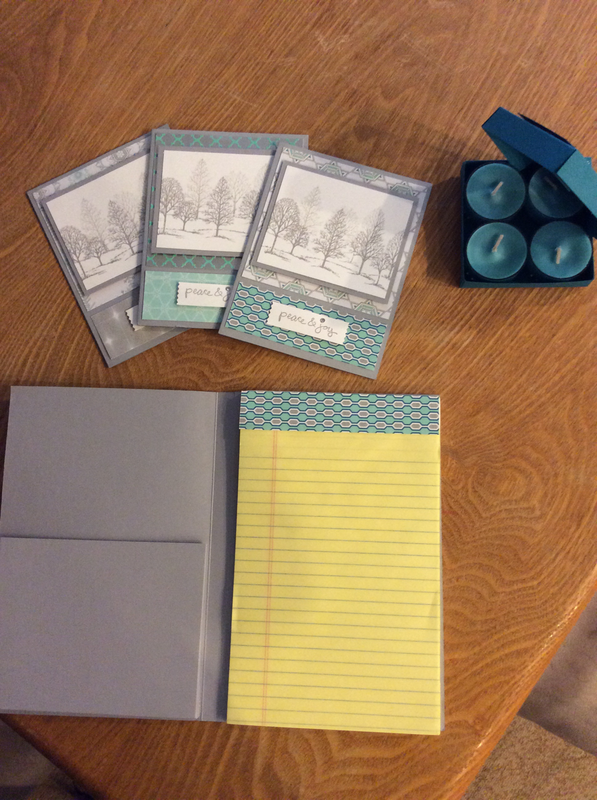
For this week card club I decided to get in the holiday spirit. Normally my card club consist of 4 cards, 2 each design. But instead I've included 2 notecards, 2 gift card holders and 8 coordinating tags all projects use the DSP Home for Christmas
Built for Free Using: My Stampin Blog
0 Comments
Today was all about scrambling to prep for my card club and figure out quick, easy and inexpensive gifts that my daughters can give their friends at their dance holiday party on Tuesday. One daughter's class only has a handful of students, while the other daughter is in two classes, which each has around 12-15 students. I'd love to shop and get a gift for all but that's simply not in our budget! I came up with two easy gift ideas. You'll have to back tomorrow to see the completed projects. I have to shop and grab the goodies to go with the gifts.  
So I've had several requests to post the instructions for the notebook set I posted a few days back.
So here you go, it's very simple: Notebook: You will need 1 sheet of card stock 8 1/2 x 11. With the 11" side on the top score at 5 1/4" and 5 3/4". Fold on the score lines. To create the pocket on the inside, cut a piece of card stock to 6 1/2 x 4 3/4. Score at 1/2" & 3/4" on 3 sides. Fold on the score lines, you will need to cut up to the 3/4" score lines at the bottom of you pocket. Use a strong adhesive to glue to inside left of the cover. The pocket will measure 5 x 4 when done. On the inside right you can glue the 5x8 notepad. Depending on how you choose to decorate the front cover is up to you. Tealight box: You will need to cut 2 pieces of card stock for base 4 3/8" x 4 3/8" & for the lid 4 7/16" x 4 7/16" Using the Simply Scored scoring tool, Score st 5/8" on all 4 sides of the base and lid. To create the hinge on the lid. Take the lid piece and score at 2" down to the 5/8" mark. Turn it over and make sure the 2" scored line you made, lines up to the 2" mark on the left side of your simply scored tool. Now on the top measurements score at 2" again down to the 5/8" mark. Fold on all score lines on base and lid. You do not need to fold the 2" scored lines. Before you assemble, cut the circle opening with the Circle Framelits on the lid. I then too a pieces of the window sheet and cut the next size up with the frame,it and glued it on the inside. I took a piece of DSP cut it to 3x3. Cut a circle (slighter bigger than the size on the lid) and adhere on top. Take lid and a ruler and line up the edge to the 2" marks and using a stylus or bone folder score a diagonal line. Cut up on score lines to create the box. Also cut up the 2" lines and fold the diagonal opposite this will hinge the box. Assemble the lid and base. You then want to glue that corner piece onto the card base. I punched the bow using the Bow maker punch with same card stock and used reverse side.
Built for Free Using: My Stampin Blog
Thanksgiving went well. Good food and family! Enjoyable and relaxing. And the cleanup wasn't too bad. I'm not a Black Friday shopper since my husband works retail. We usually spend the day relaxing and enjoying the day off. We put our new tree up. While the kids played I worked on a few holiday gifts. I love making quick notebook covers to give out! It's an easy project to make that doesn't take too much time. This year I decided to yo make a set to give out. Matching cards and coordinating tealight box. 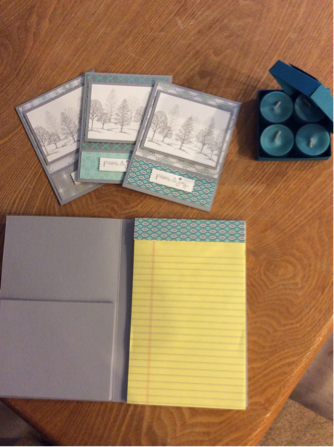 The notebook cover is designed to hold a 5x8 notebook. The one pictured I grabbed at Walmart. The inside cover has a pocket perfect to hold cards or even a pen. The tealights I used are from PartyLite I was so excited to having matching colors and they smell soooooo good! 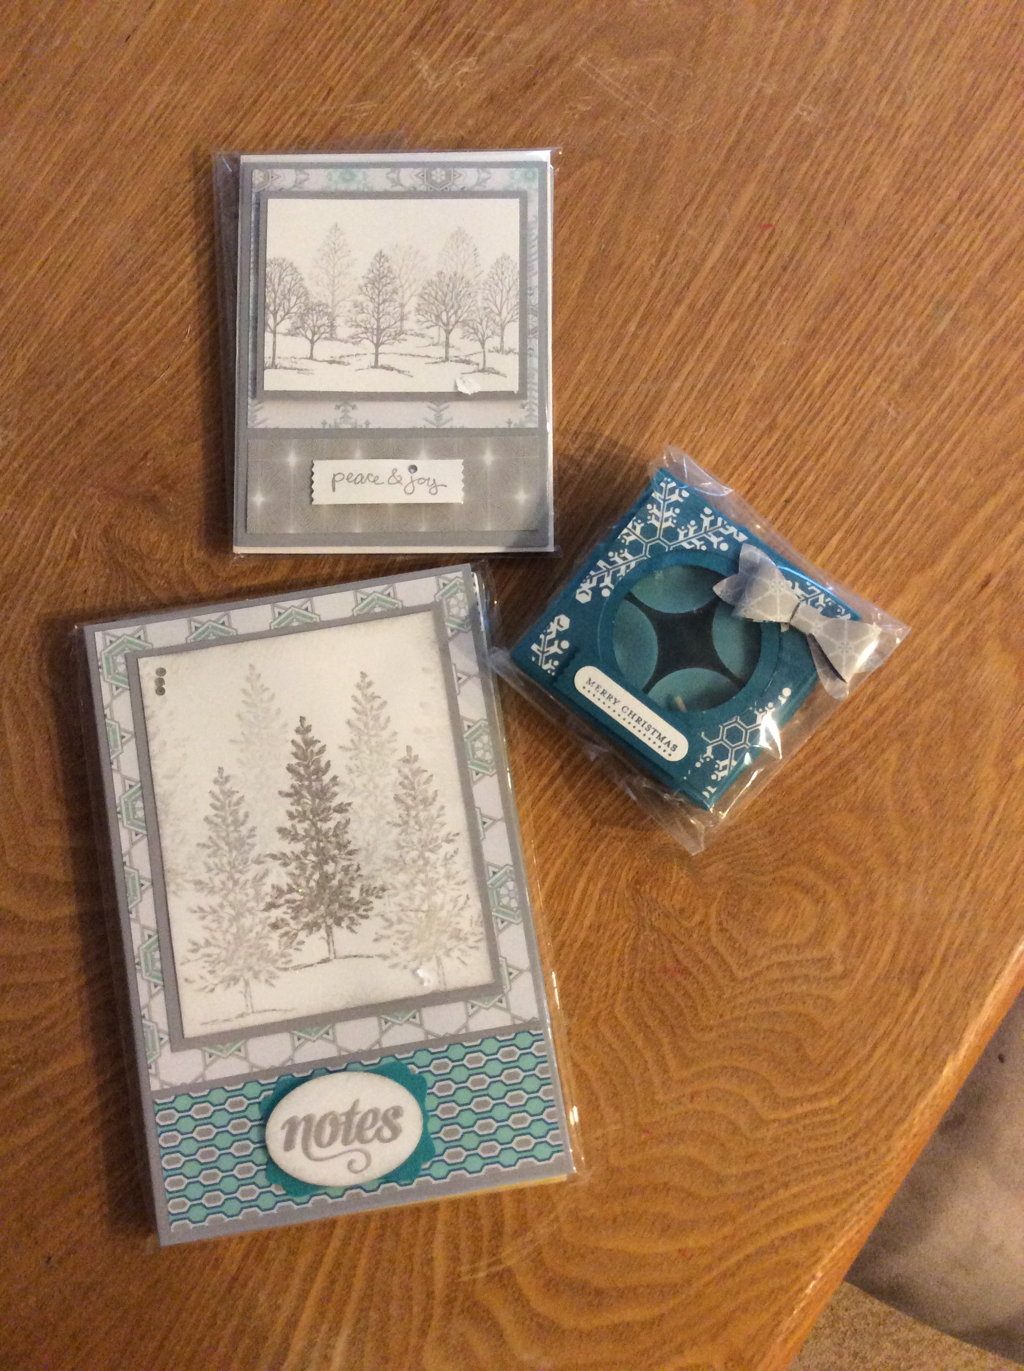 Please leave a comment on this post by December 1st and you will be entered to win the set shown in the picture above. Please include your email address so I can contact you if you win.
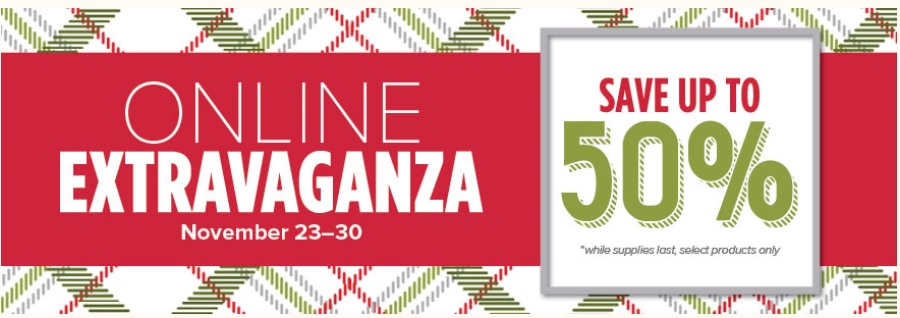
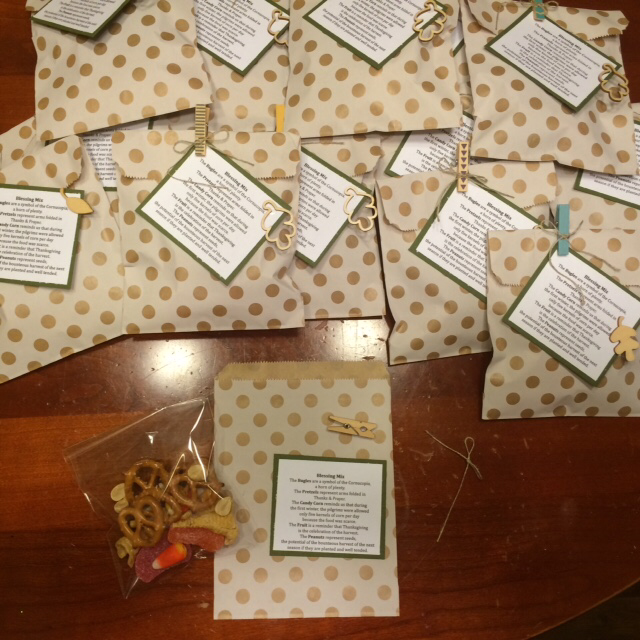
Thank so much for checking out my blog! Happy Holidays and Happy Stampin Steph 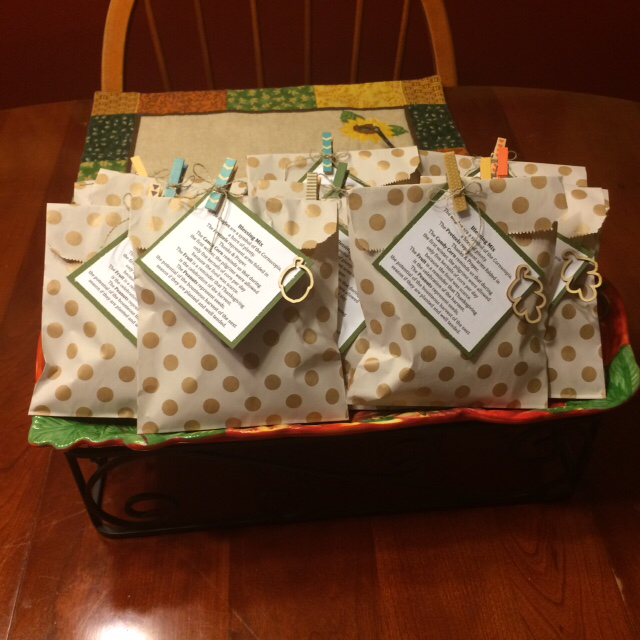 This year I decided to make a little treat for everybody that attended Thanksgiving dinner. But of course as the months went on time got away from me and I was scrambling today to find something to make for everybody. I searched online for different Thanksgiving poems to possibly use, but nothing really caught my eye. And then came across a Blessing Mix from Chic n Scratch and a few others on Pinterest. I liked the one from Chic n Scratch because with the exception of the Bugles, I had everything else on hand. I found these really cute treat bags at Walmart they came in a pack of 25. I've had them on hand for a little while I contemplated on using my Stampin' Up! craft bags but figured I'd use these first. I printed the blessing mix tag on regular copy paper and trimmed it to 2 1/2 x 3. Then I matted it on 2 3/4 x 3 1/4 piece of Mossy Meadow card stock. I used retired In Color clothespins and autumn wooden accents and a quick bow from linen thread. I am pretty pleased with how they came out. Normally I would've spent more time with my design but I think they do the truck and only took me about 30 minutes to make 15 of them. Thank you so much for stopping by! I am very thankful for each and everyone of you who have helped me grow my Stampin Up business! Wishing you all a very happy and healthy Thanksgiving! Happy Stampin Steph 💞 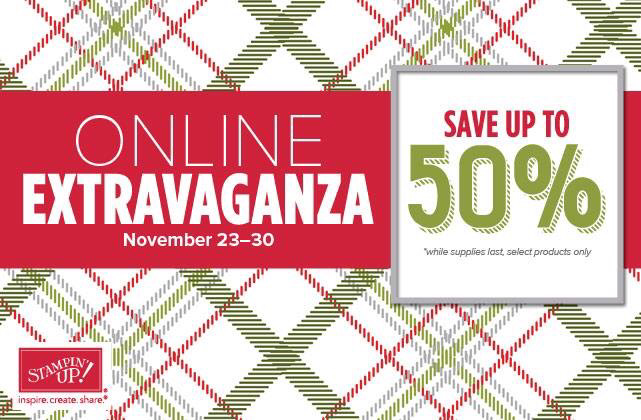 November 23-30, save up to 50 percent on select products during our week-long Online Extravaganza! To make it even better, there will be flash sales that last 24 hours on November 23 and November 30, the first and last days of Online Extravaganza. But remember: Online Extravaganza savings are only available while supplies last, so get them while you can! Click on the file below to see the items included in the Online Extravaganza sale!!!!
Please contact me with any questions and to order!
Happy Stampin Steph 
Welcome to the Stampin Friends Thanksgiving Blog Hop! I'm really excited to be part of this Blog Hop. There are 12 amazing crafters involved. I was lucky enough to be a guest hopper this month, along with 2 other fabulous ladies.
So make sure you check everyone's blogs out. After reading the blog, scroll to the end of this post and you will be able to see all the Hoppers and Click Next to visit Wynne's Blog. This month's guest hoppers are: 1. Wynne Grob 2. Kim Smith 3. Steph Jandrow
What's blog without a little blog candy???? Do you like crafty supplies???? Everyone likes a free gift, right???? If so, make a comment on all 12 posts in this hop then, email Elizabeth everyone's favorite color at [email protected]. What do you get? In addition to enjoying all of this group's creations, you'll be entered to win a fun crafty present from every one of the bloggers! That's 12 crafty presents! Just a little thank you for your time! AMAZING!

Here's a quick picture of the products I used to make today's Blog Hop projects. I love the color green, all different shades of green. I'm naturally drawn to it, so I knew whatever I was planning on designing for the Blog Hop was going to have some sort of green in it. What could be more perfect to show green than a Thanksgiving project! So wala! My favorite color was included!
Oops I forgot to put the Winter Wonderland Vellum Stack in the picture. That's ok, you can scroll to the bottom to see the names of all the products. 
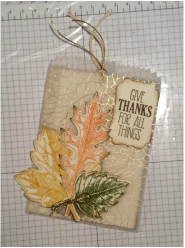
Here's the Thanksgiving notecard I decided to make. I wanted use the Winter Wonderland Vellum for this project. I was stumped at first. But, then the idea for this card came to me. I remembered awhile back during one of my card clubs, I put together a notecard for my guests to make. We used vellum to make the treat bag and a piece of cardstock for the notecard inside. It was perfect.
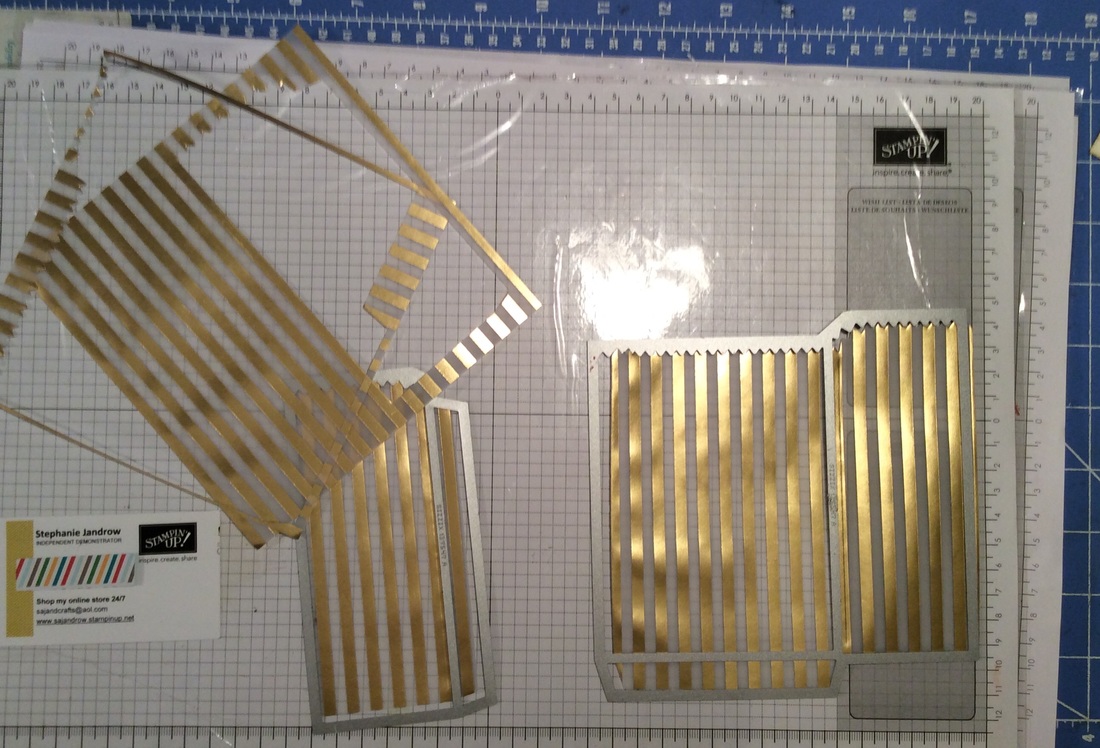
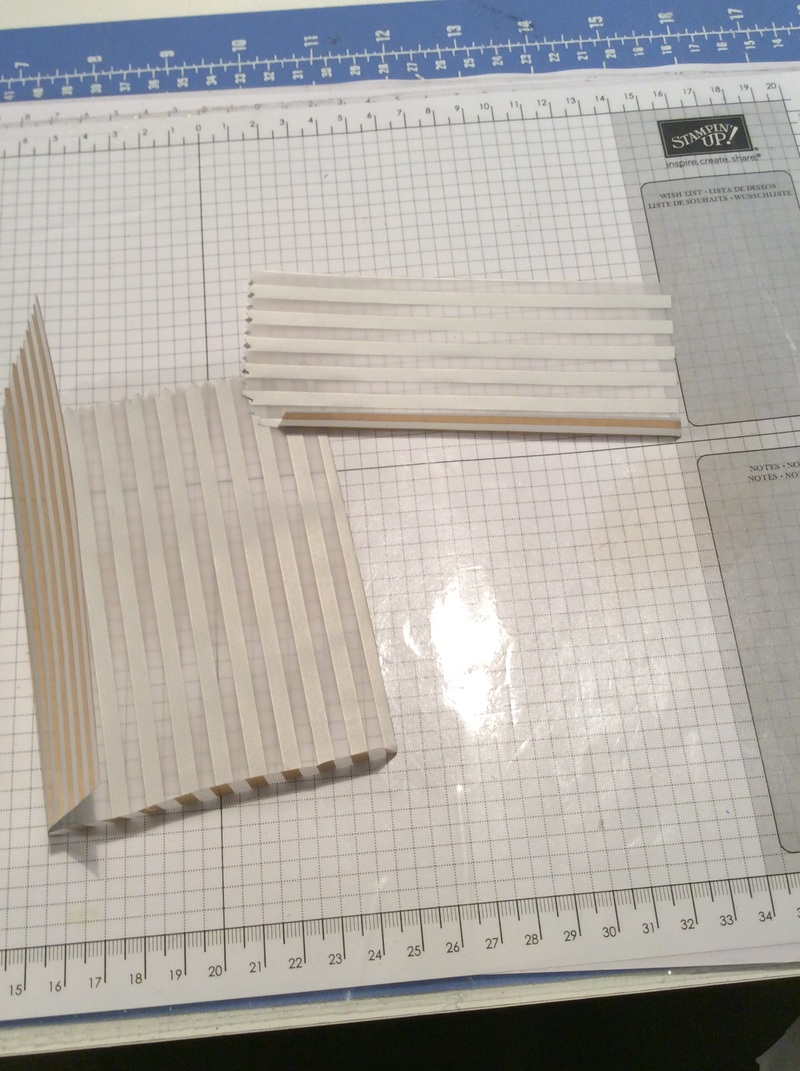
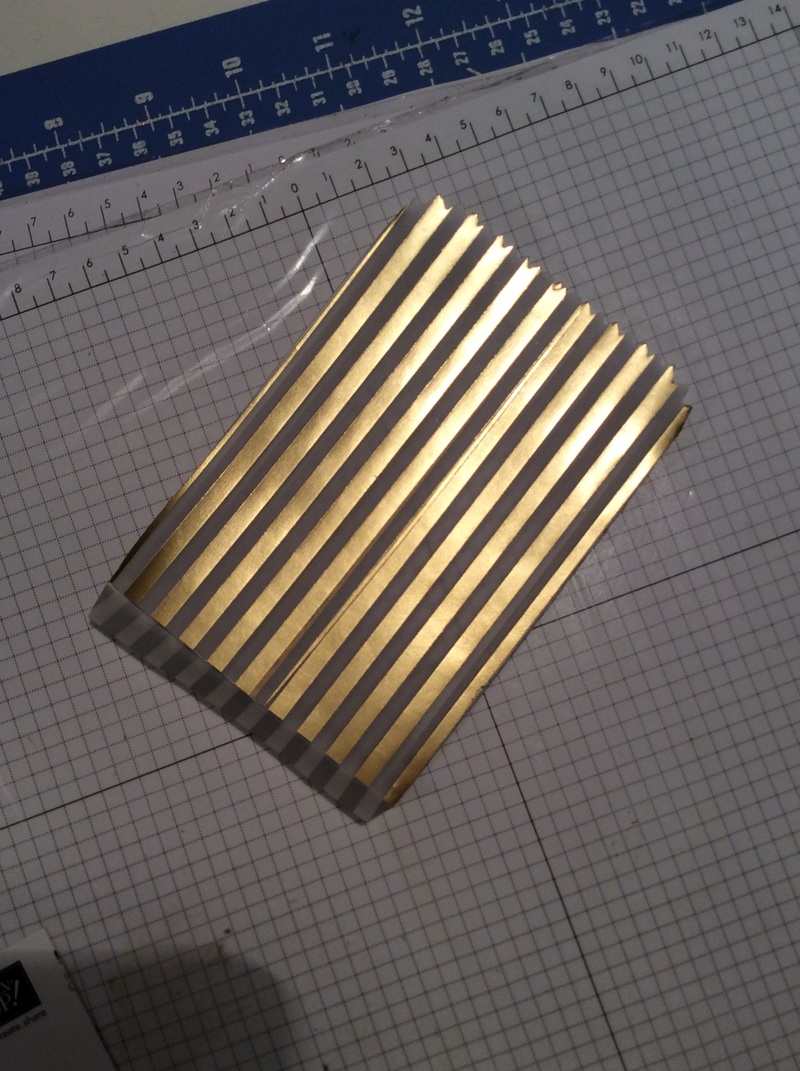
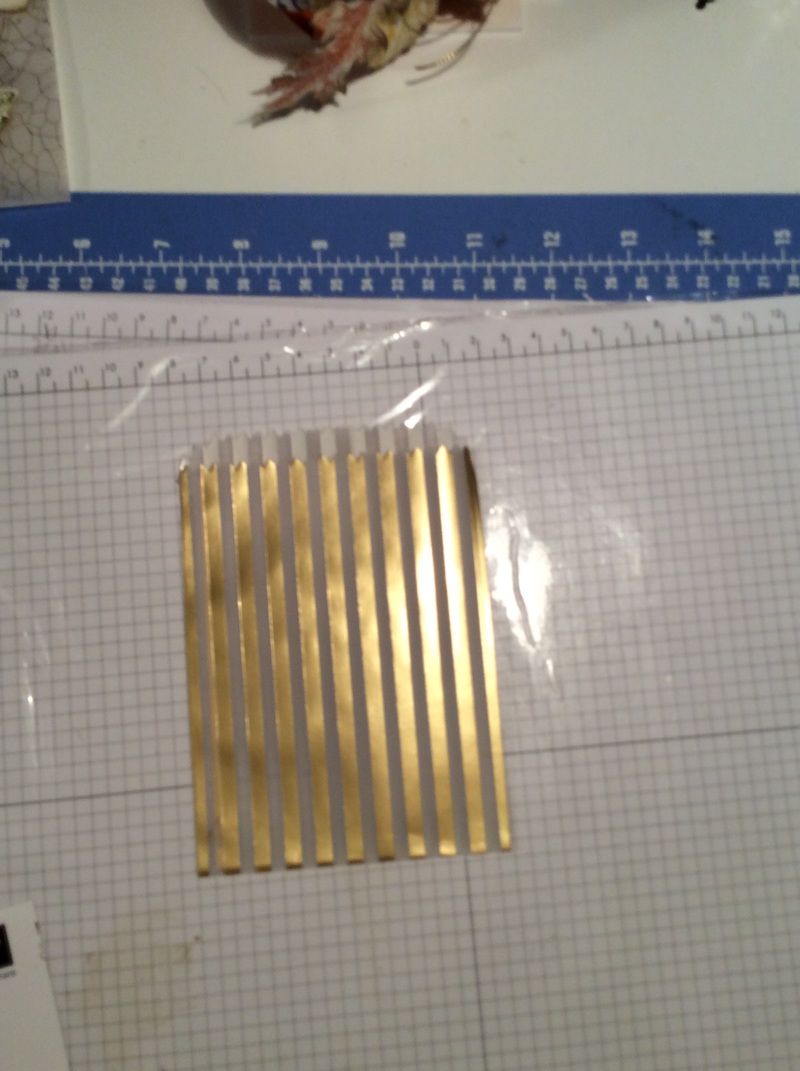
As shown in the first picture. (Top Left) You will need 2 sheets of 6x6 Vellum. Take one sheet and the Mini Treat Bag Thinlit and run it through the Big Shot. Take the 2nd sheet of vellum and use the side panel from the Mini Treat Bag Thinlit and run it through the Big Shot. Gently fold on the score lines. Then add adhesive (I used Fast Fuse) to the side panel tab and attach it to the treat bag. Add adhesive to the one of the back panels. Then add adhesive to the bottom tab and adhere. The Mini Treat bag is done.
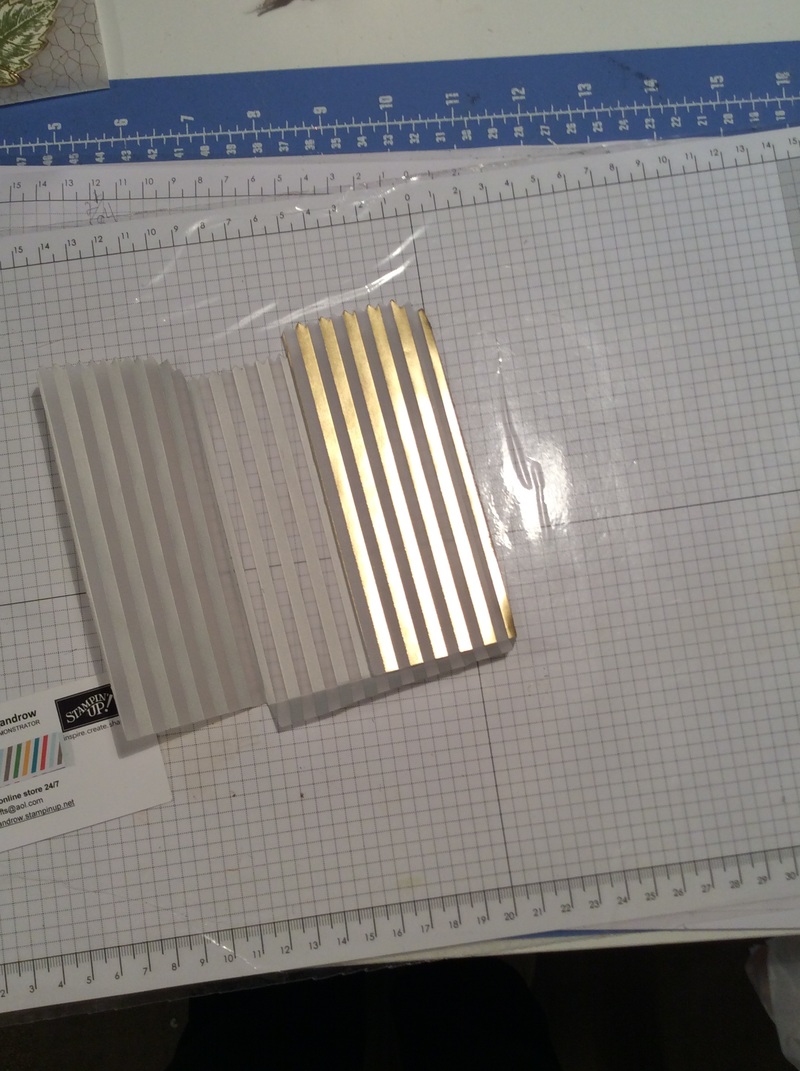
As I was playing around designing the project I decided I preferred the crackle print from the vellum stack and went with that for my finished project. I felt the gold stripes would work well for a Christmas project so I decided to put it aside for later. 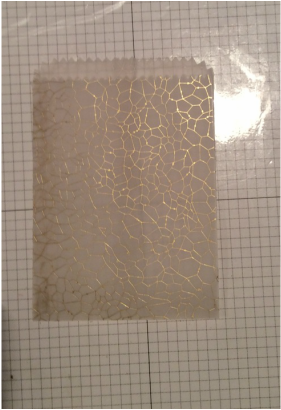
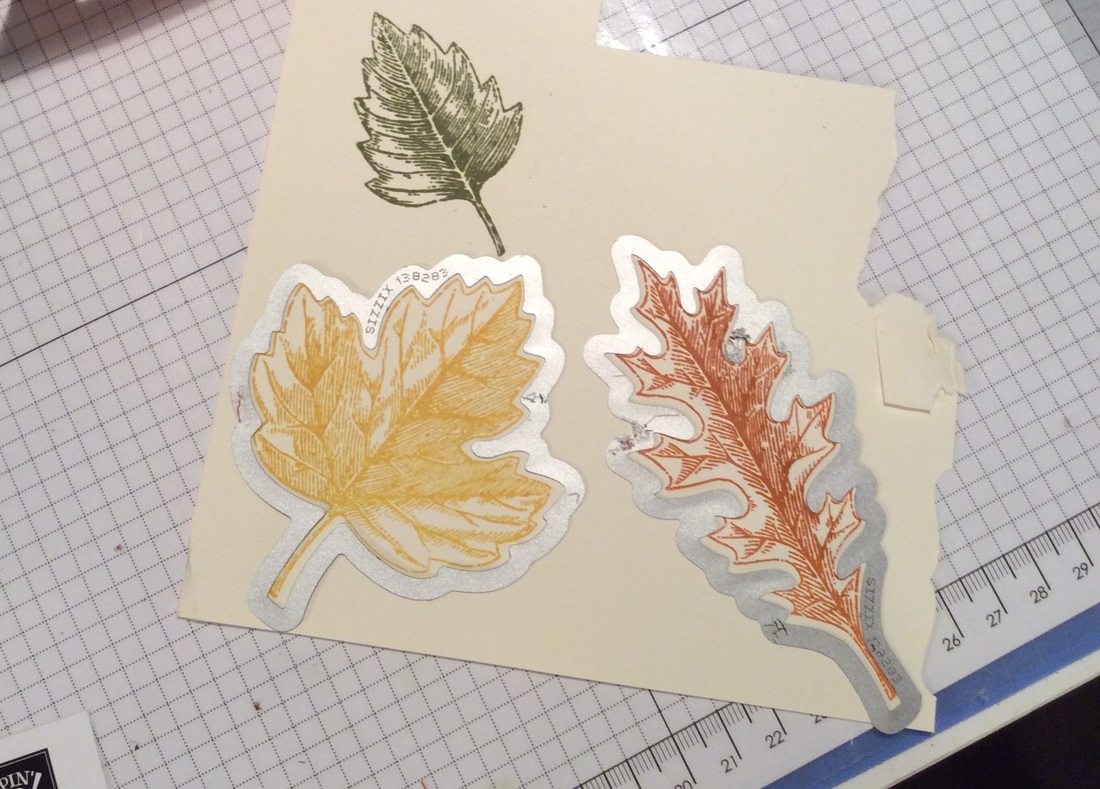
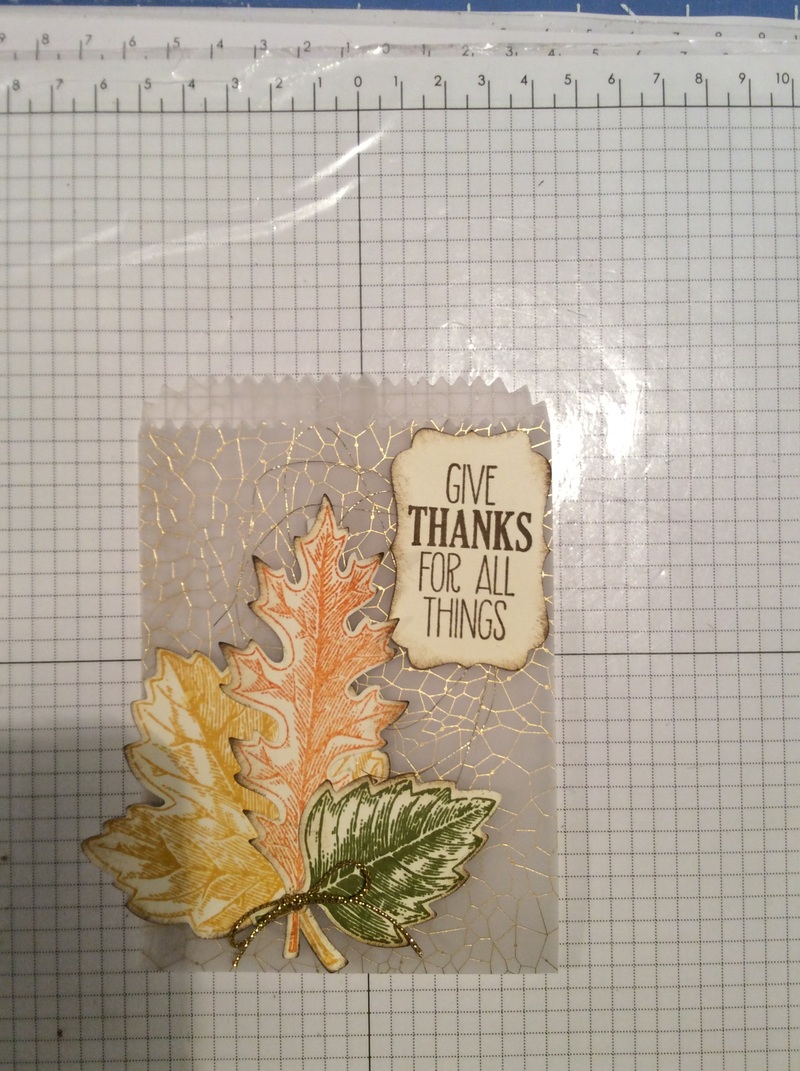
Take a piece of scrap Very Vanilla cardstock and stamp 3 leaves from the Vintage Leaves stamp set, using Crushed Curry, Old Olive and Tangelo Twist. Next, take the matching leaf shapes from the Leaflet Framelits and run them through the Big Shot. Stamp the Give Thanks For All Things saying from the For All Things stamp set, on a scrap of Very Vanilla with Soft Suede ink. Punch it out using the Decorative Label punch. Sponge the edges of the leaves and label with Soft Suede.
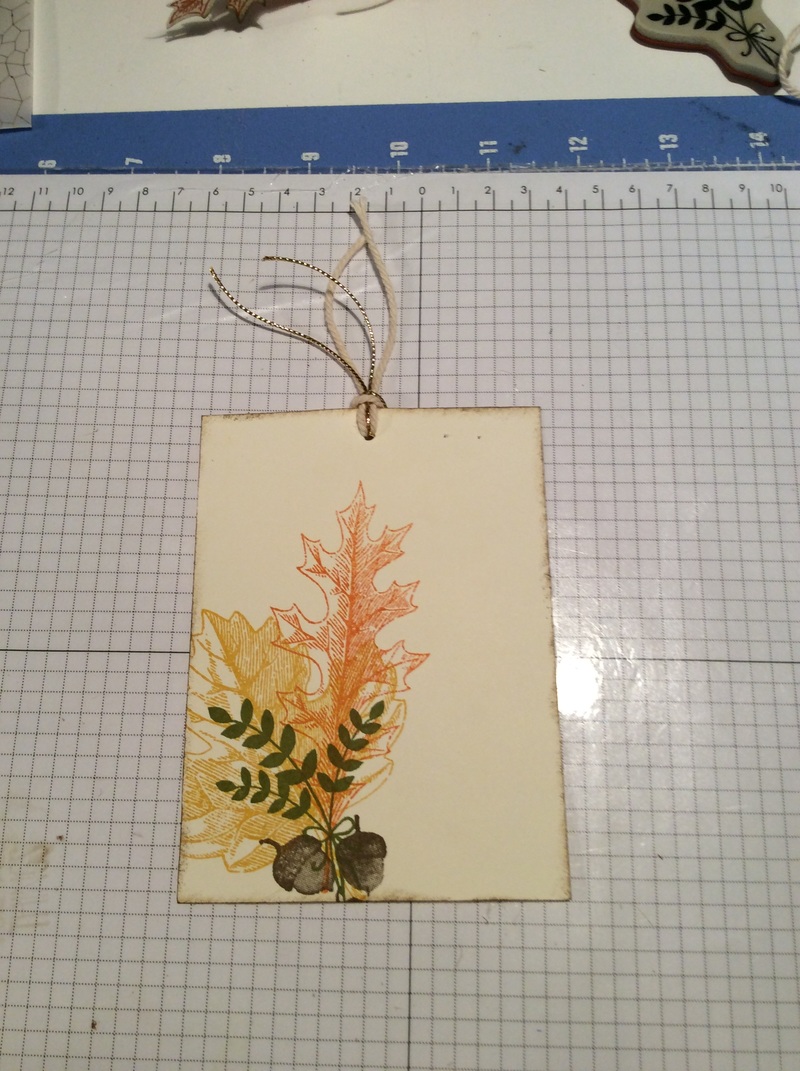
Next you need Very Vanilla cardstock. I cut a piece to 3 1/2 x 4 3/4 for the notecard to fit inside the treat bag. Stamp the same leaves onto the notecard. I also added the bunch of leaves from the For All Things set. Sponge the edges of the notecard with Soft Suede. Punch a hole at the top of the notecard using the 1/8' Circle Punch. I cut out the same length ( about 6") of Very Vanilla Think Baker's Twine and Gold Cording Trim. Tie onto notecard.
Before decorating the front of the mini treat bag, I took some Gold Metallic Thread and loosely created loops. I held them down when I layered the leaves onto to the front. I used glue to dots on the leaves and the label. Add your notecard inside and your project is done.
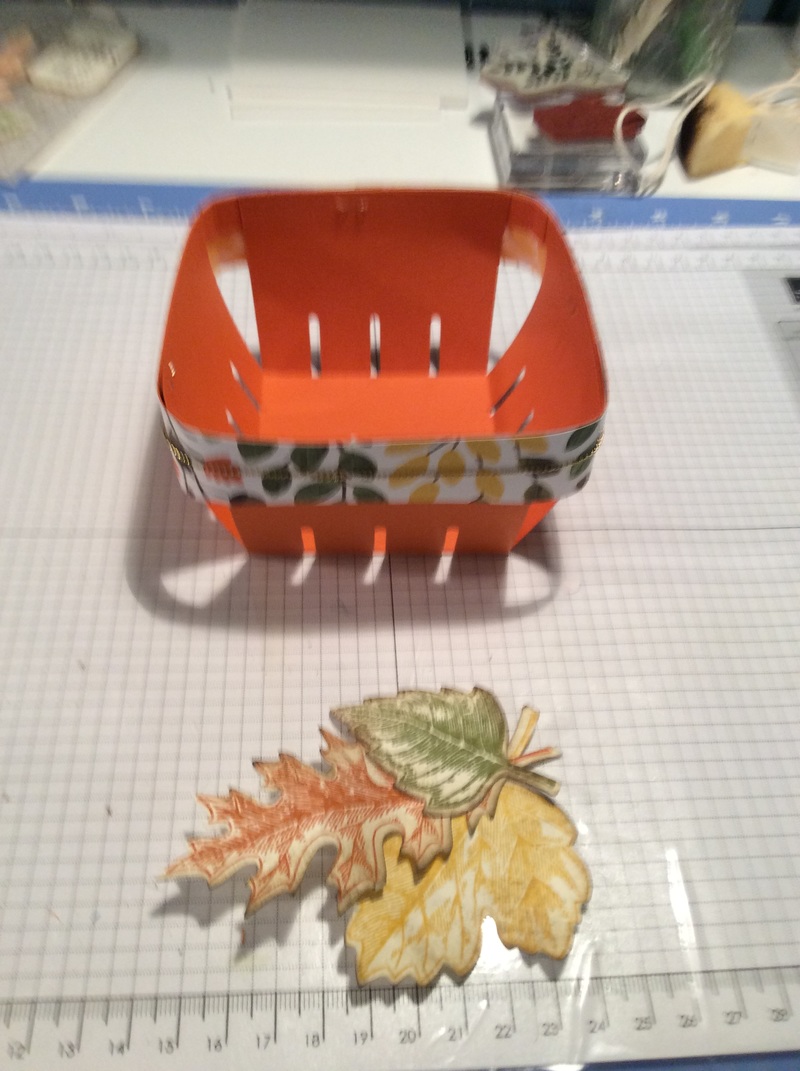
Here's a super easy Thanksgiving project I made to go along with the notecard.
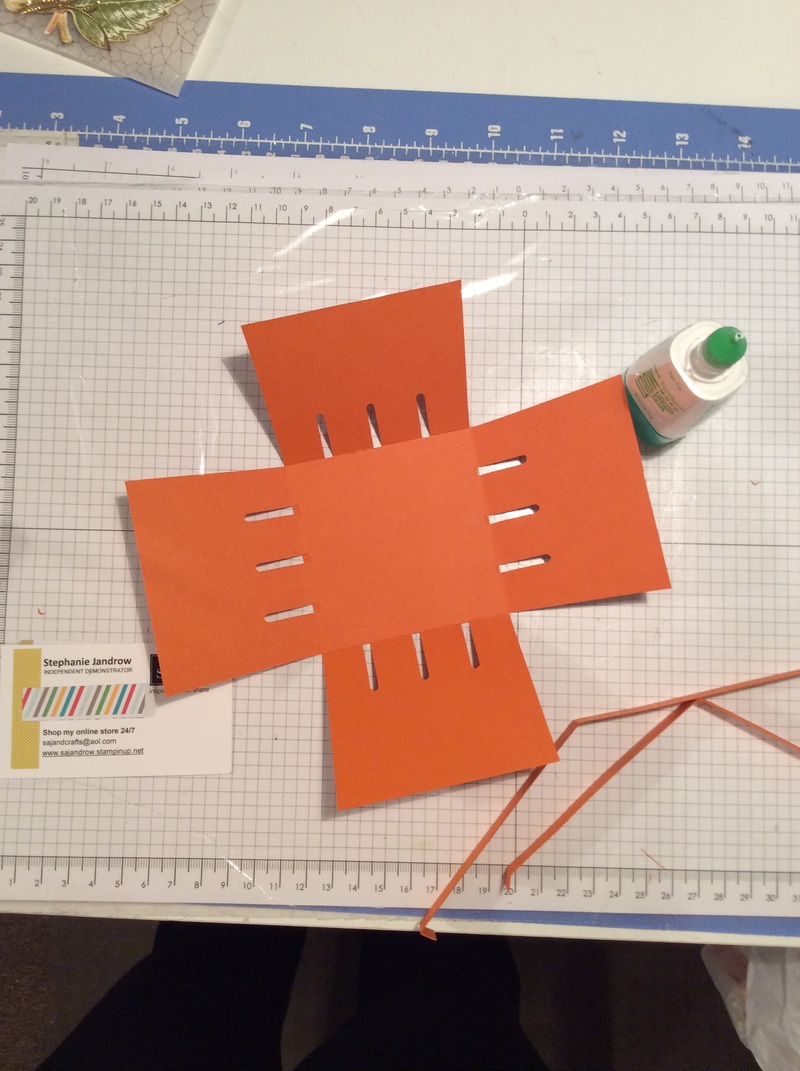
I made a berry basket using Tangelo Twist cardstock. Cut the cardstock in half so you have 2 pieces that measure 8 1/2x5 1/2. Take the Berry Basket die and cut out the basket using the Big Shot. You will need to cut this out twice. But remember to cut one piece of paper at a time.
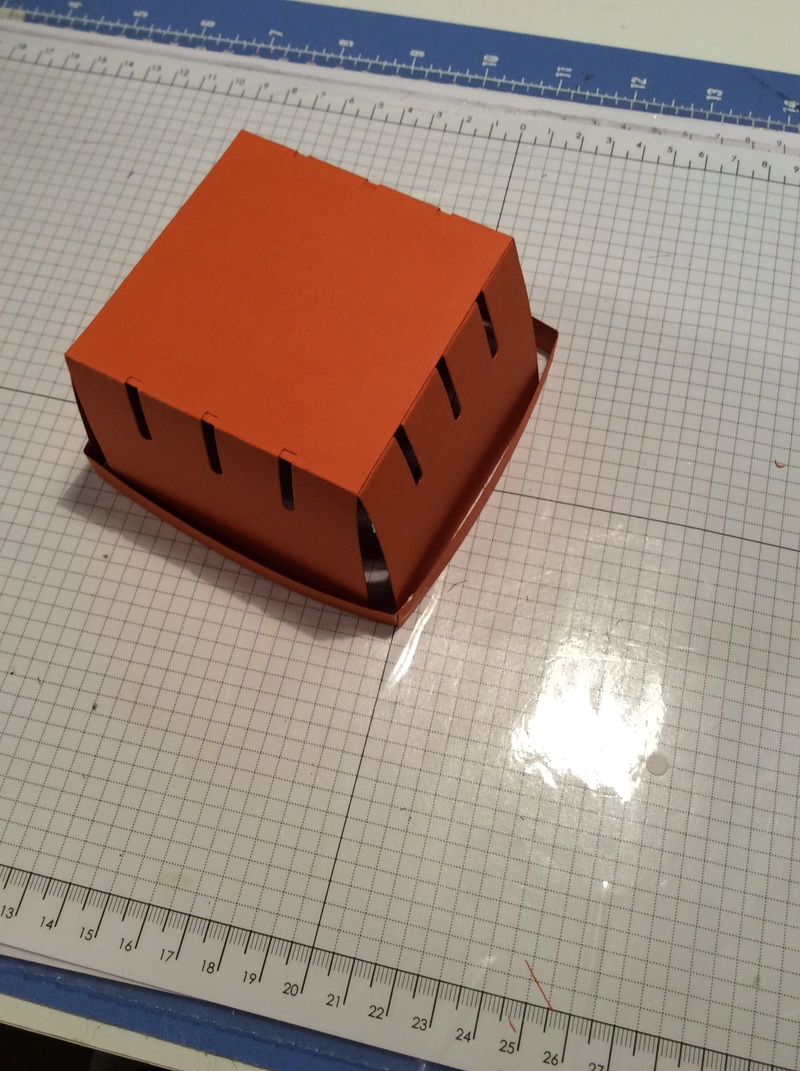
Fold on the score lines. Adhere the basket pieces together. I used the multipurpose liquid glue for this. I took the straight bands that are cut out and glued them together. I flipped the basket onto it's top and fed the bands onto it pushing it down to the top. Then holding the bands in place, flip it over and adhere. I used a stapler for this. I am not worried about the staples showing because I am going to cover them.
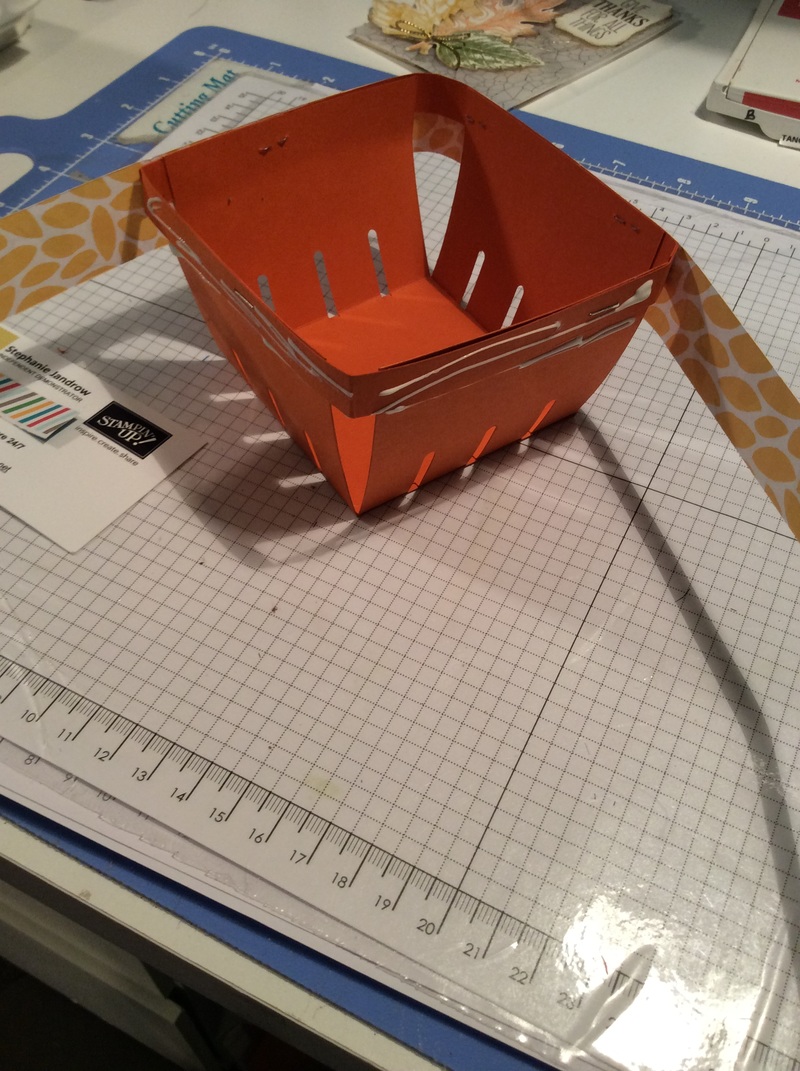
I chose the Into the Woods Designer Series Paper. It's a perfect compliment to the leaves. I cut 2 strips one measure 1x12 and the 2nd one measures 1 x 4 1/2. I added glue to the top of the basket band and wrapped the DSP around. I then took a piece of Gold Cording Trim and wrapped it around the basket and cut to size. I used glue dots to hold them in place.
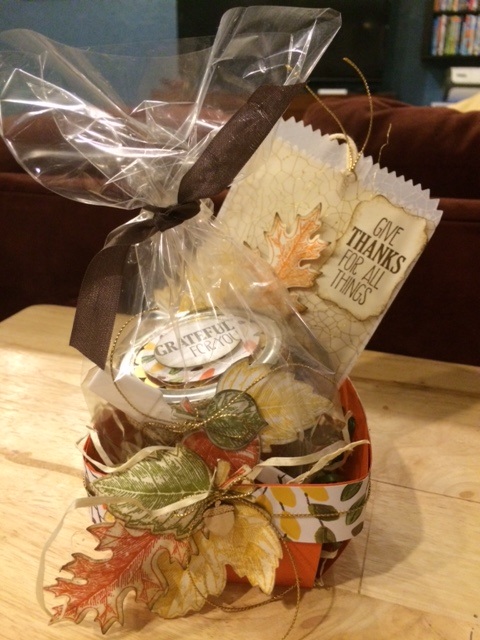
I layered the leaves on to cover where the trim meets to hide that seam. I also added a little wood acorn accent from Into the Woods Elements. And again finished it off with a bow made from the cording trim.
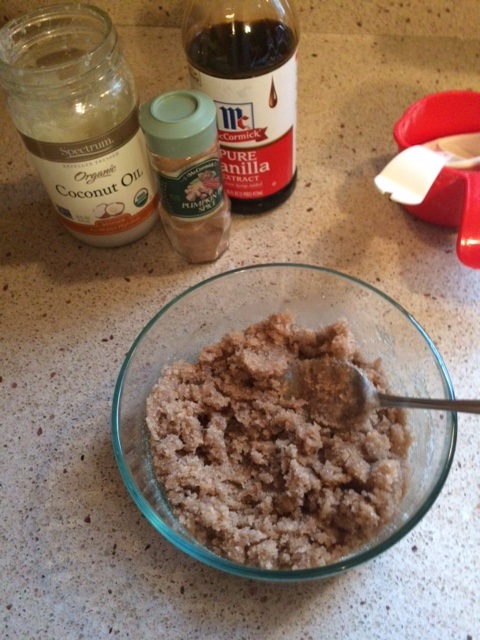
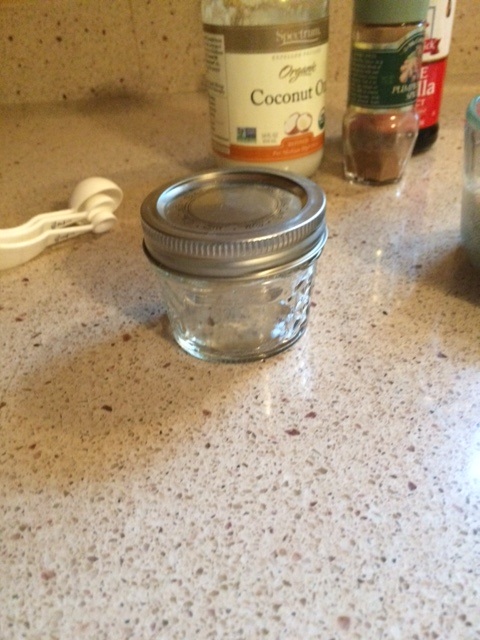
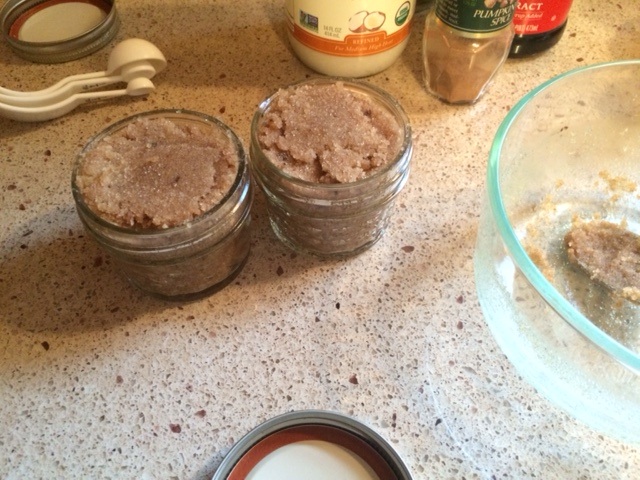
Since I was putting the scrub in the berry basket. I decided to decorate the jar as well.
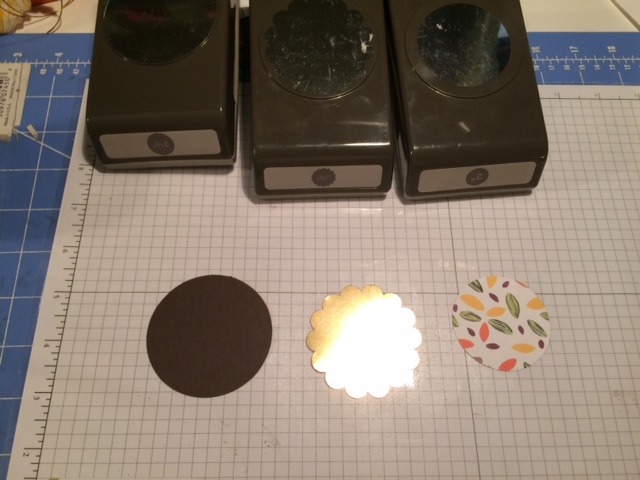
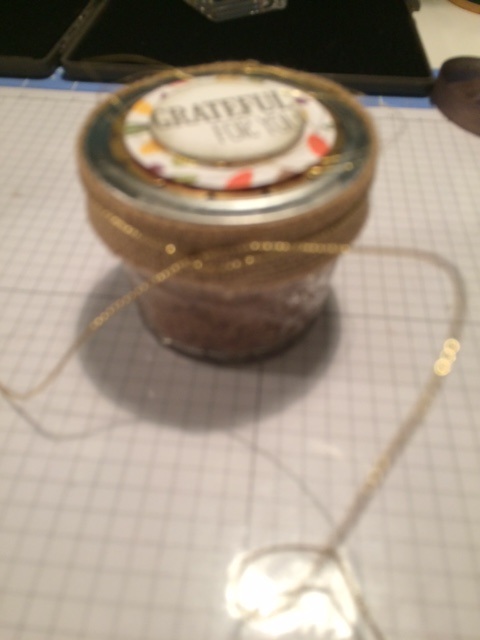
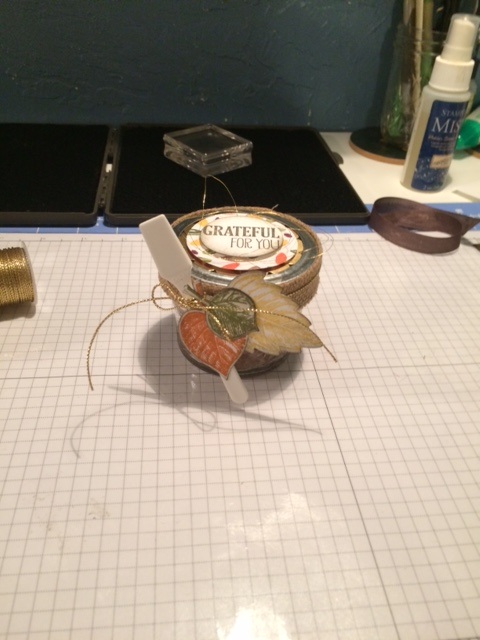
I punched out 3 different size circle to make the lid. Remove the band from the jelly jar, but leave the lid on. 2 1/2" Early Espresso, 2 3/8" Gold Foil and 2" Into the Woods DSP. Layer onto the lid. Use Fast Fuse for to put the Early Espresso and Gold Foil on then dimensionals to add the DSP. Put the jar band back on. Cut 9 1/2" of burlap ribbon. Cut in half to make two strips. Adhere onto band using Sticky Strip of Tear n Tape. The tie a piece of Gold Cording Trim around. Make it long enough to make a bow, leave in a knot for now. Don't cut ends just yet. Stamp 3 different size leaves and cut out. Also stamp the greeting in Early Espresso cut out with 1 1/2" circle punch. Sponge edges of leaves and greeting in Early Espresso. Attach the leaves onto the jar with glue dots, slide the spatula under the cording trim at an angle behind the leaves and then tie the cording trim in a bow. The spatulas were bought a while back from a friend. They were purchased through Amazon, I just don't have the exact order. But you can search for cosmetic spatula. Finally I put the jar in a Gusseted bag and tied it with a piece of Early Espresso Seam Binding ribbon. I used a bunch of basket grass in the berry basket, I found in the floral department at AC Moore.
I had a lot of fun planning my projects for the Stampin' Friends Thanksgiving Blog Hop. I hope you enjoyed your visit. Thank you so much for stopping by!!!
Don't forget to click Next button below, to see Wynne's blog!
Don't forget, make a comment on all 12 posts in this hop then, email Elizabeth everyone's favorite color at [email protected]. What do you get? In addition to enjoying all of this group's creations, you'll be entered to win a fun crafty present from every one of the bloggers! That's 12 crafty presents! Just a little thank you for your time! AMAZING!

1. Elizabeth Jeanne
2. Mandy Reedyk 3. Wynne Grob 4. Tina Riddle 5. Deana Benson 6. Siara Acdal 7. Kim Smith 8. Andrea Pancrazio 9. Kirsteen Gill 10. Cindy Waldroff 11. Lisa Altman 12. and me Steph Jandrow
Here are the products used to make the Mini Treat bag notecard
Built for Free Using: My Stampin Blog
Here are the products used for the Thanksgiving Berry Basket and Sugar Scrub jar. The stamp colors, Vintage Leaves/Leaflets Framelits, Into the Woods DSP, Very Vanilla cardstock, Gold Metallic Thread and Gold Cording Trim is also used, I just didn't relist them.
Built for Free Using: My Stampin Blog
Be sure to check out this week's Weekly Deals and share it with your friends!
Happy Stampin Steph
Built for Free Using: My Stampin Blog
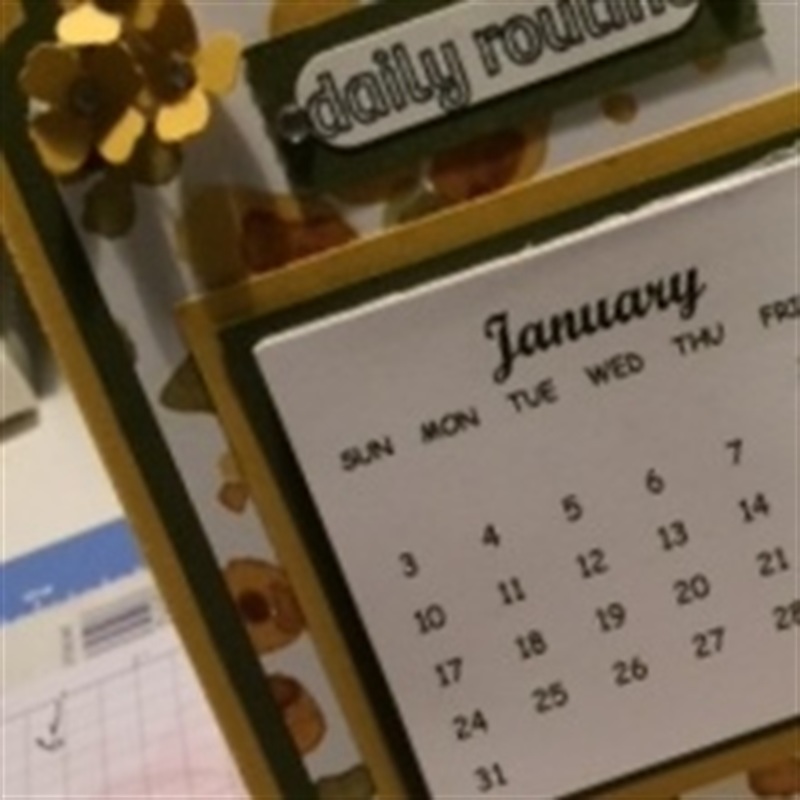
 I ordered some mini calendars and at first I wasn't sure what I wanted to do with them. Well besides that obvious, make some sort of desk calendar. I didn't want to fuss over trying to find holders or cases. What to do? What to do? As I was going through my cards to donate several to the Ronald McDonald house, I came a cross an easel card I made awhile back. Lightbulb!!! Perfect. And my desk calendar was born! I decided to use the English Garden DSP. I am not a very florally person. But I really liked this pack when I saw in Stampin' Up's annual catalog. I just didn't know what I would used it on. Well now I do. The colors just work really well. I immediately got to working designing the calendar! Took a few pics and scheduled my class in December. It's definitely something I would be excited to receive. Perfect for co-workers, teachers, family member and of course friends. Even with all the technology out there, I prefer to look at a calendar. The post it note completes it! It's what holds the easel up and balances the card! How easy it is now to look at this calendar, write a note or date down! SO simple! Check out either my Facebook page or Stampin Up website for class information! Can't make the class but would love to give as a gift, no problem send me a message and upon payment on paypal, I would gladly make them up for you at $4 per desktop calendar, plus shipping. Look forward to hearing from you Happy Stampin' Steph |


Categories
All
Archives
May 2024
|
||||||


 RSS Feed