
This month's Stampin Friends Blog Hop is about Celebrating the Men in our life. For the card as you can see, I kept the design very simple. I ordered the Trusty Tools Bundle with every intention to use it. I never did. So this month's hop was a perfect time to give it a go. Before we dive in, I hope you visiting my page from Tiziana Milano's blog and make sure to continue on to Barb Pfeffer's and be sure to leave a comment.
Are you interested in joining a blog and sharing your projects? Contact me for more information! 
As I mentioned, I used the Trusty Tools stamp set to design this card. It is super easy to make and really fast. So if you need to make multiple cards, these will come together very quickly. I used Basic White for the card base and a layer of Basic White 4x5 1/4 that I used for the stamping. I stamped the paint brush alternating the direction in Black ink. I then stamped the brush edge in different shades of blue. I used Azure Afternoon, Blueberry Bushel, Misty Moonlight, Boho Blue and Balmy Blue. You could use an endless number of color combinations in making this card to fit any theme! I Stamped the greeting Black as well. I attached the layer using Dimensionals to the cardbase.
And that is it. Super easy!! Be sure to hop along. A list of blogs is included at the end. Thanks for stopping Happy Stampin Steph
2 Comments
 KITS COLLECTIONKits Collection by Stampin’ Up! is all about making crafting fun, accessible, and inclusive! We're always working hard to design a collection full of different product options to allow you oodles of options when it comes to finding that perfect project or gift.
For me, kits help me to focus. I can provide you creative experience with less preparation and planning. (Who doesn’t love that?) Our all-inclusive kits also allow us to be less dependent on specific products when planning classes. AND helps keep costs down! We love variety, which means that our collection is frequently changing as new kits are released and the availability of previous kits fluctuates. To make sure you are aware of kit availability at any given time, please keep these guidelines in mind:
Happy Stampin Steph 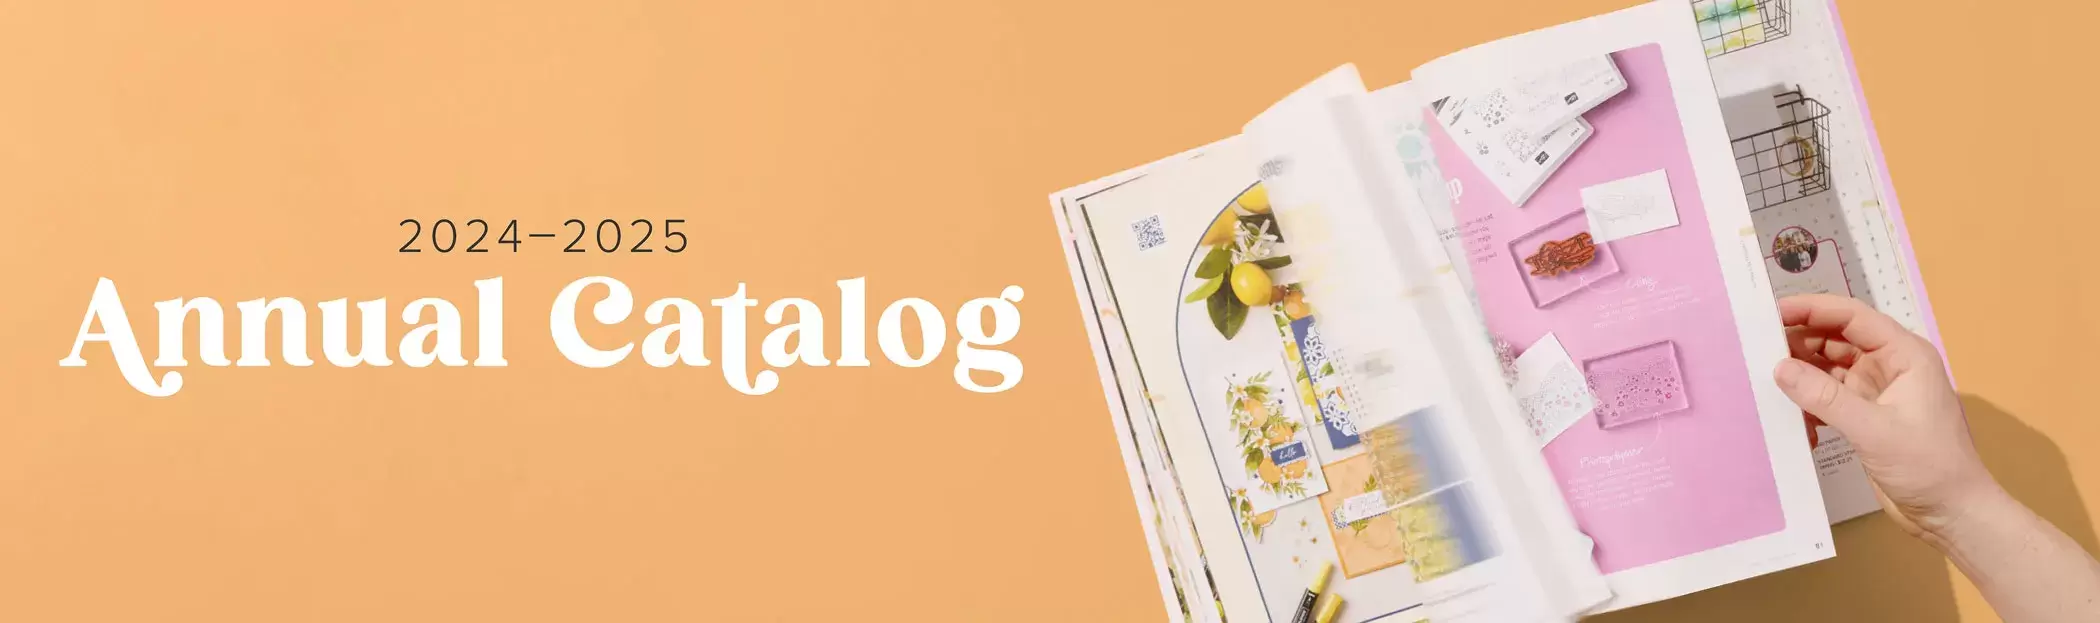 Our 2024–2025 Annual Catalog is debuting a new look with timeless inspiration! There are so many things to love about this catalog, including creative product experiences to keep you excited to craft. So whether you’re looking for a Step-by-Step project, something Quick & Easy, or you just want to express Creativity Your Way, there’s something for everyone!
This catalog was designed with the purpose to make it easier for you to find just what you need. Looking for themed projects with clear instructions and everything you need in one box? Then you’ll want to visit the pages in our Step-by-Step crafting section! Ready for a combination of Mix & Match products that make crafting a breeze? Find your creative moment in our wide variety of Quick & Easy options. Want to expand your collection with coordinating products, helpful tools, and innovative techniques? Take creative control and dive into pages and pages of products in Creativity Your Way! No matter where you are in your creative journey, we hope you continue to make meaningful moments as you share and do what you love! Never underestimate how you can create, inspire, and connect with something as simple as a handmade card from the heart. Need a catalog, view the digital version here or contact me for your very own copy!! Happy Stampin 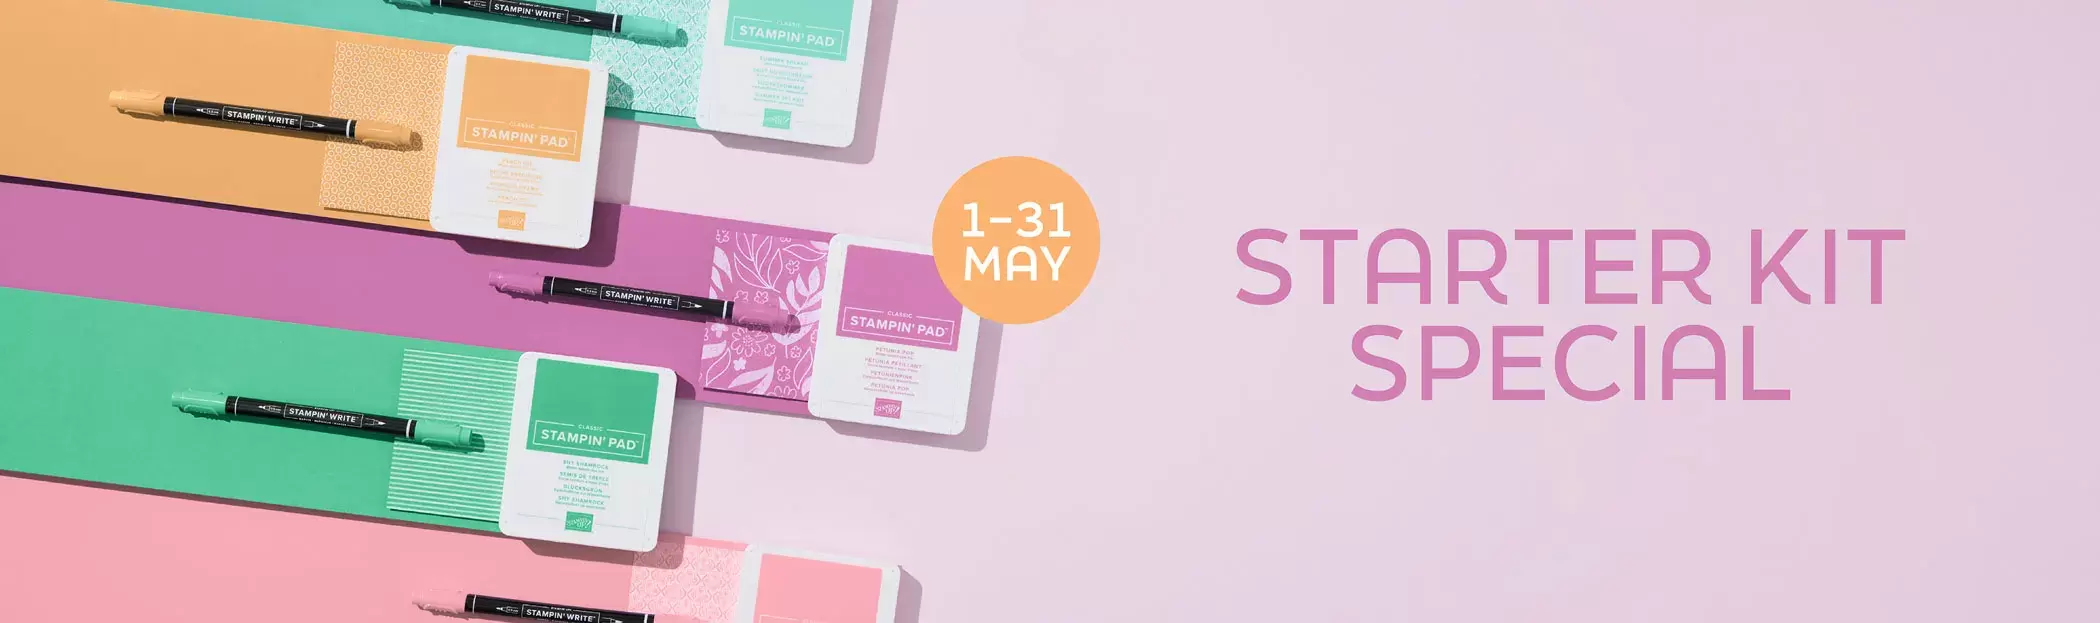  Start Your Stampin' Up! Journey
Love being creative? Join my team and become a Stampin' Up! demonstrator today! If you love to craft and thrive being part of a creative community, then becoming a Stampin’ Up! demonstrator may be the perfect opportunity for you. Sign up today and you’ll receive your pick of $125 worth of products for only $99! And between 1–31 May, we have a very special offer happening. It’s one of our richest offerings yet! Scroll down to see more details. Plus, a FREE Paper Pumpkin kit in your Starter Kit. Want to know more about our paper crafting subscriptions? Let’s talk! DEMONSTRATOR BENEFITS
New demonstrators will receive the following products in their Starter Kit at no additional cost:
All four of the In Color products will be automatically added to your cart when you go through the join process. For more details or to join now Join the Fun - Simple Stampin' with Steph (weebly.com) Happy Stampin Steph 
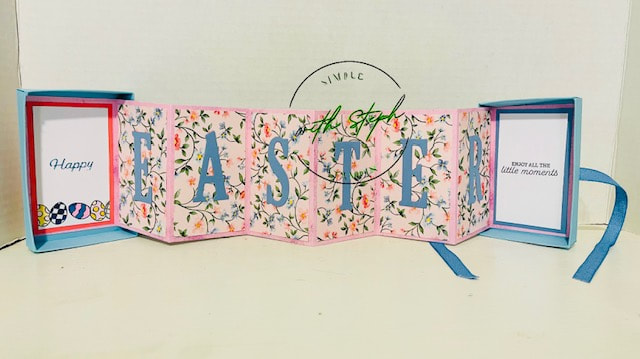
Welcome to April Stampin Friends Blog Hop. It's spring and the flowers are blooming our theme goes hand and hand with the season. May is just around the corner and here in the US we celebrate Mother's Day so it's only fitting our theme is All About Flowers. I hope you visiting my page from Barb Pfeffer's blog and make sure to continue on to Maureen Rauchfuss and be sure to leave a comment.
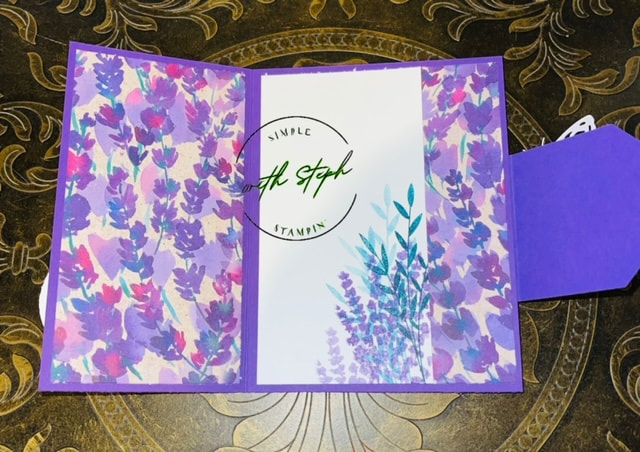
Are you interested in joining a blog and sharing your projects? Contact me for more information! I decided to make a quick fun fold Mother's Day Card. I used the Stampin Up Perennial Lavender Suite Collection for my card! I let the paper shine and covered the card! The paper from this pack is a carryover into the new Stampin Up Annual Catalog. And I am so excited about that! 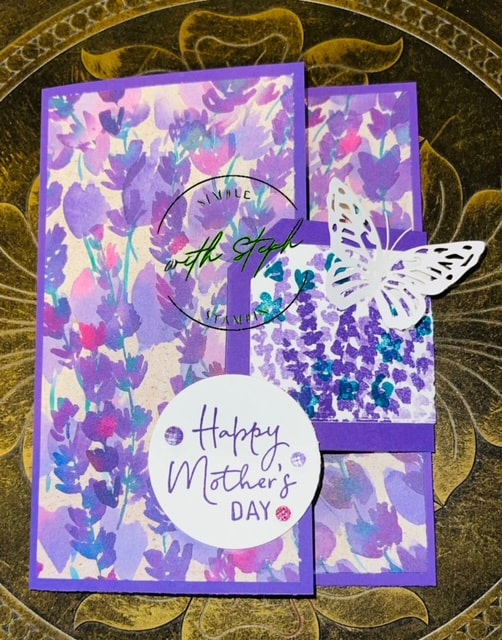
I used Gorgeous Grape as the cardbase which measure 5 1/2x7 1/4 and a piece for the diecut
DSP layers cut 2 at 2 3/4x5 1/4 and 1 at 1 1/4x5 1/4 Basic white 2 3/4x5 1/4 and for diecut and sentiment I used the 3rd largest die from the Countryside Corners and cut a piece in Gorgeous Grape - I scored this this at 2 1/4 Take the next smallest die and cut out a piece from Basic White and score at 2 I stamped the greeting in Gorgeous Grape and used a circle die to cut it out. Stamped some flowers onto the Basic White diecut and the Larger basic white piece for the inside of the card.
I hope you enjoyed my card. Be sure to leave a comment and continue hopping along. Below is links to everyone's blogs.
Thanks for stopping by Happy Stampin Steph
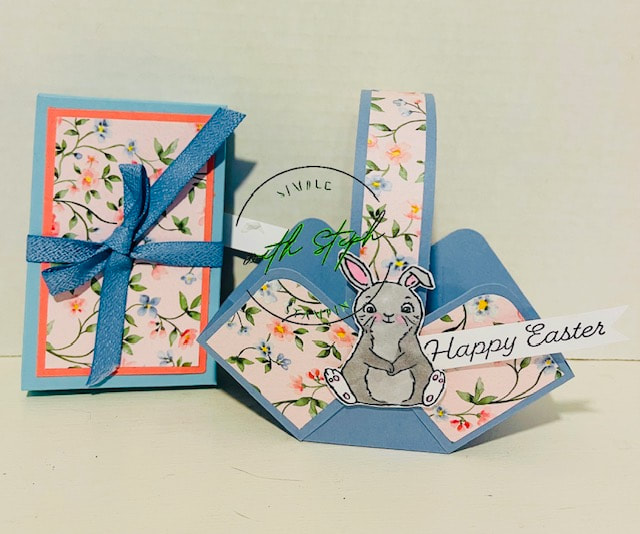
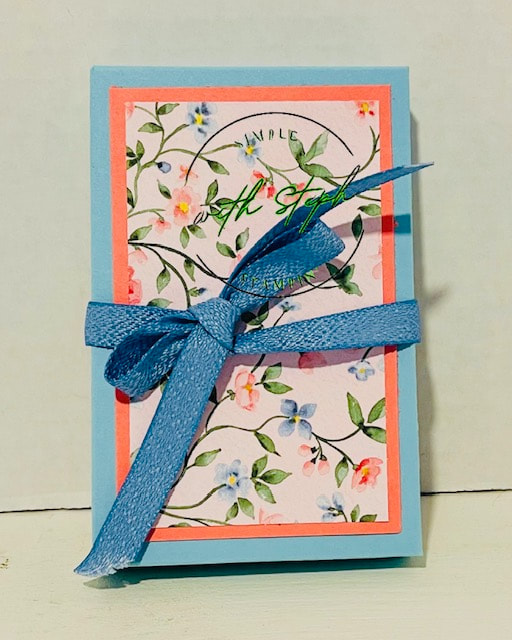
Welcome to our Stampin Friends February blog hop. Today we are sharing fancy fold cards! A fancy fold doesn't have to be difficult or intimidating. Simply scoring and folding different, can have a fancy and fun affect!!! SO if you have seen all those fancy folds and thought, that seems too hard, give one of ours a try and you will see how easy they can really be. And there's more, we have included a bonus 3-d project!!!
I hope you are joining me from Tiziana Milano's blog. Her projects were amazing!!!!! Take a look at what I've made, leave a comment and hop on over to Jo Blackman's blog. Just click on her name at the end of the post!
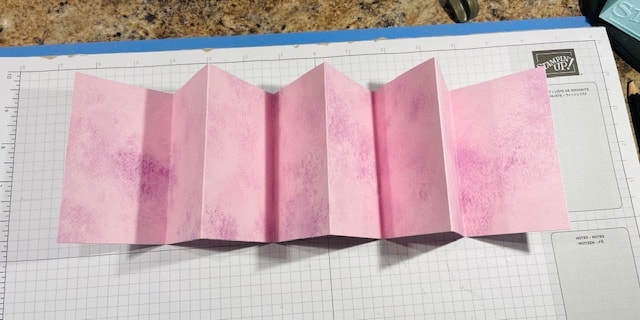
DSP - I used Flirty and Airy from the Stampin Up Sale-A-Bration. I paired together 2 different patterns.
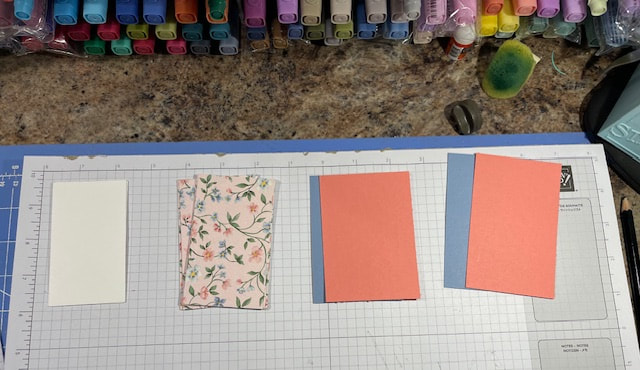
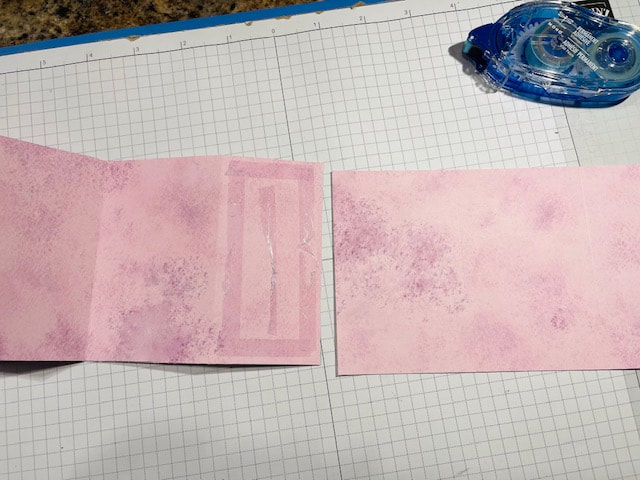
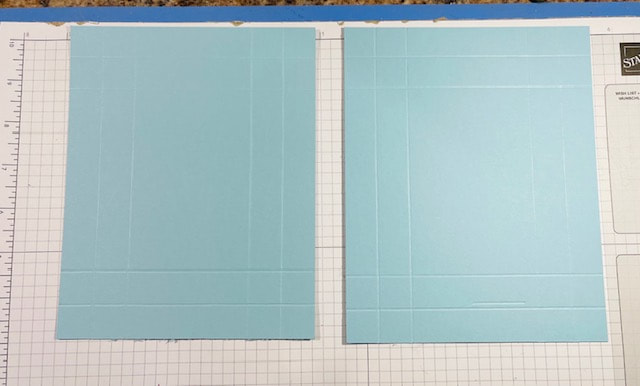
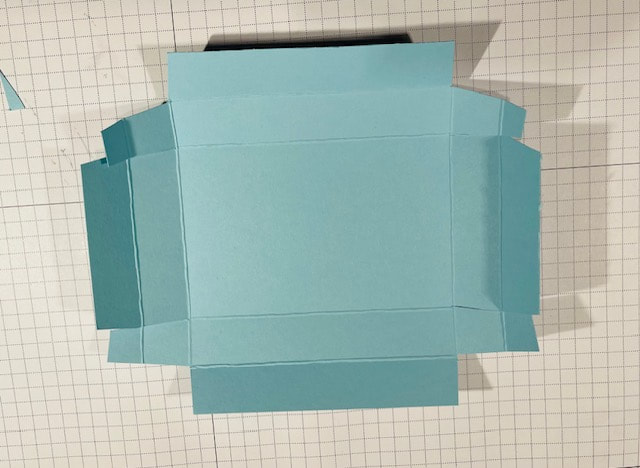
You will need: 1 piece 4x12 score on the long sides at 2 1/2, 5, 7 1/2 and 10and 4x10 score on the long sides at 2 1/2, 5, 7 1/2 8 pieces 3 3/4x2 1/4 2 pieces of Cardstock 4 x 2 1/2 outside of box. 2 pieces of cardstock 3 3/4x 21/4 inside of box 2 pieces of Basic White 3 1/2x2 Box bottom 5 3/4x7 1/4 score on all sides at 3/4 and 1 1/2 Box top 5 7/8x7 3/8 score on all sides at 3/4 and 1 1/12 Fold the DSP in an accordion fold. 2 attach the 2 strips together, the 12" strip has a section that is 2 inches instead of 2 1/2. Add adhesive to the section and attach the 10" to it to make 1 long strip. Use your favorite dies or stickers for the letters. Begin adhering the 3 3/4x2 1/4 pieces to the strip. Start with the second section(leave the first and last sections blank, these will attach to the inside of the cards. Add your letters and embellishments. Fold on score lines for the box top and bottom. See picture below for cutting. See the Youtube video for full details of how to assemble - please note, in the video I cut 3 strips of DSP for the word Birthday. This can be adapted for different words as long as your paper is scored at 2 1/2 sections.
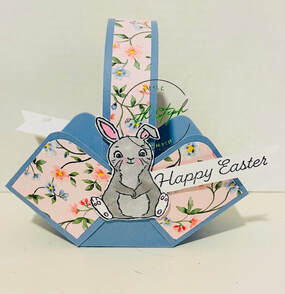
Fold and trim on score lines. Corner round 1 corner of each section, and DSP Attached 3/4 strip of DSP ontop of the cardstock Stamp bunny twice and color with blends and fussy cut. Stamp greeting twice and flag one end. Fold up 2 sections in a diagonal, attach the handle and staple or adhere together. Repeat on other side. I added the bunny with dimensionals on both sides, this also hides the staple. Then add the greeting to each side. This basket is soo easy to put together! And that bunny is sooo cute! 
I hope you like the projects I have made for you today! Be sure to leave a comment and continue to the Tiziana's blog.
Thanks for stopping by Happy Stampin Steph
I hope you joined me from Maureen Rauchfuss's blog, after viewing my project, leave a comment and then continue to Tiziana Milano's blog. You can find our small group of talented paper crafters at the end of this post.
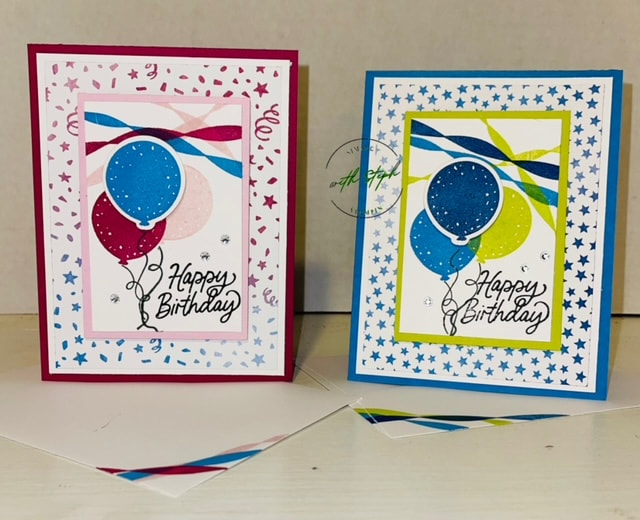
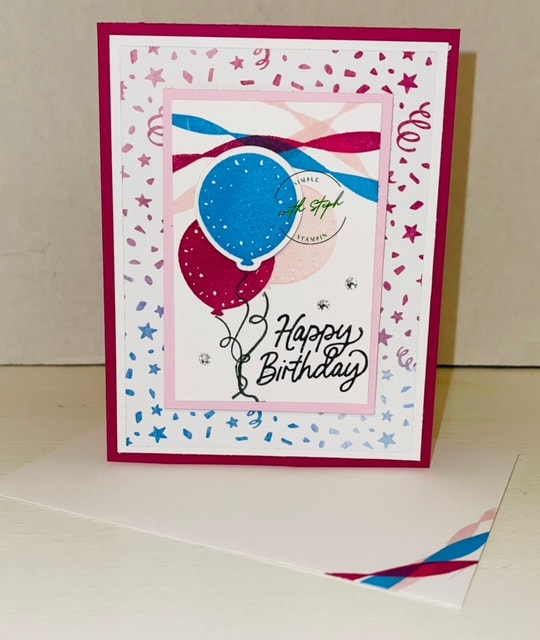
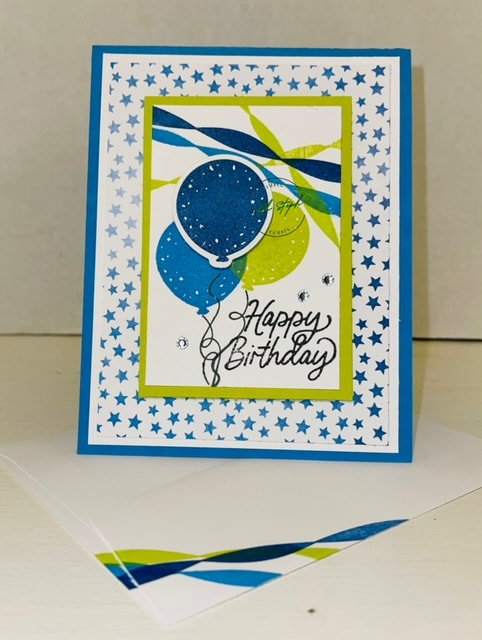
Cut a piece of Bubble Bath at 2 3/4 x 3 3/4 and 2 pieces of Basic White 2 1/2 x 3 1/2 and 4 x 5 1/4 And scrap piece of Basic White to stamp the balloon. Now we stamp!
I stamped in an assembly line. I stamped the inside card layer of Basic White, then the envelope and last top layer of the card front (2 1/2 x 3 1/2). I went from light to dark. I started stamping in Bubble Bath with the streamer image from the Beautiful Balloons Stamp Set. After stamping the streamer in all 3 places, I then stamped the ballon on the Basic White card front. Repeat the steps in Berry Burst and Azure Afternoon, except for the Balloon, stamp in Azure Afternoon on the scrap piece and cut out using the Beautiful Balloons Dies. Attach the Azure Afternoon balloon to the basic white piece with dimensionals. Stamp the ballons strings and the greeting in Tuxedo Memento Ink. Attach to the Bubble Bath cardstock and then to the cardbase using dimensionals and finished with a few Basic Rhinestones. How fun and easy!!!
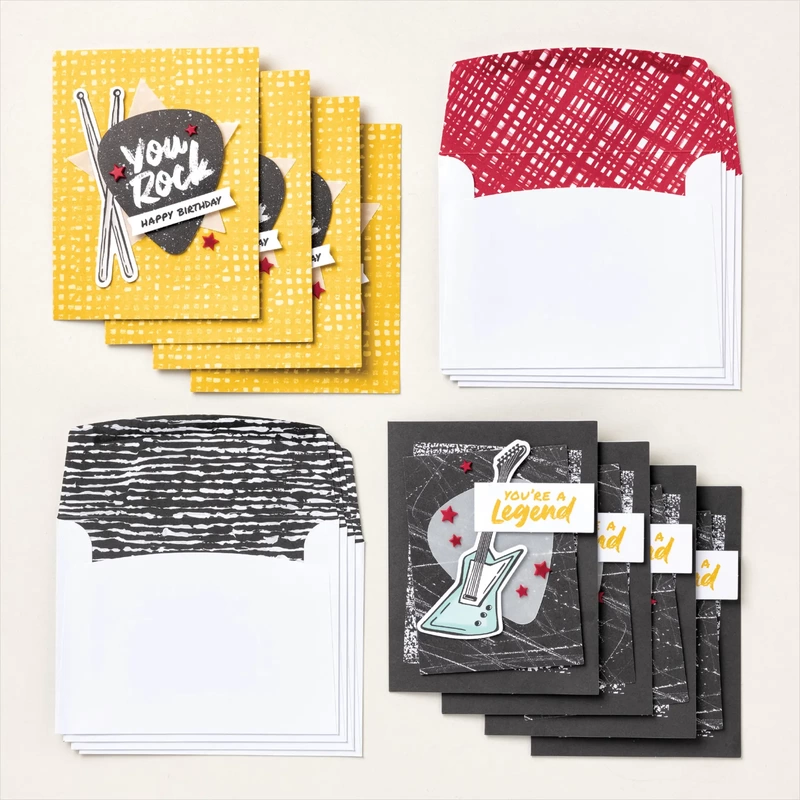
Kits Collection by Stampin’ Up! is all about making crafting fun, accessible, and inclusive! We're always working hard to design a collection full of different product options to allow you oodles of options when it comes to finding that perfect project or gift. We love variety, which means that our collection is frequently changing as new kits are released and the availability of previous kits fluctuates. 2 New kits have been added to the collection. Let's take a look at them!
Want to see our entire Kit Collection? Of course you do!!! To View it all, click here
Happy Stampin Steph 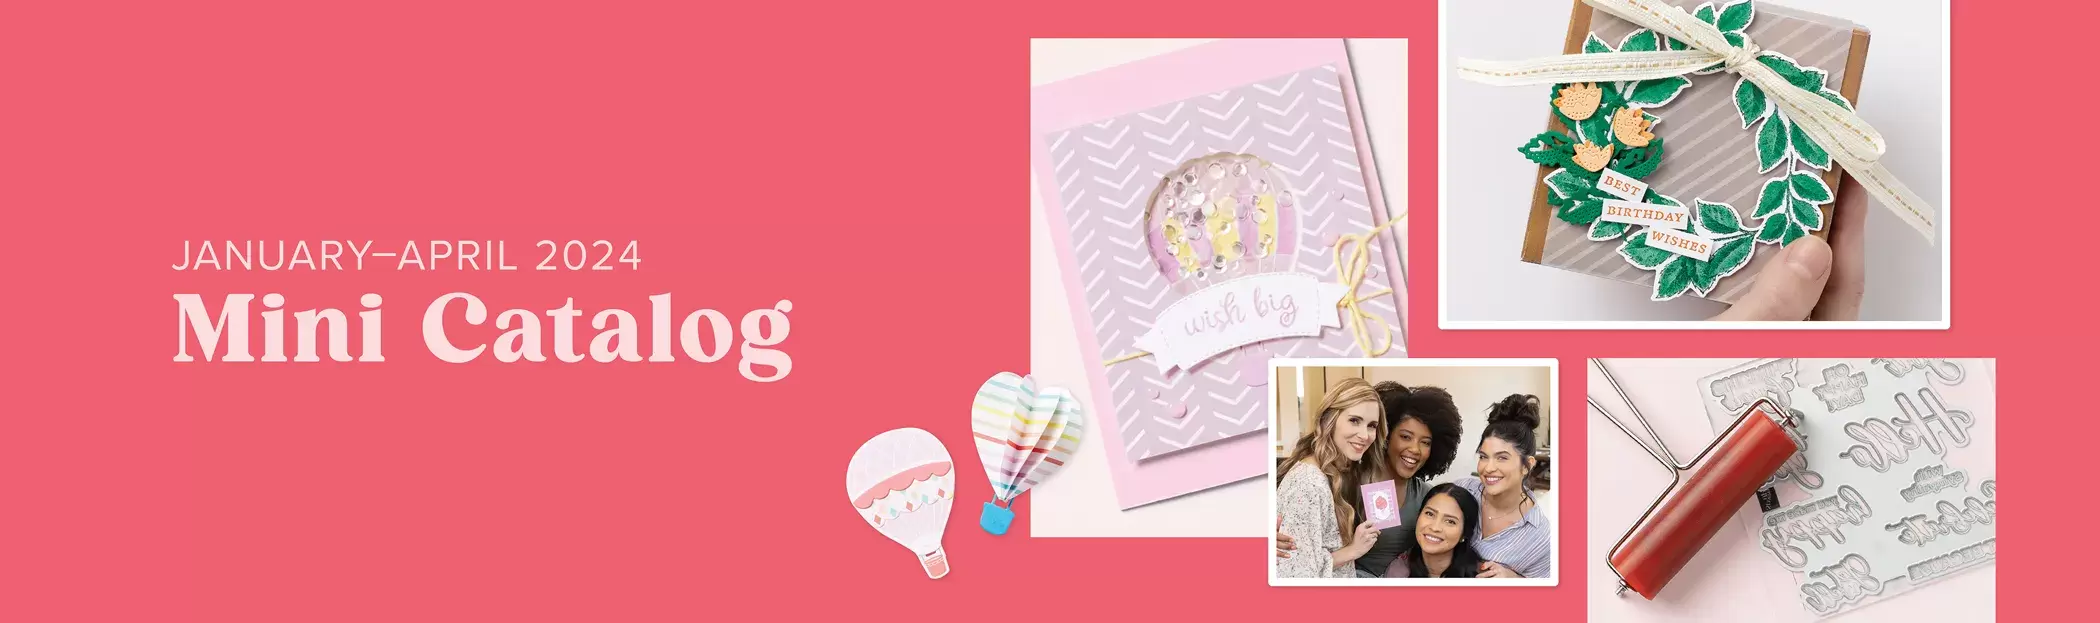 The January–April 2024 Mini Catalog is here! With fresh product designs and crafting inspiration on every page, you’ll love what this catalog has in store so that you can keep crafting all year long.  Contact me to receive your copy of the Mini Catalog or to view the digital version, click on the image above.
Happy Stampin Steph |


Categories
All
Archives
May 2024
|
 RSS Feed