|
This week is Teacher Appreciation. Each day this week, the kids can bring in a little treat for their teacher. Our PTO supplied a quick suggestion of flowers, wear favorite color, bring a favorite snack, write a note or poem and a gift card. Plus we have a big luncheon on Friday and take over recess duties.
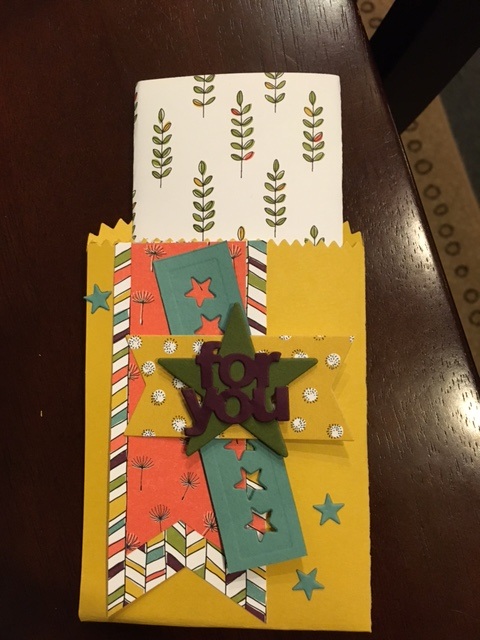
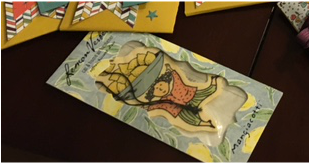
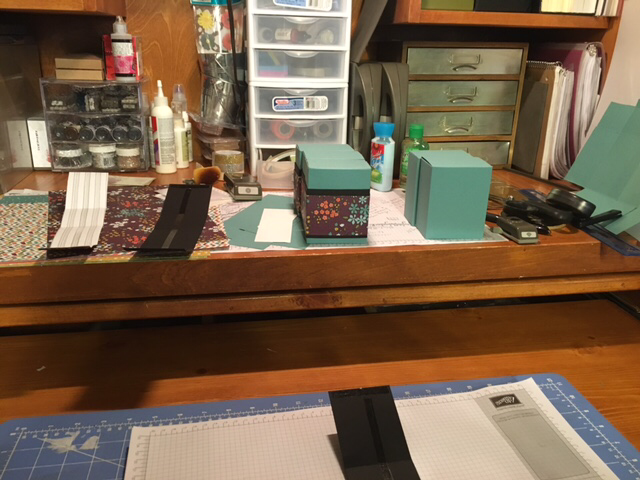
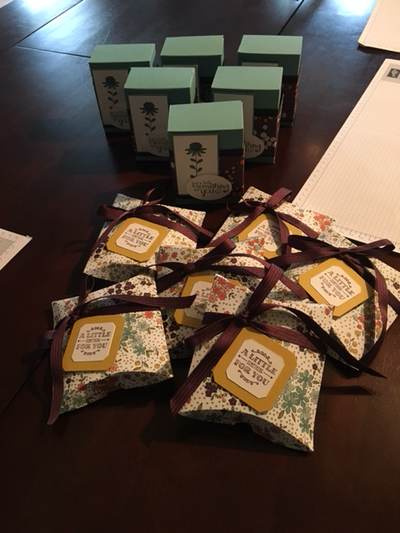
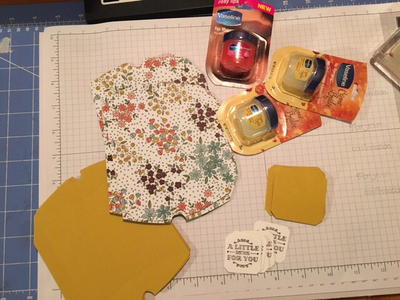
Well, I had been working on year end gifts for the teachers, trying to get a jumpstart. I realized the gifts I was putting together for end of year could possibly work for each day this week. I quickly switched gears and made sure I had enough for each teacher. Although they aren't the suggestions, I feel that the teachers will be ok without receiving 20 of the same things. My kids can still right a little note to go along with the gifts too. When I originally started the projects, I had decided that I wanted to use the soon-to-be retiring 2014-2016 In Colors. And well, the Wildflower Fields I had from Sale-A-Bration matches perfectly. Now keep in mind I did use some retired products. These type of gifts are perfect to use up anything I have sitting on hand and clear some space for new stuff, right???? Since, I was originally going to put this items altogether in a gift bag, to hand at once, I wanted them to match. But since I separated them out...you may not mind using different papers. Day 1 - We brought in a Lemon Verbena Air Freshener - smells so fresh YUM. Like the soap, featured in Day 2, the air freshener is also from Mangiacotti, which is made in Attleboro, MA. I blogged about the soap back in March so Day 2 will reference that post again. MAN these gifts smell so delicious, too!! This was super easy to make, so I'm not going to make a tutorial. I used the Mini Treatbag Framelits from Stampin Up. Don't have the framelits? You can use another type of bag, like these Kraft Bags (these have a low inventory status) or these Sketched Dots Bags and just added the decorations, Really anytype of bag will do! The colors I used in this project was Hello Honey for the treatbag, the star strip is in Lost Lagoon, Star in Mossy Meadow and 'for you' in Blackberry Bliss are cut from dies included the Mini Treatbag Framelits. I wrapped the air freshener with a piece of the DSP to coordinate it. Wala Day 1 project done. Stop by tomorrow to see Day 2. Happy Stampin Steph
0 Comments
Welcome to the Stampin Friends Thanksgiving Blog Hop! I'm really excited to be part of this Blog Hop. There are 12 amazing crafters involved. I was lucky enough to be a guest hopper this month, along with 2 other fabulous ladies.
So make sure you check everyone's blogs out. After reading the blog, scroll to the end of this post and you will be able to see all the Hoppers and Click Next to visit Wynne's Blog. This month's guest hoppers are: 1. Wynne Grob 2. Kim Smith 3. Steph Jandrow
What's blog without a little blog candy???? Do you like crafty supplies???? Everyone likes a free gift, right???? If so, make a comment on all 12 posts in this hop then, email Elizabeth everyone's favorite color at [email protected]. What do you get? In addition to enjoying all of this group's creations, you'll be entered to win a fun crafty present from every one of the bloggers! That's 12 crafty presents! Just a little thank you for your time! AMAZING!
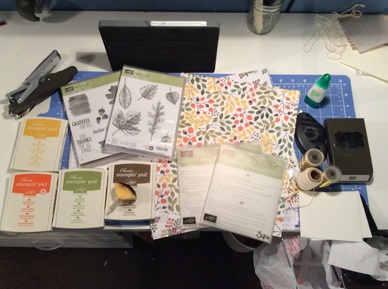
Here's a quick picture of the products I used to make today's Blog Hop projects. I love the color green, all different shades of green. I'm naturally drawn to it, so I knew whatever I was planning on designing for the Blog Hop was going to have some sort of green in it. What could be more perfect to show green than a Thanksgiving project! So wala! My favorite color was included!
Oops I forgot to put the Winter Wonderland Vellum Stack in the picture. That's ok, you can scroll to the bottom to see the names of all the products.
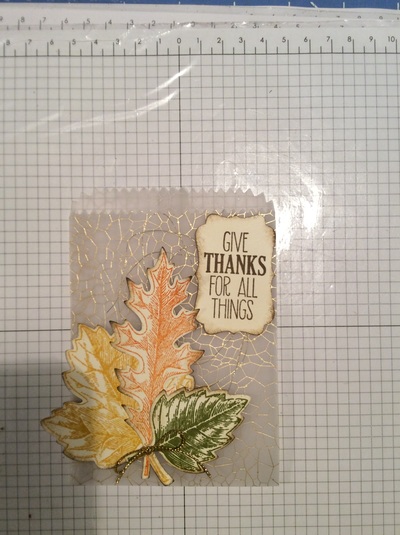
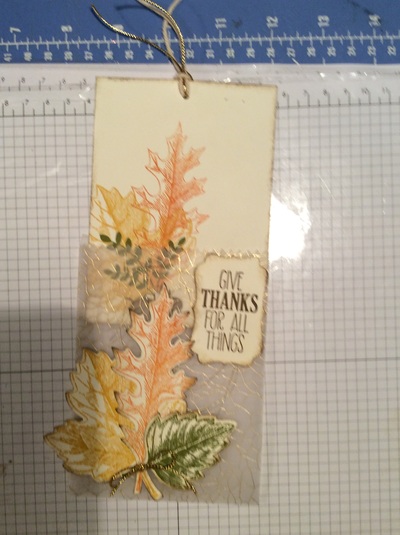
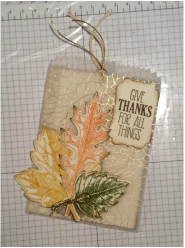
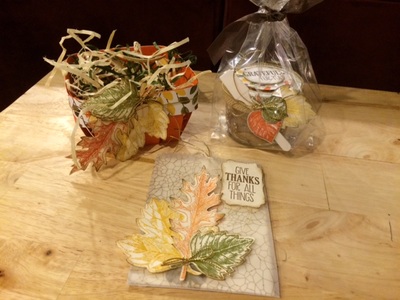
Here's the Thanksgiving notecard I decided to make. I wanted use the Winter Wonderland Vellum for this project. I was stumped at first. But, then the idea for this card came to me. I remembered awhile back during one of my card clubs, I put together a notecard for my guests to make. We used vellum to make the treat bag and a piece of cardstock for the notecard inside. It was perfect.
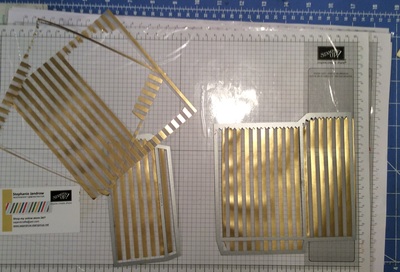
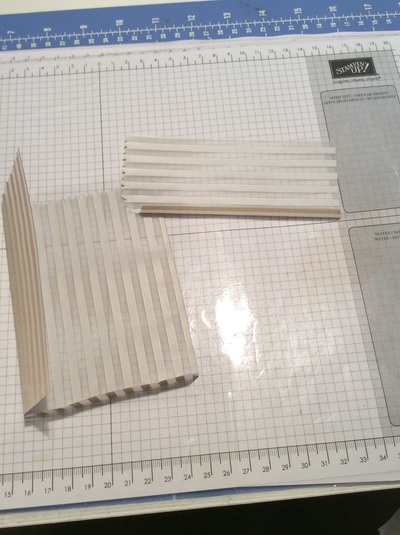
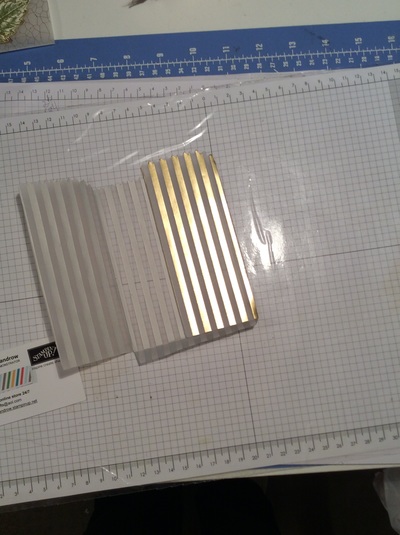
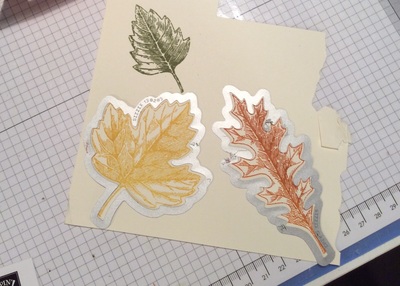
As shown in the first picture. (Top Left) You will need 2 sheets of 6x6 Vellum. Take one sheet and the Mini Treat Bag Thinlit and run it through the Big Shot. Take the 2nd sheet of vellum and use the side panel from the Mini Treat Bag Thinlit and run it through the Big Shot. Gently fold on the score lines. Then add adhesive (I used Fast Fuse) to the side panel tab and attach it to the treat bag. Add adhesive to the one of the back panels. Then add adhesive to the bottom tab and adhere. The Mini Treat bag is done.
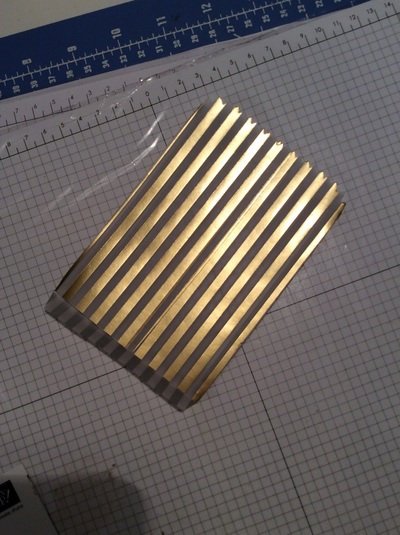
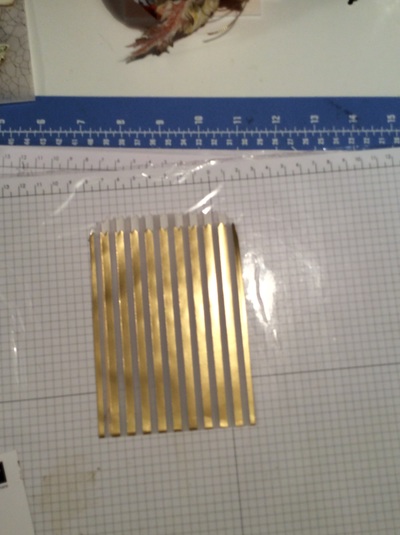
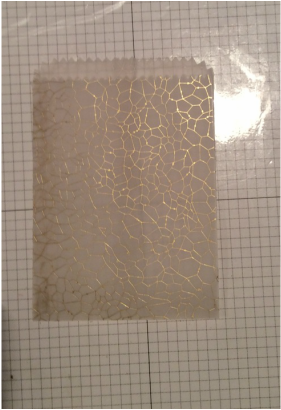
As I was playing around designing the project I decided I preferred the crackle print from the vellum stack and went with that for my finished project. I felt the gold stripes would work well for a Christmas project so I decided to put it aside for later.
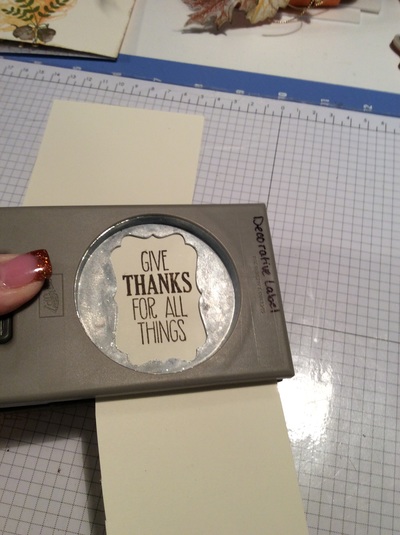
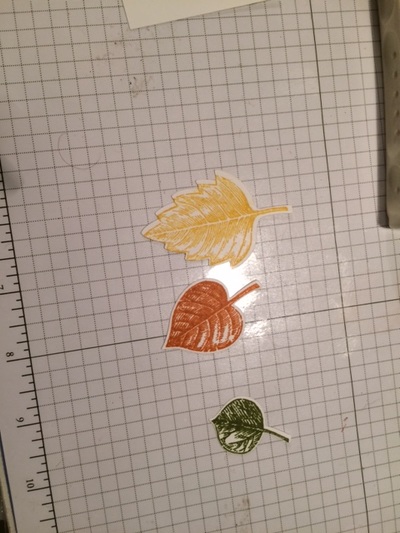
Take a piece of scrap Very Vanilla cardstock and stamp 3 leaves from the Vintage Leaves stamp set, using Crushed Curry, Old Olive and Tangelo Twist. Next, take the matching leaf shapes from the Leaflet Framelits and run them through the Big Shot. Stamp the Give Thanks For All Things saying from the For All Things stamp set, on a scrap of Very Vanilla with Soft Suede ink. Punch it out using the Decorative Label punch. Sponge the edges of the leaves and label with Soft Suede.
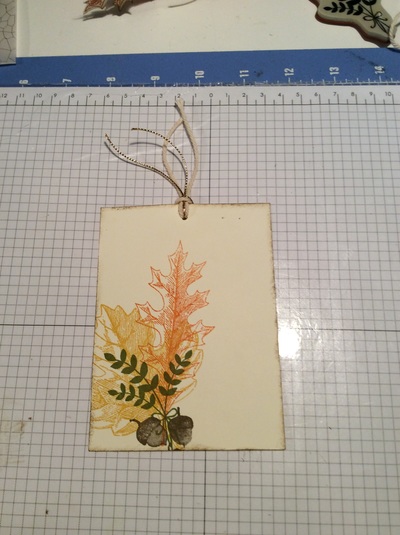
Next you need Very Vanilla cardstock. I cut a piece to 3 1/2 x 4 3/4 for the notecard to fit inside the treat bag. Stamp the same leaves onto the notecard. I also added the bunch of leaves from the For All Things set. Sponge the edges of the notecard with Soft Suede. Punch a hole at the top of the notecard using the 1/8' Circle Punch. I cut out the same length ( about 6") of Very Vanilla Think Baker's Twine and Gold Cording Trim. Tie onto notecard.
Before decorating the front of the mini treat bag, I took some Gold Metallic Thread and loosely created loops. I held them down when I layered the leaves onto to the front. I used glue to dots on the leaves and the label. Add your notecard inside and your project is done.
Here's a super easy Thanksgiving project I made to go along with the notecard.
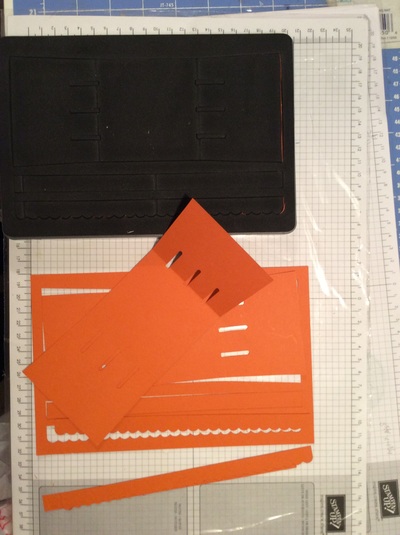
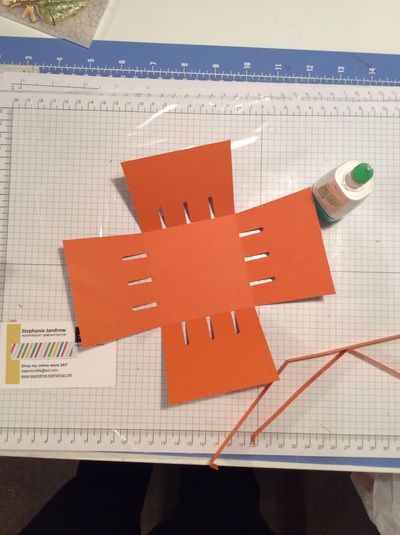
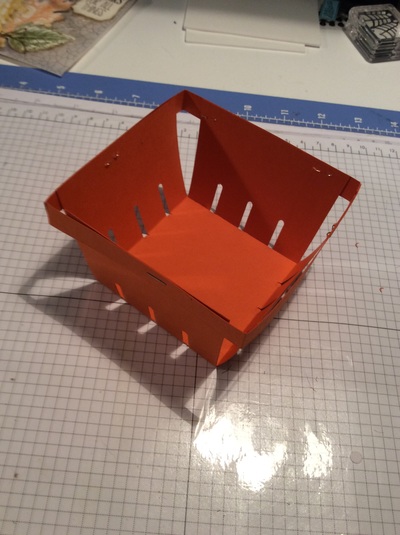
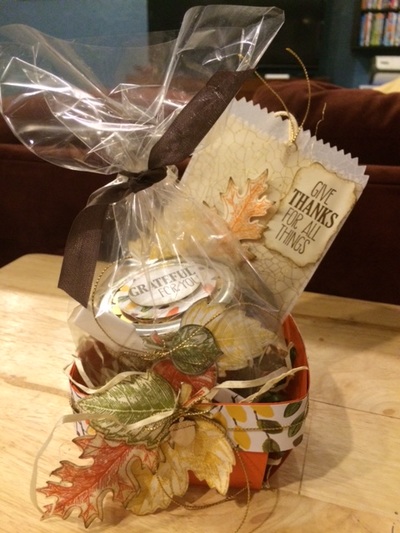
I made a berry basket using Tangelo Twist cardstock. Cut the cardstock in half so you have 2 pieces that measure 8 1/2x5 1/2. Take the Berry Basket die and cut out the basket using the Big Shot. You will need to cut this out twice. But remember to cut one piece of paper at a time.
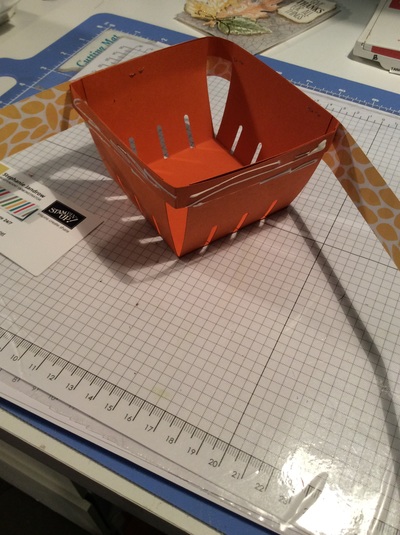
Fold on the score lines. Adhere the basket pieces together. I used the multipurpose liquid glue for this. I took the straight bands that are cut out and glued them together. I flipped the basket onto it's top and fed the bands onto it pushing it down to the top. Then holding the bands in place, flip it over and adhere. I used a stapler for this. I am not worried about the staples showing because I am going to cover them.
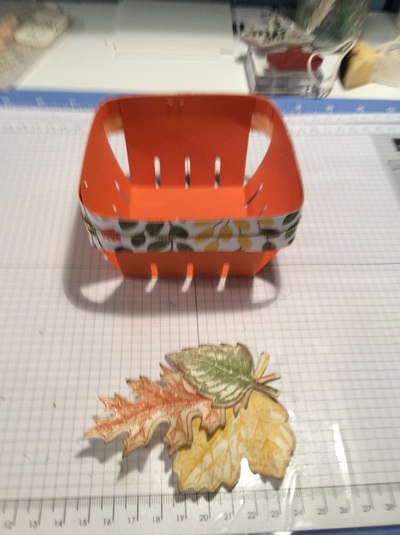
I chose the Into the Woods Designer Series Paper. It's a perfect compliment to the leaves. I cut 2 strips one measure 1x12 and the 2nd one measures 1 x 4 1/2. I added glue to the top of the basket band and wrapped the DSP around. I then took a piece of Gold Cording Trim and wrapped it around the basket and cut to size. I used glue dots to hold them in place.
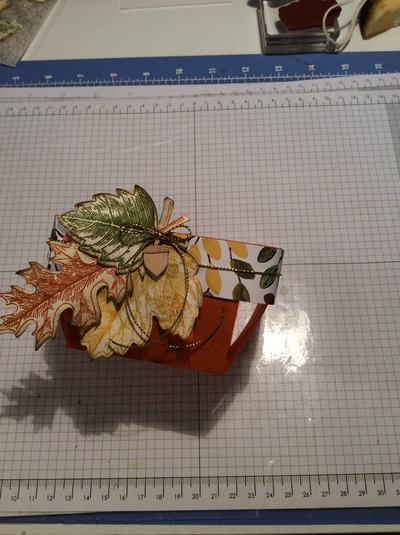
I layered the leaves on to cover where the trim meets to hide that seam. I also added a little wood acorn accent from Into the Woods Elements. And again finished it off with a bow made from the cording trim.
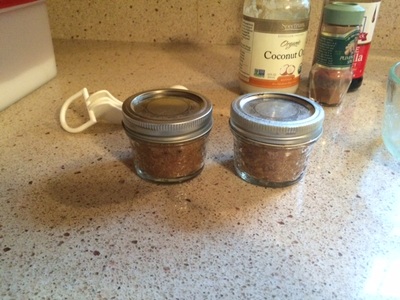
Since I was putting the scrub in the berry basket. I decided to decorate the jar as well.
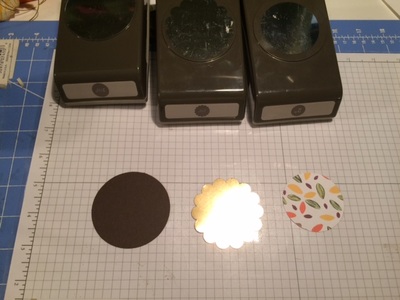
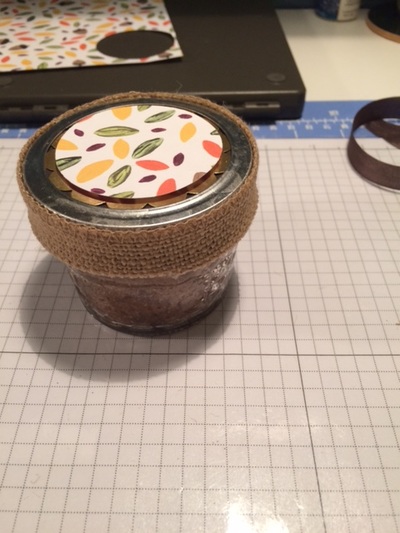
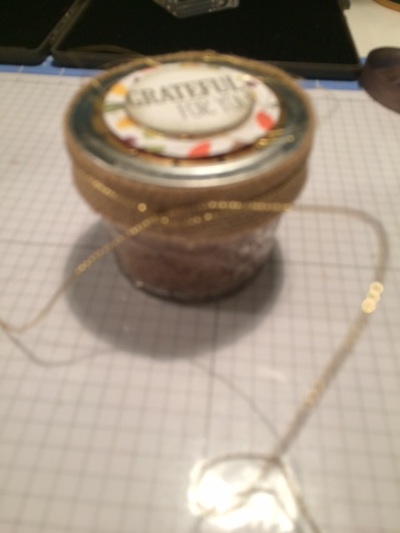
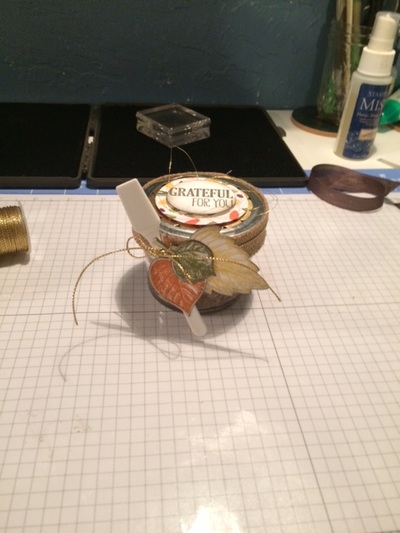
I punched out 3 different size circle to make the lid. Remove the band from the jelly jar, but leave the lid on. 2 1/2" Early Espresso, 2 3/8" Gold Foil and 2" Into the Woods DSP. Layer onto the lid. Use Fast Fuse for to put the Early Espresso and Gold Foil on then dimensionals to add the DSP. Put the jar band back on. Cut 9 1/2" of burlap ribbon. Cut in half to make two strips. Adhere onto band using Sticky Strip of Tear n Tape. The tie a piece of Gold Cording Trim around. Make it long enough to make a bow, leave in a knot for now. Don't cut ends just yet. Stamp 3 different size leaves and cut out. Also stamp the greeting in Early Espresso cut out with 1 1/2" circle punch. Sponge edges of leaves and greeting in Early Espresso. Attach the leaves onto the jar with glue dots, slide the spatula under the cording trim at an angle behind the leaves and then tie the cording trim in a bow. The spatulas were bought a while back from a friend. They were purchased through Amazon, I just don't have the exact order. But you can search for cosmetic spatula. Finally I put the jar in a Gusseted bag and tied it with a piece of Early Espresso Seam Binding ribbon. I used a bunch of basket grass in the berry basket, I found in the floral department at AC Moore.
I had a lot of fun planning my projects for the Stampin' Friends Thanksgiving Blog Hop. I hope you enjoyed your visit. Thank you so much for stopping by!!!
Don't forget to click Next button below, to see Wynne's blog!
Don't forget, make a comment on all 12 posts in this hop then, email Elizabeth everyone's favorite color at [email protected]. What do you get? In addition to enjoying all of this group's creations, you'll be entered to win a fun crafty present from every one of the bloggers! That's 12 crafty presents! Just a little thank you for your time! AMAZING!
1. Elizabeth Jeanne
2. Mandy Reedyk 3. Wynne Grob 4. Tina Riddle 5. Deana Benson 6. Siara Acdal 7. Kim Smith 8. Andrea Pancrazio 9. Kirsteen Gill 10. Cindy Waldroff 11. Lisa Altman 12. and me Steph Jandrow
Here are the products used to make the Mini Treat bag notecard
Built for Free Using: My Stampin Blog
Here are the products used for the Thanksgiving Berry Basket and Sugar Scrub jar. The stamp colors, Vintage Leaves/Leaflets Framelits, Into the Woods DSP, Very Vanilla cardstock, Gold Metallic Thread and Gold Cording Trim is also used, I just didn't relist them.
Built for Free Using: My Stampin Blog
|
Categories
All
Archives
January 2024
|




 RSS Feed