|
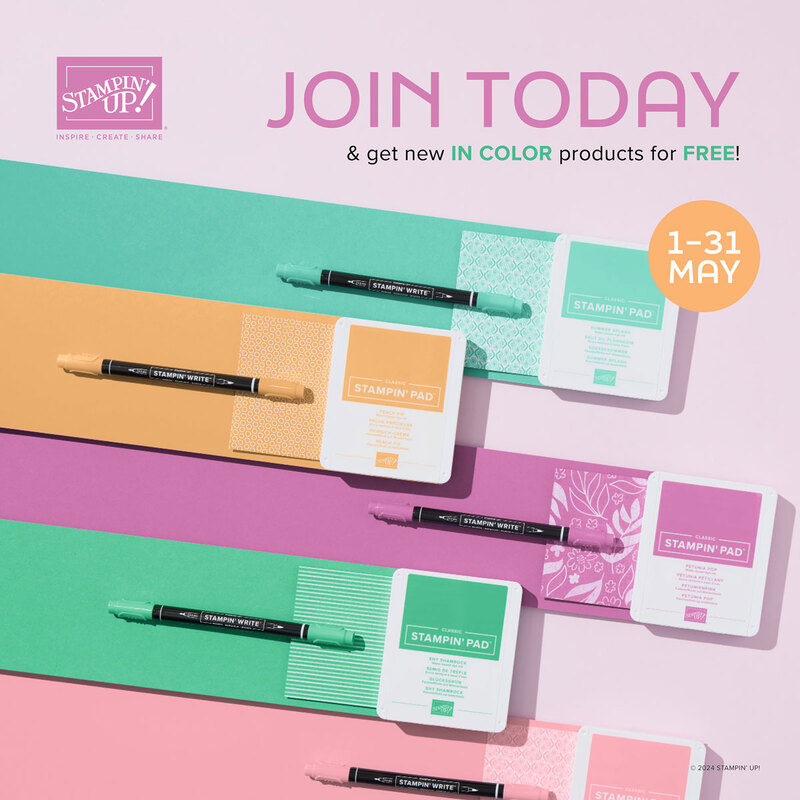
Have you seen the new Stampin Up In colors???? They are amazing. If you haven’t, then you’ll want to make sure you take a look at this email!!!!!!!
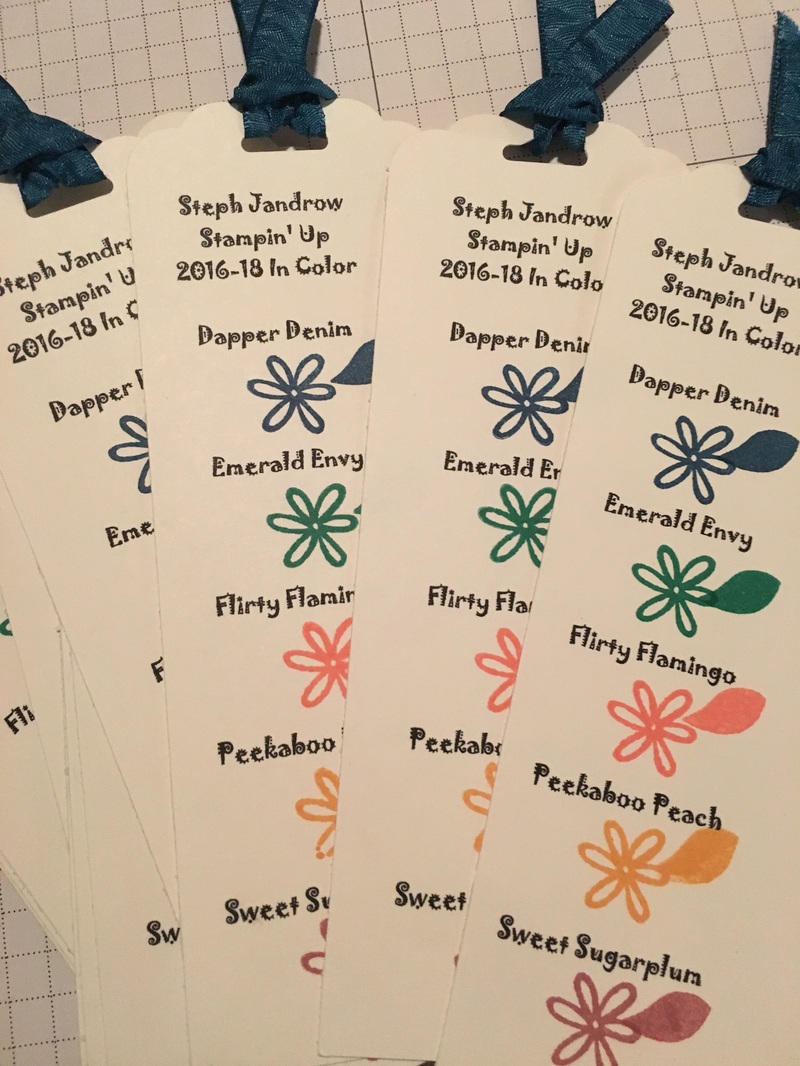
I am offering my In Color club once again! I have a couple of options for you again. BRAND NEW 2016-2018 In Color Club Option 1: Not interested in all the bells and whistles? This might be the option for you. 1 time purchase, no monthly commitment....
BRAND NEW 2016-2018 In Color Club Option 2: Want it all but can’t afford the cost. This option may be you. You will receive all the products over a 5-month period. If you were to purchase all at once the total $152.75 (with tax and shipping is $177.57) But by breaking this down over 5 months, it's much more affordable at $35.51. (total includes tax and shipping) Sign up for Option 1 by August 1st and receive 10% off the total. That's a savings of $15.28
Need a catalog?? Feel free to contact me and I will be happy to mail you one. US only please! I look forward to hearing from you. Happy Stampin Steph Inspire Create Share Steph Jandrow Stampin' Up! Cell: 508-479-9483 Email: [email protected] Website: http://sajandrow.stampinup.net Facebook page: Stampin & Scrappin with Steph Blog: http://stampinandscrappinwithsteph.weebly.com/
0 Comments
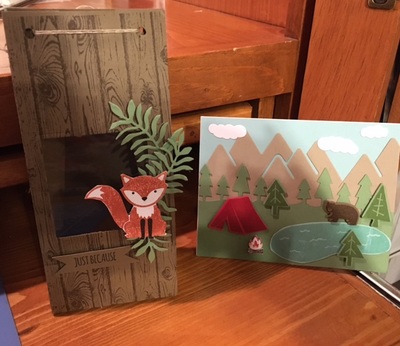
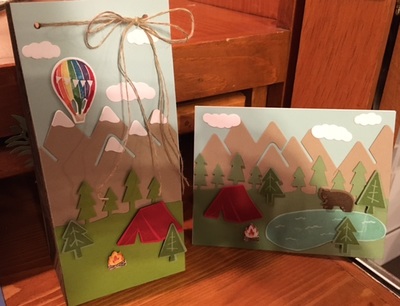
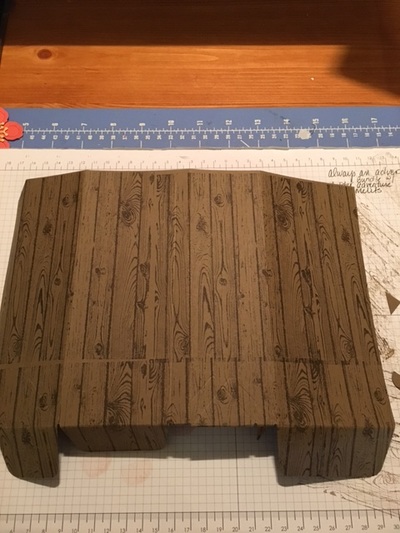
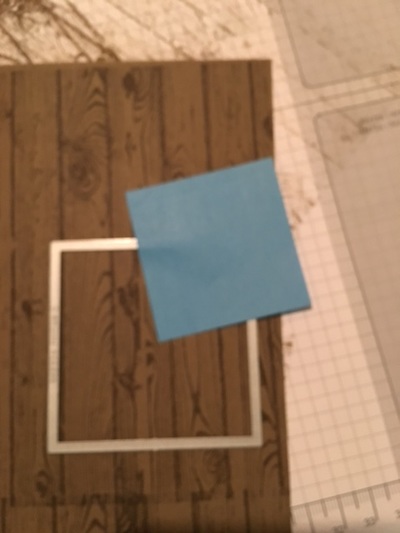
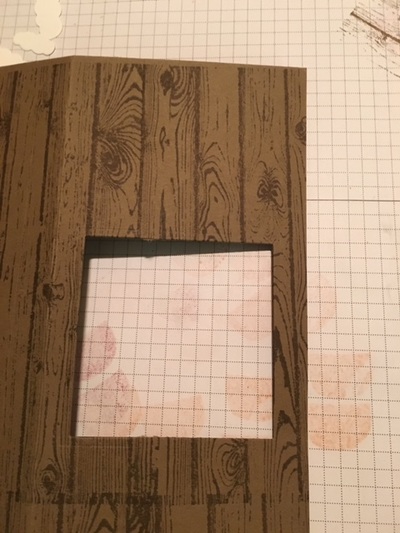
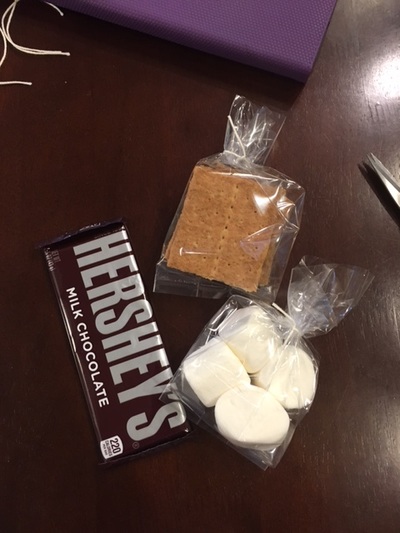
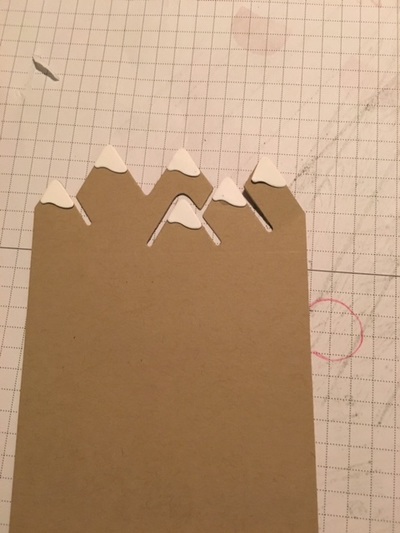
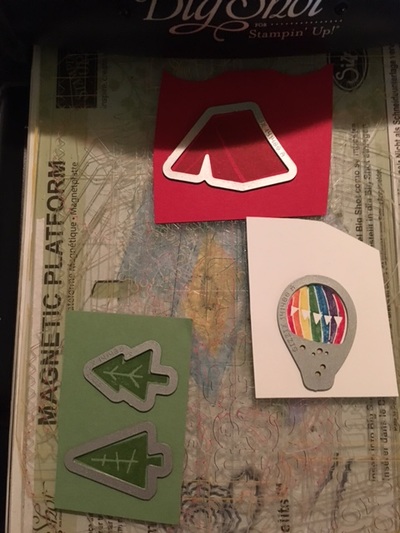
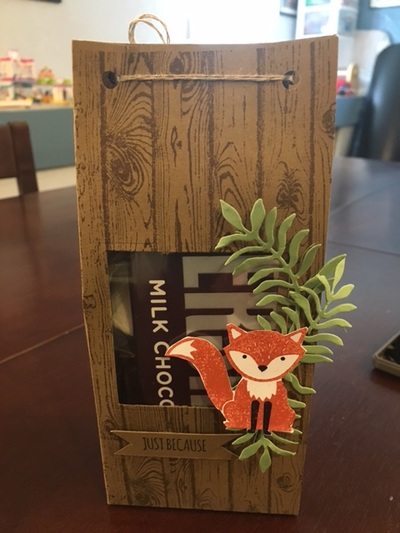
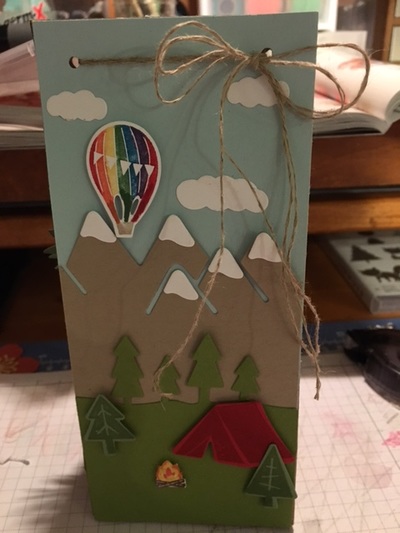
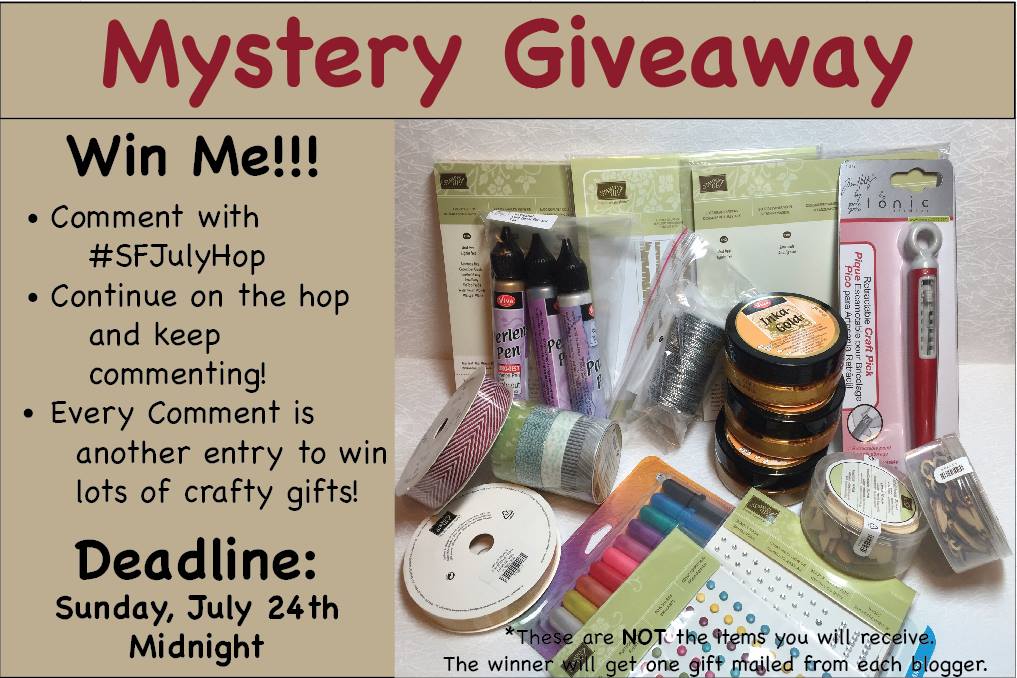
Welcome to our Stampin Friends July Summer Fun Blog Hop! I'm so excited that you have decided to stop by. We have 12 amazingly talented crafters this month. You're going to have so fun when you follow along and check out everyone's blogs and fabulous projects. Make sure to leave a comment to be entered in the Blog Hop raffle. Read each blog, scroll to the end, and leave a comment with #SFJulyHop!! Each member and guest blogger, will randomly select a winner from our blog comments. We will then pool those together and randomly select the overall hop winner. I would love to hear some feedback and you will earn a chance to win some Blog Candy! Thank you for visiting my blog from Siara's site, and thank you for continuing with the Blog Hop. Enjoy my project and at the end click the NEXT button to continue to Kathie Rotti's Blog. Didn't come from Siara's blog?? That's ok, just click the PREVIOUS button towards the bottom of the blog or scroll to the end and click on Siara's name to visit her blog. My project uses the new Always an Adventure, Foxy Friends and Harwood Stamp Sets and Outdoor Adventure and Botanical Builder Framelits, and the Fox Builder Punch. Sooo fun. I started with making the giftbag. I wasn't 100% on my design, so I just went with what I was feeling at the time. I used the giftbag punchboard and I used a full sheet of 8 1/2x11 cardstock and followed the directions for a medium bag. Before assembling the bag, I took the Hardwood Stamp and stamped the entire bag. Cut out a square on the front of the bag.from the Layering Squares framelits. I used a post it note to hole the framelit in place. You will need to fold up the other sides to fit through the Big Shot. Make sure you fold the sides ontop not under or the square will cut all the layers. To finish off the bag, I cut a piece of window sheet slightly large than the square framelit used. I adhered it on the inside. I cut out a few leaves from the Botanical Builder Framelits. I punched the fox image out with the Fox Builder punch on Whisper White. And I stamped the coordinating images in Cajun Craze. Face was stamped in Black. SOOO cute I love seeing all the Foxy Friends all over Facebook and Pinterest. I added a little S'mores kit to the bag. I mean whats more summer than S'mores. So my card focusing on the Outdoor Adventure Framelits. I used a piece of the Thick Whisper White and created to cardbase. I made 2 cards with the same design. You can see from the photos below. I stamped or colored the stamped images and cut them with the framelits. To create I the sky I cut a piece of Soft Sky card stock at about 2 1/2" x 5 1/4. Then I just layered everything onto the base. I realized after the hot air balloon just looked to big on the card so I omitted it. Sooooooo, after the card was done, I decided to make a second bag to match the card. I made with the same size as my Fox bag. Cut out the same Outdoor Adventure layers and assembled. I am happy with the results. But I think at some point I will make a card the matches the Fox Bag a little better. I had fun just making everything with no real plan just lets see how it goes!! Not usually my style. I hope you liked it Thanks for visiting. Please continue the Blog Hop by clicking next below to hop over to Kathie Rotti's blog! Happy Stampin Steph Here is a list of all the Hoppers this month
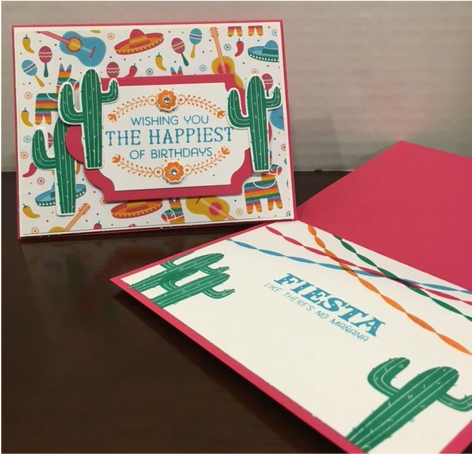
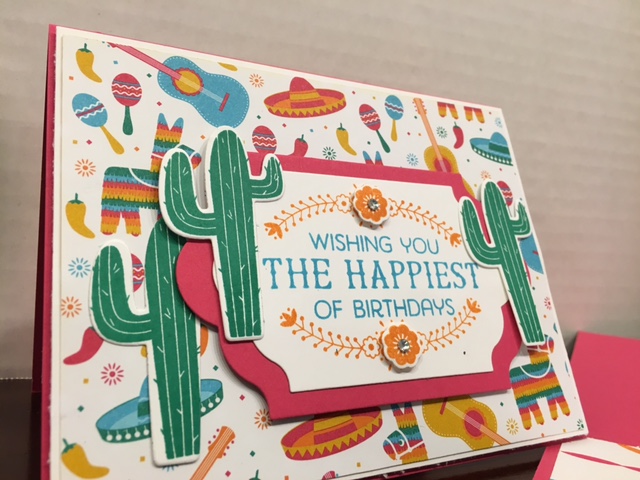
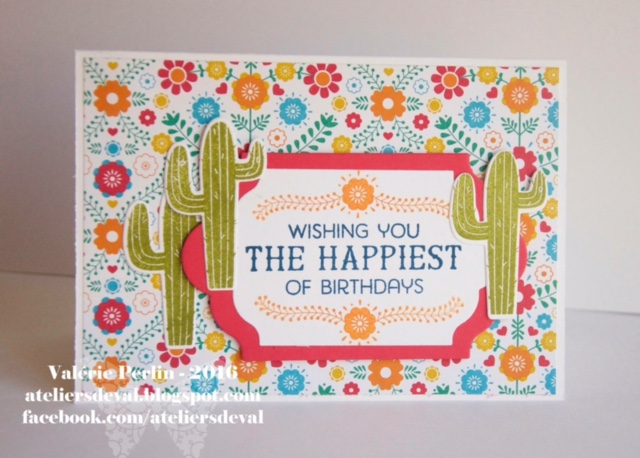 Today's card was inspired by Valerie Perlin. I came across this card and I loved it. I just couldn't wait to recreate it. So easy to make. The colors in the Festive Birthday DSP are so bright! I just love them all. I chose a different pattern from the pack. The guitar, sombrero, pinata, etc it all screams birthday. And I have a friend whose birthday is coming up, this card is perfect for her. I used a Melon Mambo cardbase, cut a layer of Whisper White just an 1/8" smaller and the same with the DSP. I chose to use the colors featured in the paper to stamp with. Emerald Envy, Tempting Turquoise, Melon Mambo and Pumpkin Pie. I used the Lots of Labels Framelits, stamped the cacti and little flowers and used the Fiesta time Framelits to cut the out. Layered it all together.
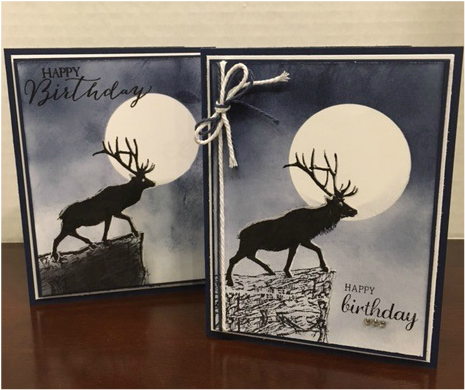
For the inside of the card, I just had fun stamping the streamers and cacti again. I love this card! This set is so fun to work with. I made 2 cards in no time at all!!! I love finding a CASE that is fun & easy when I am in a pinch to get a card in the mail!!! Thank you for visiting. Please feel free to contact me if your interested in any of the products used to make these cards. Adios Happy Stampin Steph Today I decided to make a birthday card for a family member who is very much a fan of the great outdoors. I knew The Wilderness Awaits. I started with my color choice, Night of Navy. I created the cardbase, a layer of Whisper White at just an 1/8" shorter, a layer of Night of Navy at a 1/8" smaller than the Whisper White and another layer of Whisper White at again 1/8" shorter. I assembled everything except the smallest layer of Whisper White.
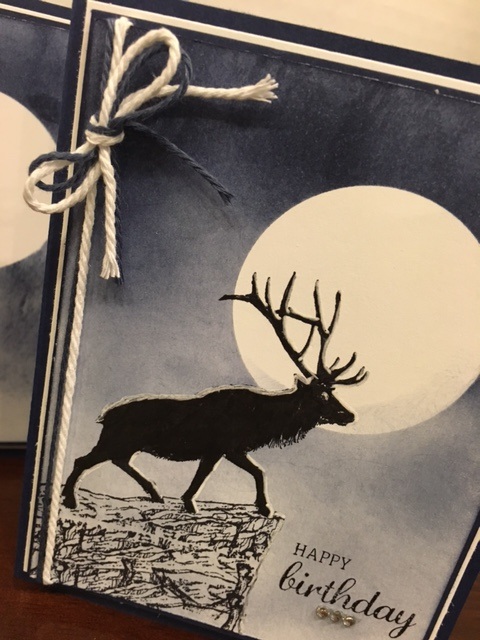
Punched a 2" circle out of a post-it note, making sure some of the adhesive is part of the punched area. I put the circle on the cardstock and sponged around the entire piece, starting off darker and gradually get lighter. I removed the post-it note and I have a perfect white circle for the moon. Masking technique is so easy. I took the moose image and stamped in Basic Black. At first, the plan was to black out the whole image to make it appear as a shadow. I think the moose looks great, but I didn't like coloring the mountain/hill part. So I lightly sponged that area so you could still see the detail. I stamped the Happy Birthday from the Butterfly Basics stamp set. Seemed a little big for the card. Just didn't do it for me. So on the second card, I did the same masking technique, colored the moose in black but left the mountain. I inked just the mountain part and stamped it over to extended the detail to the bottom of the card. I tied a bow around the layer with equal lengths of Thick Whisper White Baker's Twine and Night of Navy Baker's Twine. I debated on adding a sentiment. But I eventually decided on the sentiment from the Best Birds stamp set. Finished it off with 3 Basic Rhinestones for a little feminine touch. I love how it came out! If you are interested in any of the products used in the cards, please feel free to contact me. Thank you for visiting. Happy Stampin Steph For a limited time, you can get the exclusive Thoughtful Branches bundle. If you preorder a bundle for yourself between July 7 and 31, you’ll qualify for a Bonus Days coupon that you can use between August 2 and 31. But wait, just by ordering this exclusive bundle you are invited to a free workshop!!!! I will provide the supplies and you will be able to make 3 projects using this Bundle. (picture on the event does not reflect the projects we will be making) I have two timeslots available on September 11th. To view event details, visit my Facebook Page and click on Events Please RSVP today Bundle cost is $52 plus tax and shipping The details of the bundle is listed in the document below. Please note the pictures listed in this document does not reflect the projects we will be making at the workshop. Can't make it to the workshop, no problem. I will provide you with a pdf of the project details. Happy Stampin Steph Did you get everything you want from the new annual catalog yet? Since it only came out a month ago, you probably still have some items on your wish list, and we have some great news for you! For every $50 you spend in between July 7 and July 31 (before shipping and tax), you’ll get a $5 Bonus Days coupon that you can use August 2–31. This is a great opportunity to shop from your wish list, whether you buy your favorite products now or later in August with your coupons! DETAILS Promotion Period: July 7–31, 2016 Redemption Period: August 2–31, 2016 An email address is required to participate in this promotion;Bonus Days coupon codes can only be delivered via email. It is strongly recommended that participants both save emails containing their Bonus Days coupon codes AND write down the coupon codes in a safe place. Codes cannot be resent if the email is lost, and lost codes cannot be recovered. Bonus Days coupon codes can be redeemed for any product, excluding Starter Kits and Paper Pumpkin subscriptions. New prepaid Paper Pumpkin codes can be redeemed Contact me to place your order today!
Happy Stampin Steph |
Categories
All
Archives
May 2024
|


 RSS Feed