|
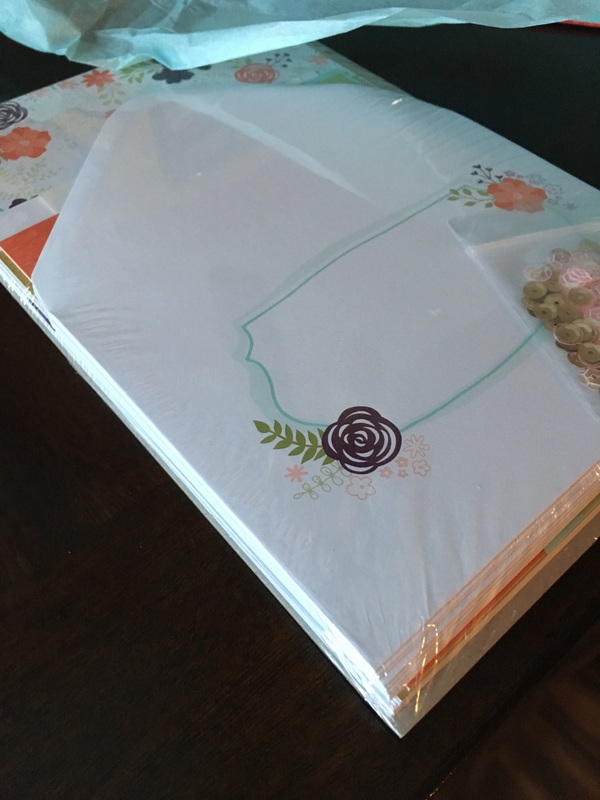
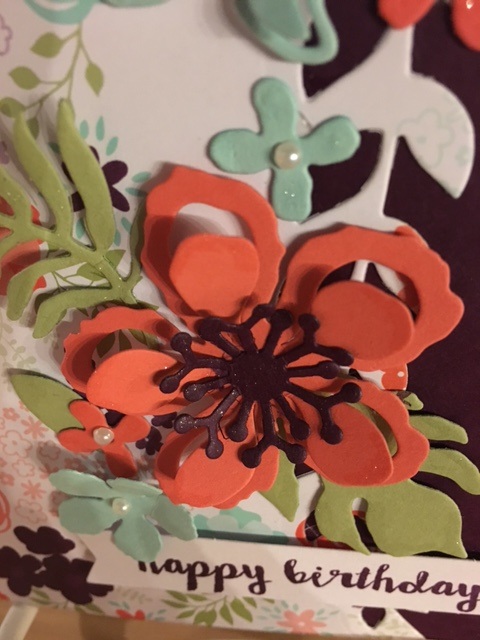
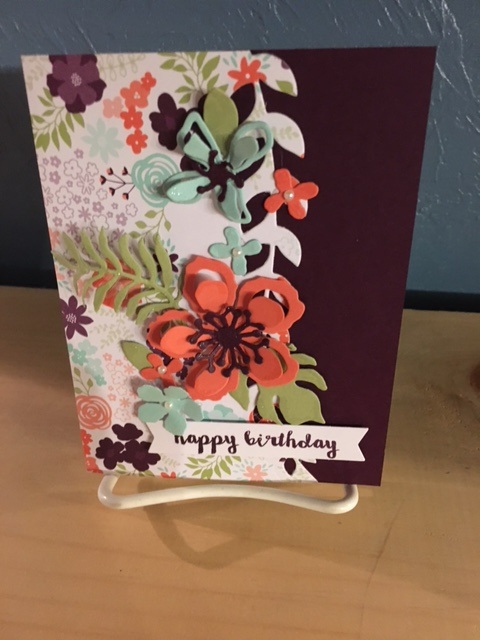
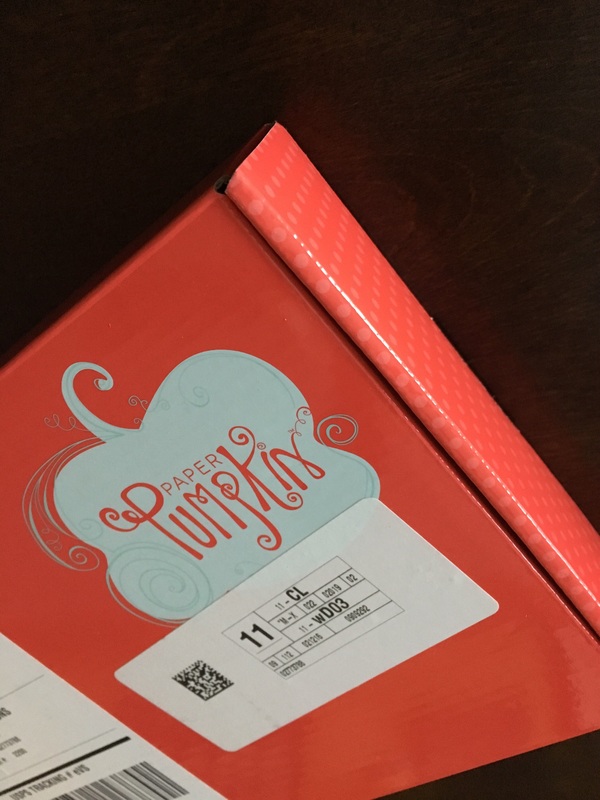
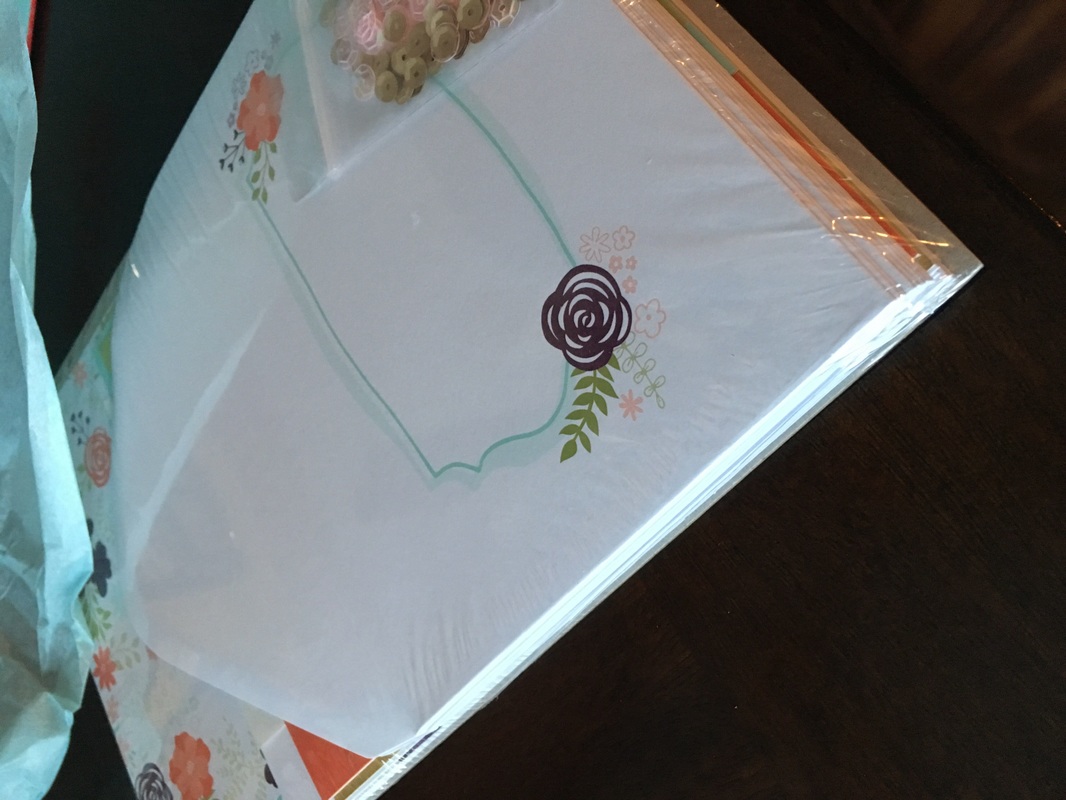
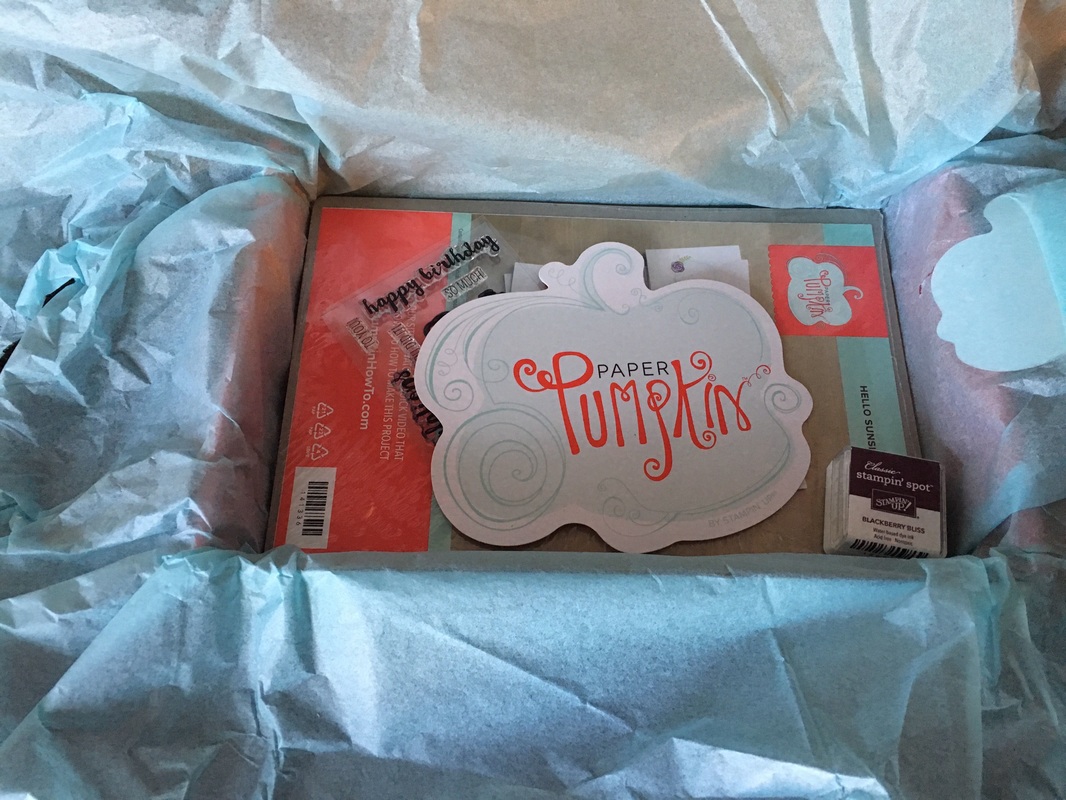
As promised, here is the reveal to February's Paper Pumpkin. Including some alternate designs using the kit. Usually I just make the kits as shown because I am always crunched for time. But this month I really like the kit. I decided to think outside the box. Venture out of my comfort zone and I made 3 alternates from the kits. I had enough material left over to complete 4 cards featured in the kit. So here we go. How pretty is this card kit????? I did not make the cards shown in the first picture above, bottom right. I used the card base in my alternate designs. But I did make 2 of each of the other designs. I paired the kit with the Botanical Builder thinlits and Mini Treat Bag framelits. So fun. I love how everything just coordinates perfectly. I painted the tips of the flowers with the Gold Shimmer WInk of Stella. I included a notecard that fits inside the mini treat bag. You can use these together or separate. 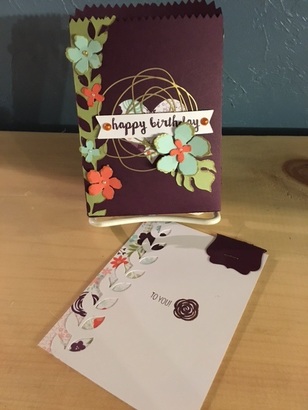 Next I decided to continue with the Botanical Gardens and make a card. WOW I have to pat myself on the bag, I must say I am quite pleased at the results.. GORGEOUS. For the flowers on this card I also used the WInk of Stella, but in the Clear Shimmer. WOW WOW WOW And finally, last but certainly not least. I made a scrapbook page. This is a 12x12 layout. Who wouldn't be proud to have this layout displayed in their album?? 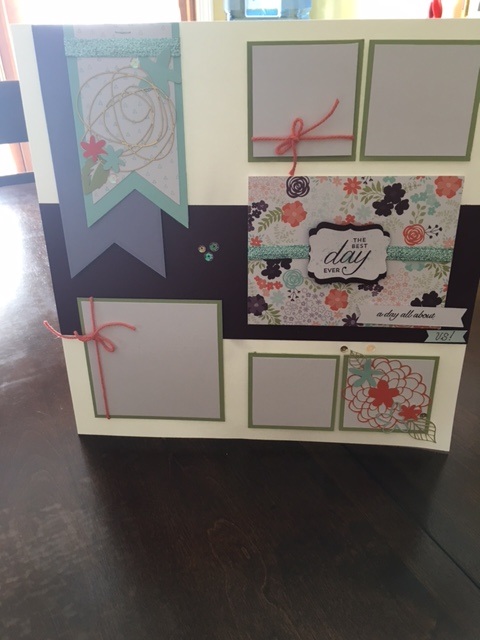 Here's a group picture of all the products I made from the February Kit. AMAZING. I even had product left over! 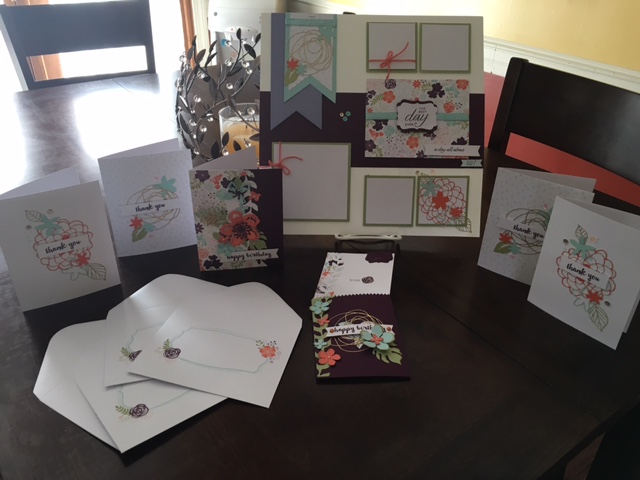 Feel free to contact me with any questions on the products used
Have a great day Happy Stampin Steph
0 Comments
 Morning Card Clubs: March 2nd, March 16 and March 30 9am-12pm
Time to make some cards! Make 4 cards. Bring your bone folder and adhesive. All material is precut ready for stamping and assembly. Learn a new technique or two! Bring a friend or two!!! Attend 10 card clubs and your 11th is free! Place a $30 order that day and the card club is free!! Please RSVP by end of day the Monday before!!! Evening Card Clubs: March 8 and March 22 6:30pm Can't make it to the morning card clubs, thats ok I offer evenings as well. Time to make some cards! Make 4 cards. Bring your bone folder and adhesive. All material is precut ready for stamping and assembly. Learn a new technique or two! Bring a friend or two!!! Attend 10 card clubs and your 11th is free! Place a $30 order that day and the card club is free!! Please RSVP by end of day the Monday before!!! March Scrapbook Workshop: March 6th at 7pm Spring is in the air! Let's get your layouts ready to go to capture the budding flowers and leaves . These 2 - 12x12 page layouts will beautifully display those photos. Use the layouts for separate events or a 2 page spread. Bring your adhesive, I will supply everything else. You may need to stamp, complete a technique and assemble. Cost $15. If you are unable to attend, you are welcome to come by and stamp your images. Unfortunately "to-go" kits will no longer include the stamped images due to Stampin' Up policy. If you would like to receive a to go kit instead please let me know at the time of the RSVP. Easter Treat Holder and Cards: March 9 at 9am and March 13 at 7pm Come on by and make 4 adorable Easter treat holders and 4 matching cards. Treat holders can be used for any little gift (jewelry, gift card) or fill them with yummy candy! Makes a perfect gift for just about well...EVERYONE! I will have 4 kits precut for you. Cost is $20. Please let me know if you need to make more than 4 I can't wait! See you soon! Free Friday Fest: March 18 at 6:30pm Come by to my Friday Fest. It's Free!!! B.Y.O.B. Work on your own projects. Use this time to organize, make cards, sew, knit. Whatever projects you need to get caught up on. If you need my tools/ink/stamps cost is $5 unlimited use. (Paper sold per sheet) Nothing to work on, but want to get creative? I will have 2 cards you can make for $5 or 1 scrapbook page layout for $7. Just let me know at time of RSVP. Save the date for my May Stamp Camp: May 1 Details to come. Remember to always visit my website for the most up-to-date list of events. Thanks for stopping by and I hope to see you at my events. Happy Stampin Steph 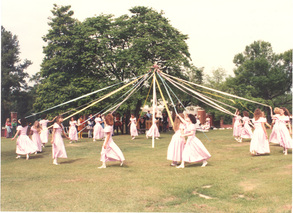 SAVE THE DATE:
My Star Stampers, The Sisterhood of the Traveling Stamps, will once again join forces to bring you another amazing event. We are very excited to offer you a May Stamp Camp. The event theme is very special as we will be honoring May Day in style. Our projects are still in the works, once they are finalized, this event will be updated. I will also be serving a ligth breakfast May Day Style. Our May Stamp Camp will be hosted at different Demonstrator locations, choose a location to attend that will better suit your traveling needs. Be on the lookout for the locations. Each of the Sisterhood of the Traveling Stamps locations will be making the same exact Stamp Camp projects. So, no matter where you choose to attend we will have the projects ready for you to make. The majority of the project materials will be pre-cut for you. You may need to stamp, punch, die-cut and assemble. Please bring your Snips, adhesive (Snail, Dimensionals, Glue Dots and Sticky Strip) and Bone Folder. Sounds great! Right? Fee: TBD Registration due by: April 15th Here's a sneak peak of this month's Paper Pumpkin. I don't want to be a spoiler just in case you haven't received yours just yet. But stay tuned and I will reveal the kit with a few alternatives!!!
Happy Stampin Steph  We're putting more into the second half of Sale-A-Bration with NEW ITEMS to earn for free! We're excited about it, and we know you will be excited too. You can earn them for free, with a $50 order, when they go live on February 16. Oops I am a couple days behind. Check out the flyer below for details on the new Sale-a-bration. Out with the old, in with the new. To make room for the new products, Stampin' Up had offered a few Sale-a-bration items as limited. These items are and may longer be available. Sky is the Limit stamp set page 15 Perfectly Artistic Designer Series Paper page 19 Hello stamp set page 19 Feel free to contact me to order your favorite products and receive these fabulous Sale-a-bration items. Take care and happy stampin Steph 
Welcome to our February Black, White & Whatever You Like Stampin Friends Blog Hop! I'm really excited to be back again, only this time, I am official member of the blog hop and will be sharing with you each month throughout the remainder of 2016. I am so happy and feel very honored to be asked to join!!!! There are 14 amazing crafters involved in the hop, along with 3 Guest Hoppers.
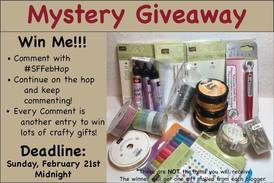
Please, make sure you check everyone's blogs out. After reading each blog, scroll to the end, and make sure to leave a comment with #SFFebHop!! Each member and guest blogger, will randomly select a winner from our blog comments. We will then pool those together and randomly select the overall hop winner. I would love to hear some feedback and you will earn a chance to win some Blog Candy! If you have visited my blog from Leanne's site, thanks so much for continuing with the Blog Hop. Make sure to check out my blog and at the end click the NEXT button to continue to Barbara Welch's blog. Didn't come from Leanne's blog?? That's ok, just click the PREVIOUS button or scroll to the end of the post to and click on Leanne's name to visit her blog.
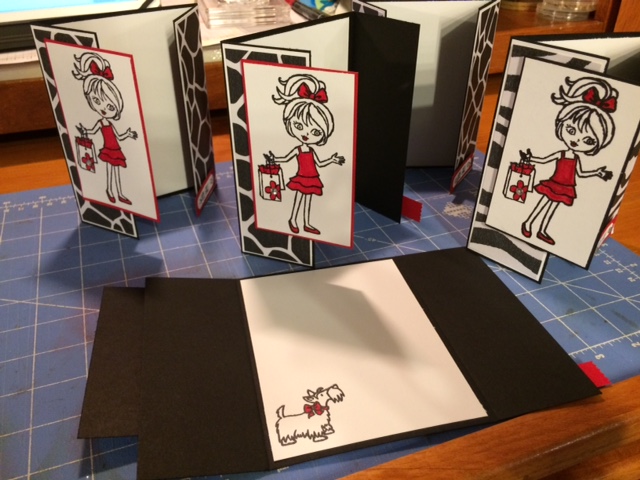
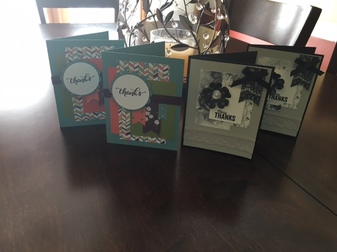
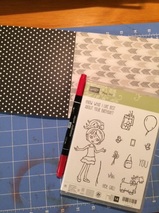
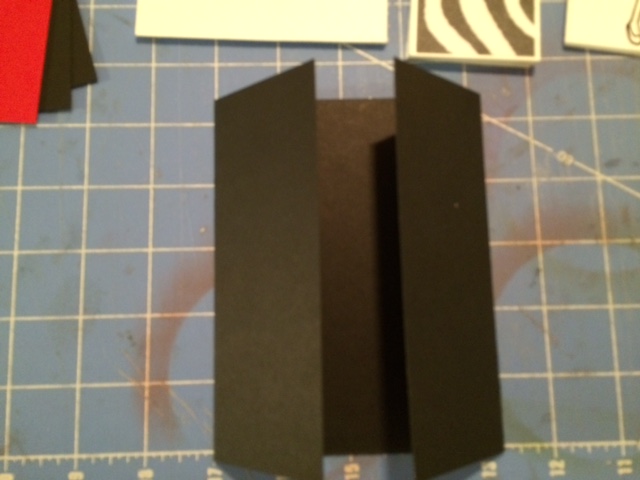
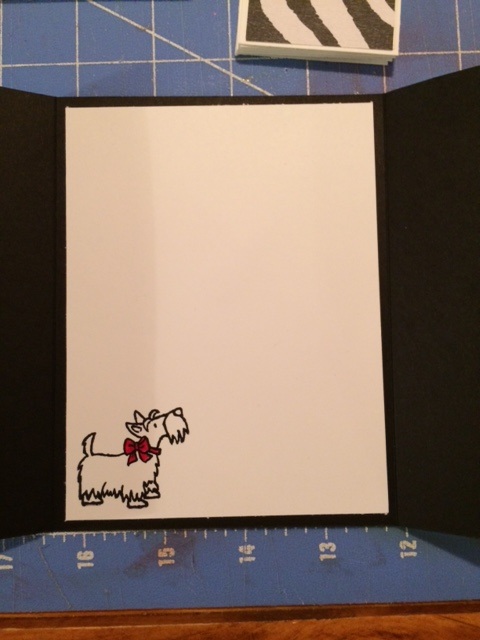
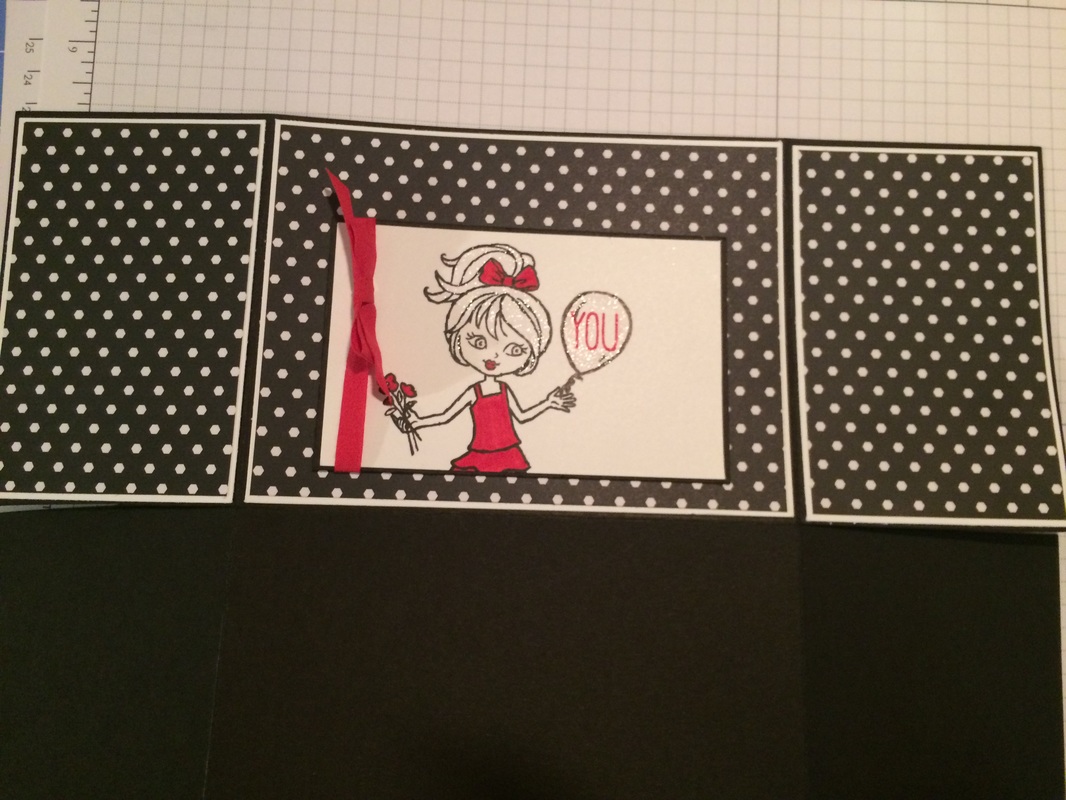
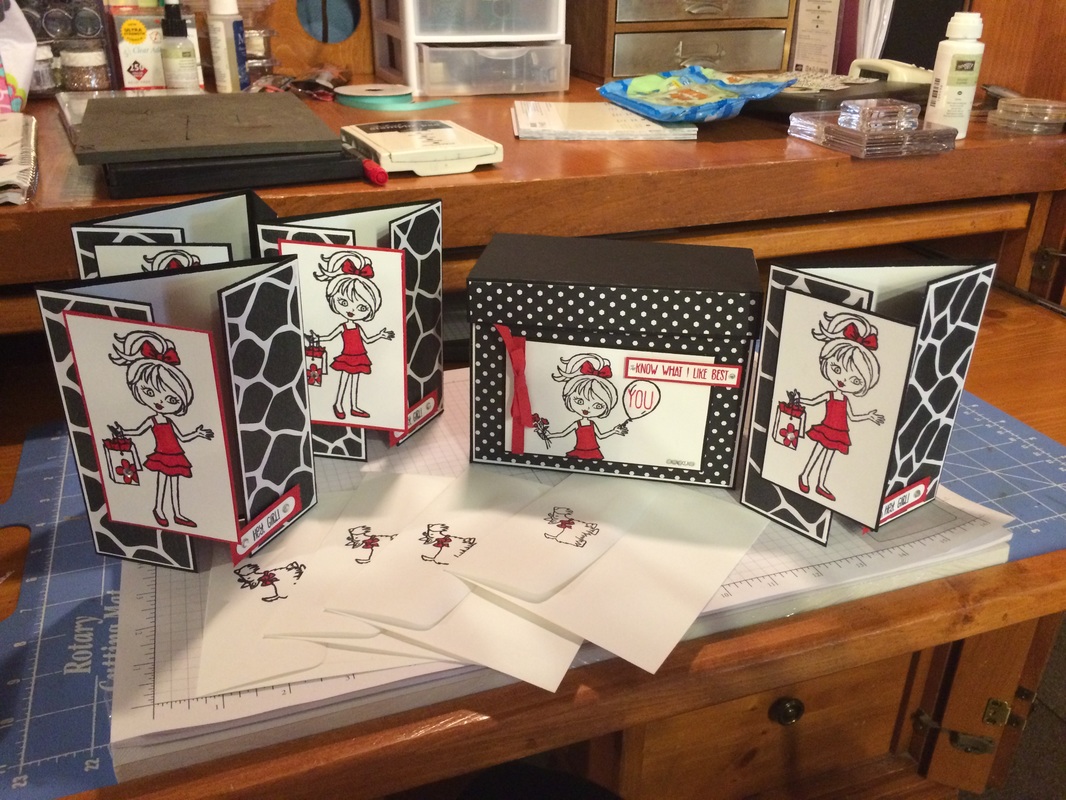
I started with a card base that measure 8 1/2x5 1/2. I chose to make Gatefold cards. Using your Simply Scored Scoring Tool, with the 8 1/2 side at the top score at 2 1/8 and 6 3/8. Fold on the score lines. For the inside of the card, I just used Whisper White cut at 4 x 5 1/4. I stamped the little Scottie in the Archival Black ink and colored his bow with a Real Red Stampin' Write Marker.
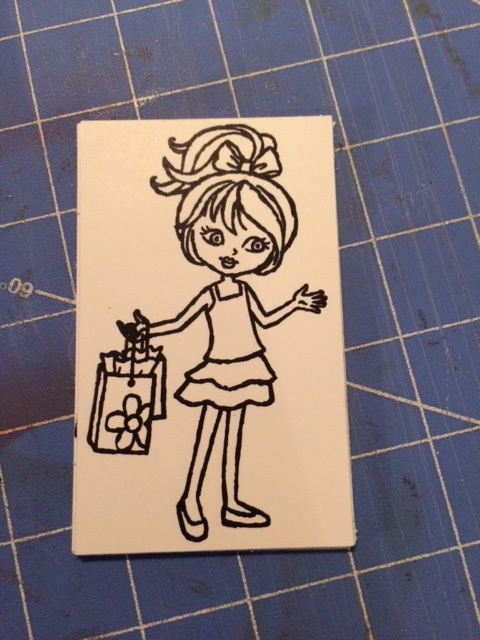
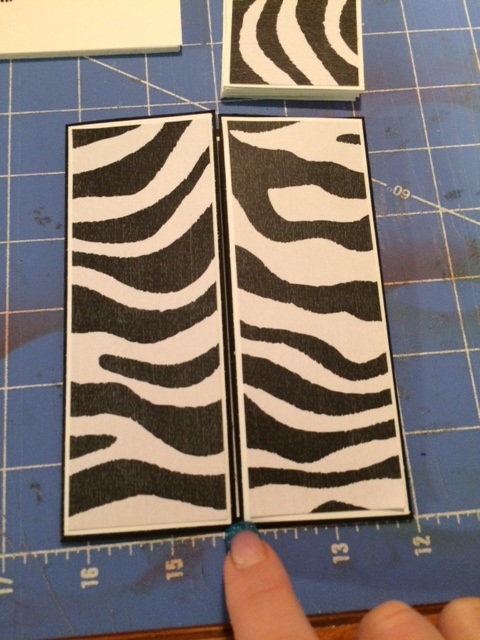
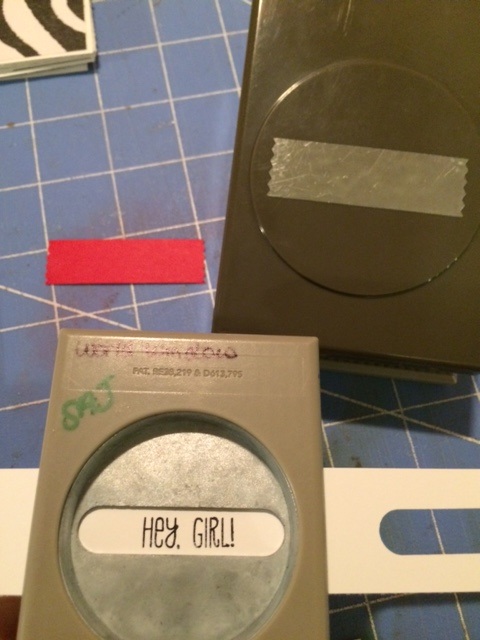
I layered the Gatefold panels with Whisper White and the Go Wild DSP. Whisper White is cut at 2x5 5/8 and Go Wild 1 7/8x5 1/4. Remember to cut 2 of each. Attach to card base using Snail Adhesive. Next cut a piece of Basic Black at 4 1/4x2 5/8. And a piece of Whisper White to 4 1/8x2 1/2. Stamp the Girl and Shopping Bag in the Archival Black ink. Color with Real Red Stampin' Write Markers. Attach the Whisper White to the Basic Black using Snail Adhesive. Attach to one panel using Dimensionals. Make sure the Dimensionals are only on one side of the panel, so the card can open. I decided to make 2 with a Basic Black mat and 2 with a Real Red mat. Which do you like better? I can't decide. (see the very end for finished pictures) Punch out a Washi Label using a scrap piece of Real Red. Stamp Hey, Girl on a piece of scrap Whisper White Paper. Punch out with the Word Window punch. Adhere Hey, Girl onto the Washi Label with Snail Adhesive. Use Dimensionals to adhere it onto the card. Make sure to just attach the Dimensionals on one side of the panels so the card opens.
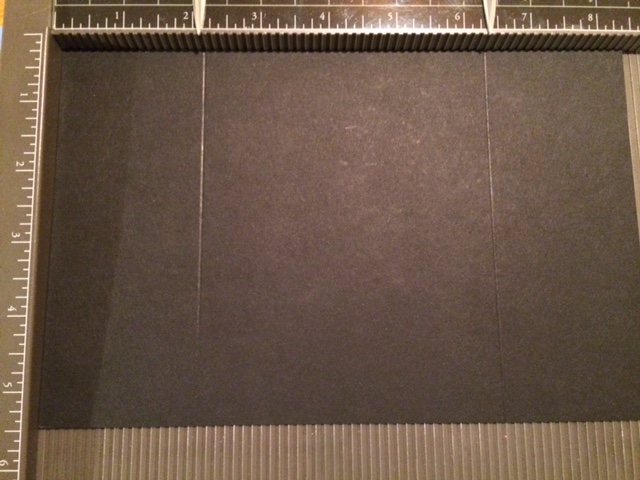
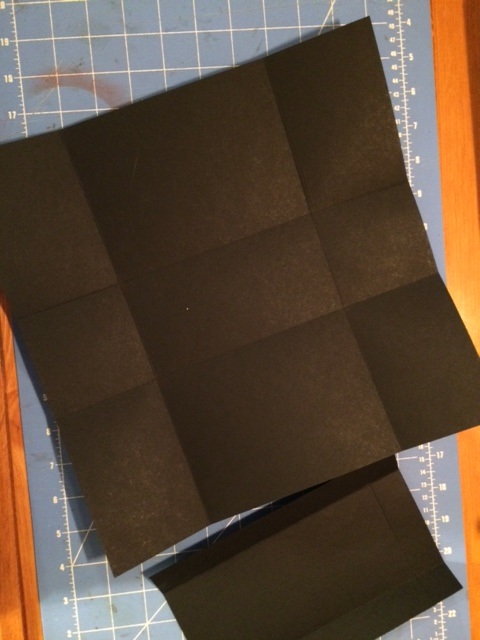
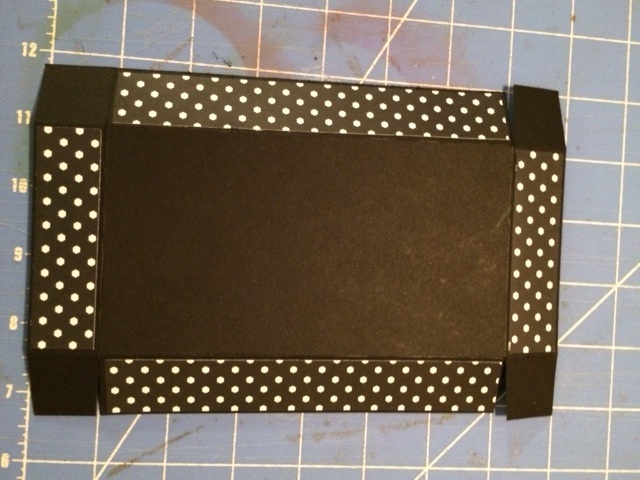
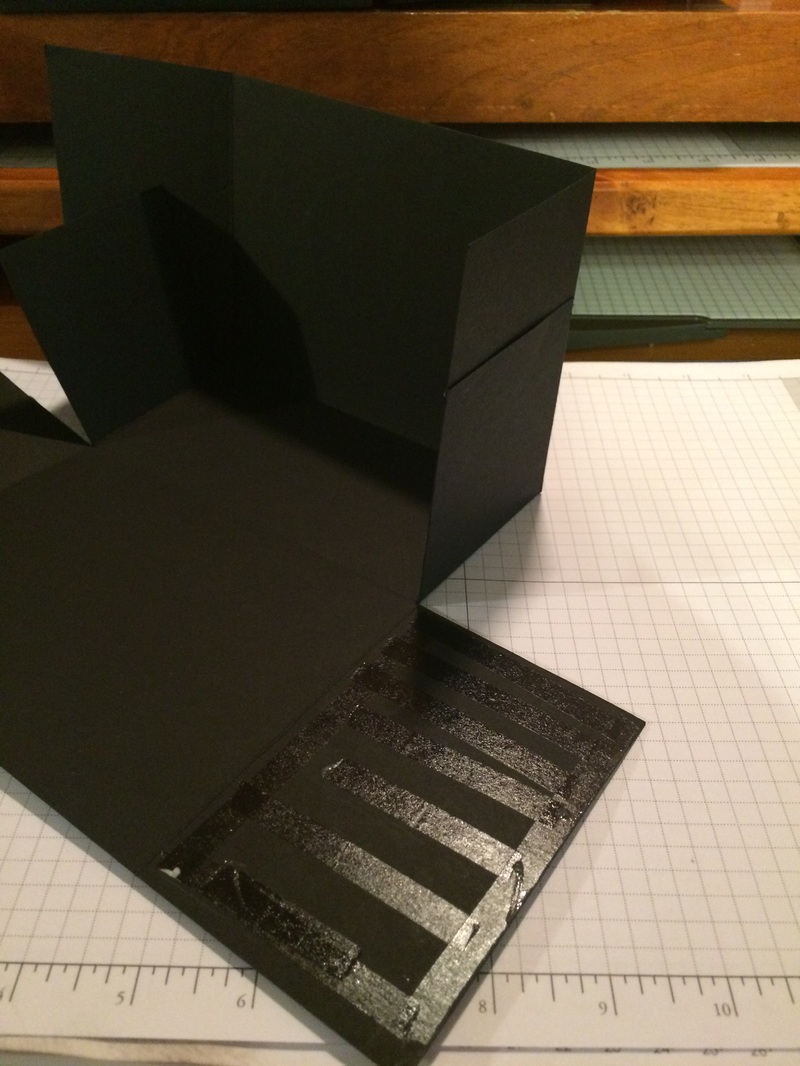
Ok...now to make the card box you will need 1 sheet of Cardstock measuring 12x12 and 1 sheet of 8 1/2x5 1/2. Take your scoring tool and the 12x12 sheet of CS and score at 4 1/2 and 7 1/2. Turn and score at 3 and 9.
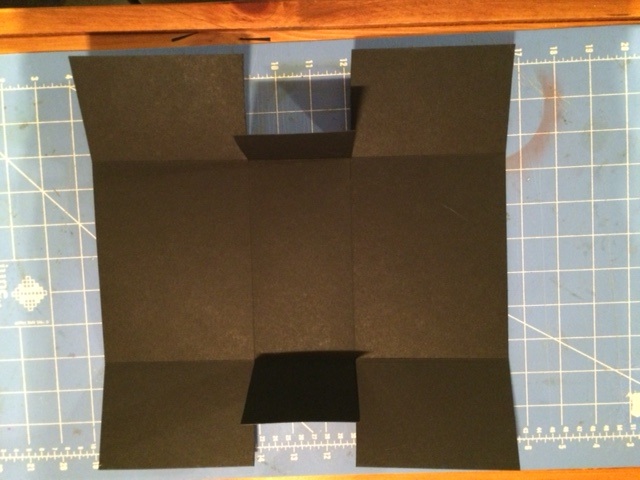
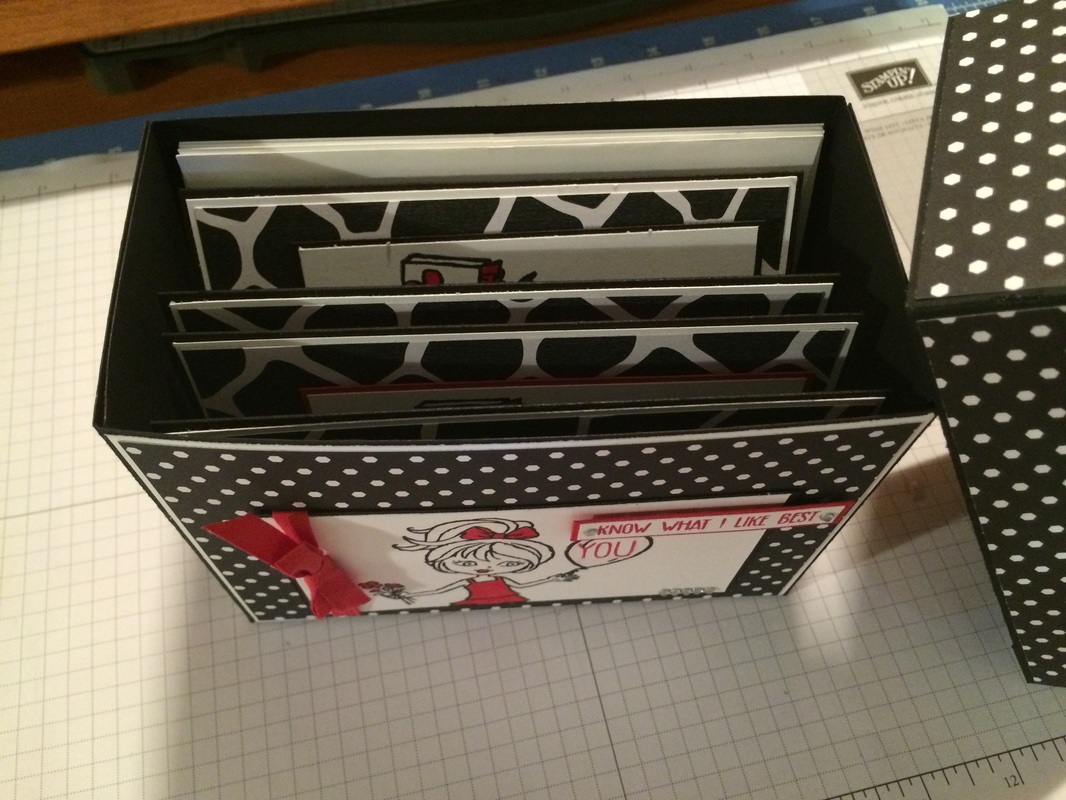
Now the lid, score at 1" on all 4 sides. Easy! Fold and burnish all your score lines on the lid and box. Time to cut: on the 8 1/2 side cut up on the 2 score lines. Turn and do the other side. These are the tabs to make the lid. On the box there are 2 squares that gets created after you score (the others are rectangles). You need to cut up on the scores line on each side...see third picture below. Next you will want to add your DSP to the lid and box. It's easier to put them on now, than after the lid/box is assembled. Cut 2 strips of DSP about an 1/8 shorter than the side to 3 x 1 7/8 nd 2 strips of 5 7/8 x 7/8 adhered to your lid with snail. Cut 2 pieces of Whisper White to 5 7/8 x 4 3/8 and cut 2 pieces of DSP to 5 3/4 x 4 1/4, this is the front and back panel of your box. Cut 2 pieces of Whisper White to 4 3/8 x 2 7/8 and cut 2 pieces of DSP to 4 1/4 x 2 3/4 this is the sides of the box. Adhere all the panels together with Snail. When attaching to the box, make sure whatever tabs you put the side panels on..make sure this is your front when you make the box. See pictures 7 & 8.
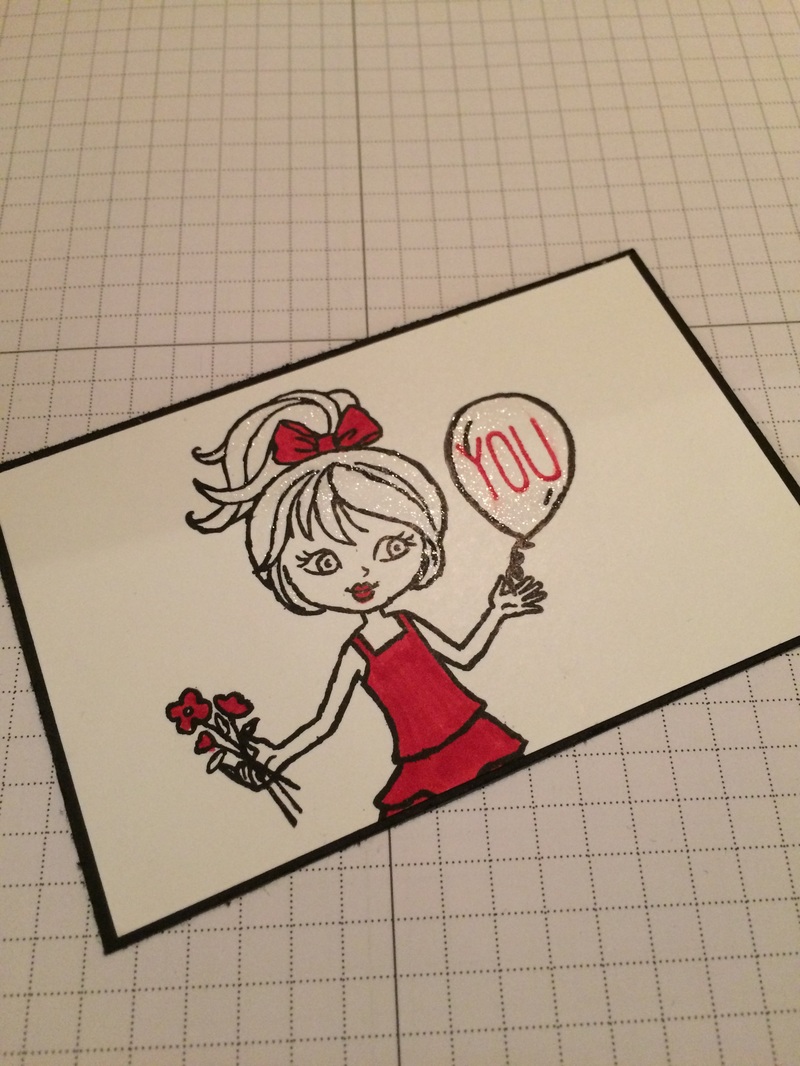
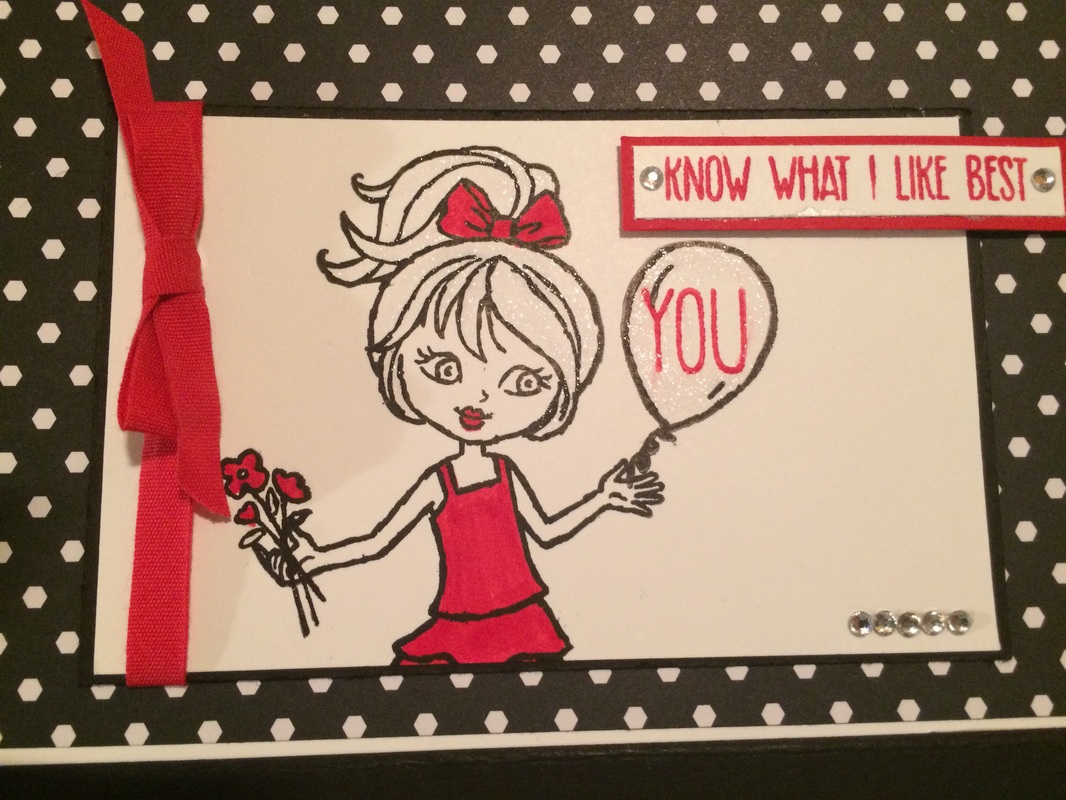
Now to decorate the box. I kept the decoration on the box very similar to the cards. I stamped the girl in Archival Basic Black ink onto a piece of 2 3/4x 4 3/8 Whisper White and matted on with Basic Black 2 7/8 x 4 1/2 using snail. I colored the dress, bow, lips and flowers in Real Red. I stamped YOU inside the balloon using Real Red as well.
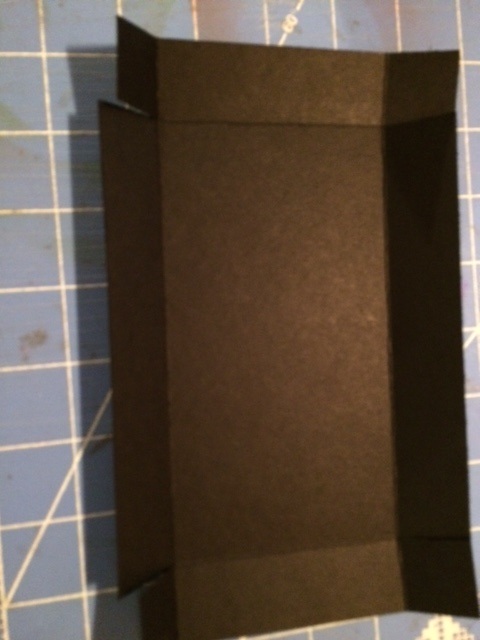
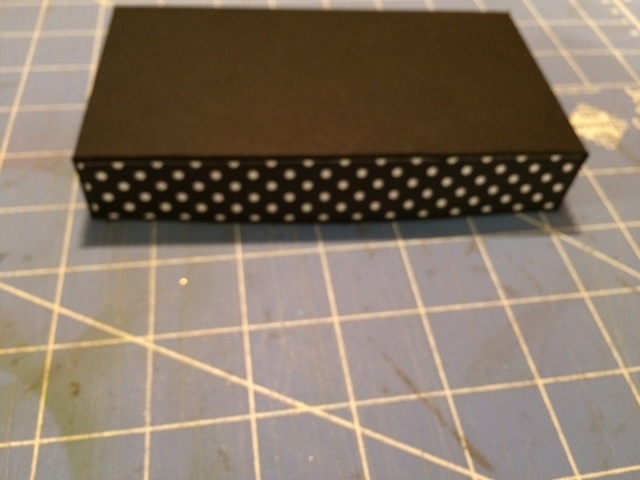
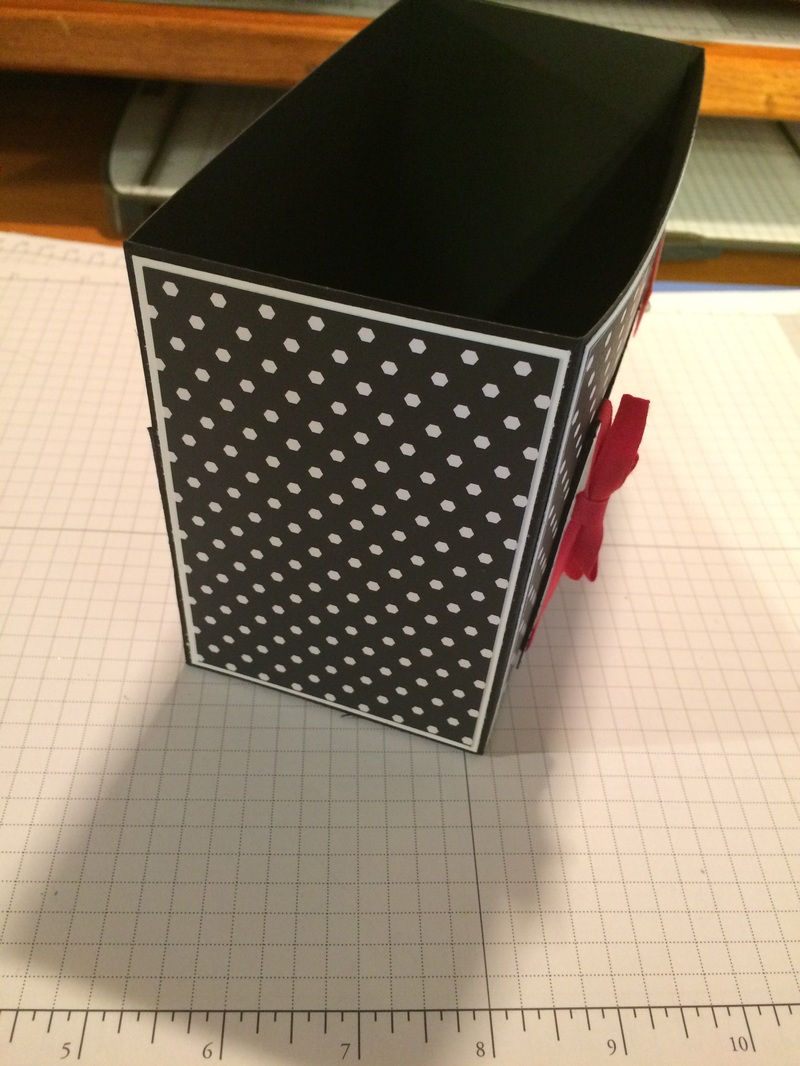
I colored her hair and the balloon using the Clear Wink of Stella (be careful around the red, the color will run...let it dry. I tied about a 16" length of Real Red Cotton Ribbon in a bow around the side of the stamped image. I added 5 Basic Rhinestones to the bottom right corner. I attached this to the front of the box using Dimensionals. Then I cut a piece of Whisper White to 3/8x2 1/4 and Real Red to 1/2x2 3/8. I stamped the saying in Real Red. Attach to the Real Red cardstock with snail. Add 2 Basic Rhinestones to each side. Attach to the front of the box with Dimensionals. Now to assemble to box. See pictures below. You need to fold the back side panel in, this should be the piece that does not have DSP on it. Fold up the short flap and adhere with Fast Fuse or a strong adhesive. Then Fast Fuse to the inside of the front panel and attach. Repeat on the other side.
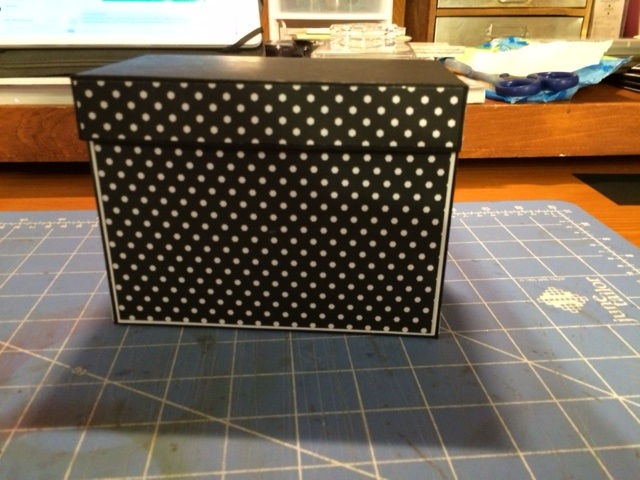
Here is the completed cards and box. As you can see there's a lot of space to put cards and envelopes in the box. I only added 4 cards/envelopes. I sure hope my daughter like this...but then again why wouldn't she???
Thank you following along with the blog hop and visiting my blog. I hope you enjoyed the projects I have shared with you. Feel free to contact me with any questions and if you are interested in any of the products used. You can also shop my website 24/7. You can see a photo of each product used in my projects below, at the very end
Remember to click next to visit Barbara Welch's blog. And....leave a comment #SFFebHop. Happy Stampin Steph 
Built for Free Using: My Stampin Blog
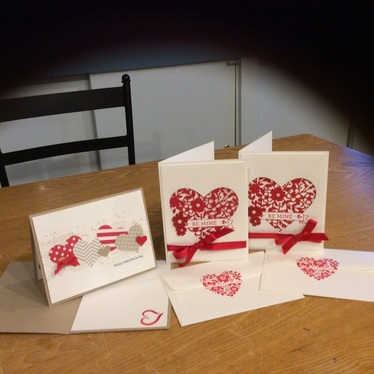 This past week's card club was all about Love. We made 4 Valentine cards that were inspired by cards I saw on Pinterest. I love the Real Red and Crumb Cake combo. So pretty. And super easy to make with the Timeless Textures stamp set used in the background and the DSP punched out with the Sweetheart punch.
And how about the new Bloomin' Heart Thinlits die. The detail in the Heart is simply stunning. And event though I used the heart for Valentine, it really can be used for so much more! Remember to check out my website for a calendar of events. So you can attend card club and make amazing cards just like these. Happy Valentine's Day and Happy Stamping Steph 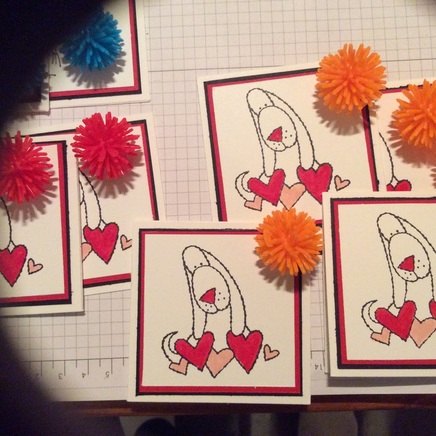 I had alot of fun making these super cute Valentine Cards for the kids classmates. It was so last minute that I didn't have a chance to have them make them with me. But they did get to write in the To's and From's. They were excited to go to school today to hand these out. They were so proud. I will admit it is not a Stampin' Up stamp. I believe the stamp set was from The Angel Company. It's my "go-to" for Valentines!!! Hope you enjoy Happy Stampin Steph 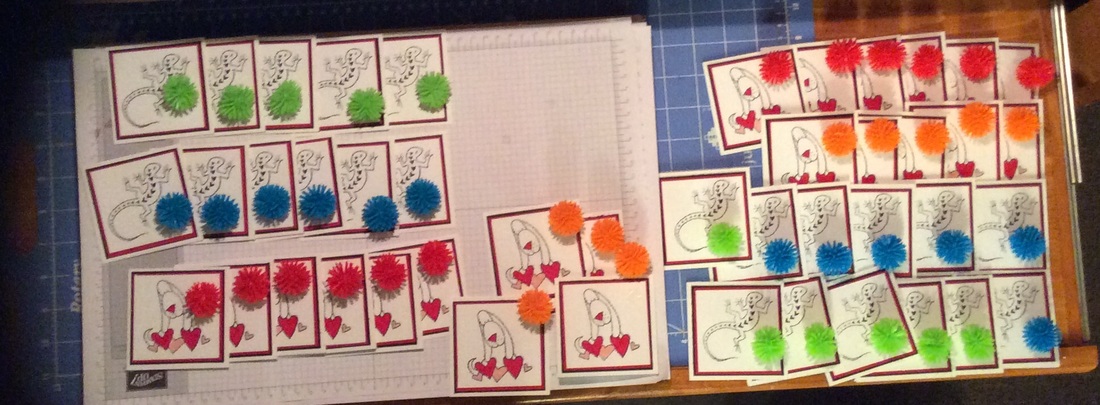 |

New 2023-2024 Stampin Up Annual Catalog


Kits Collection


Join today

Categories
All
Archives
January 2024
|


 RSS Feed