|
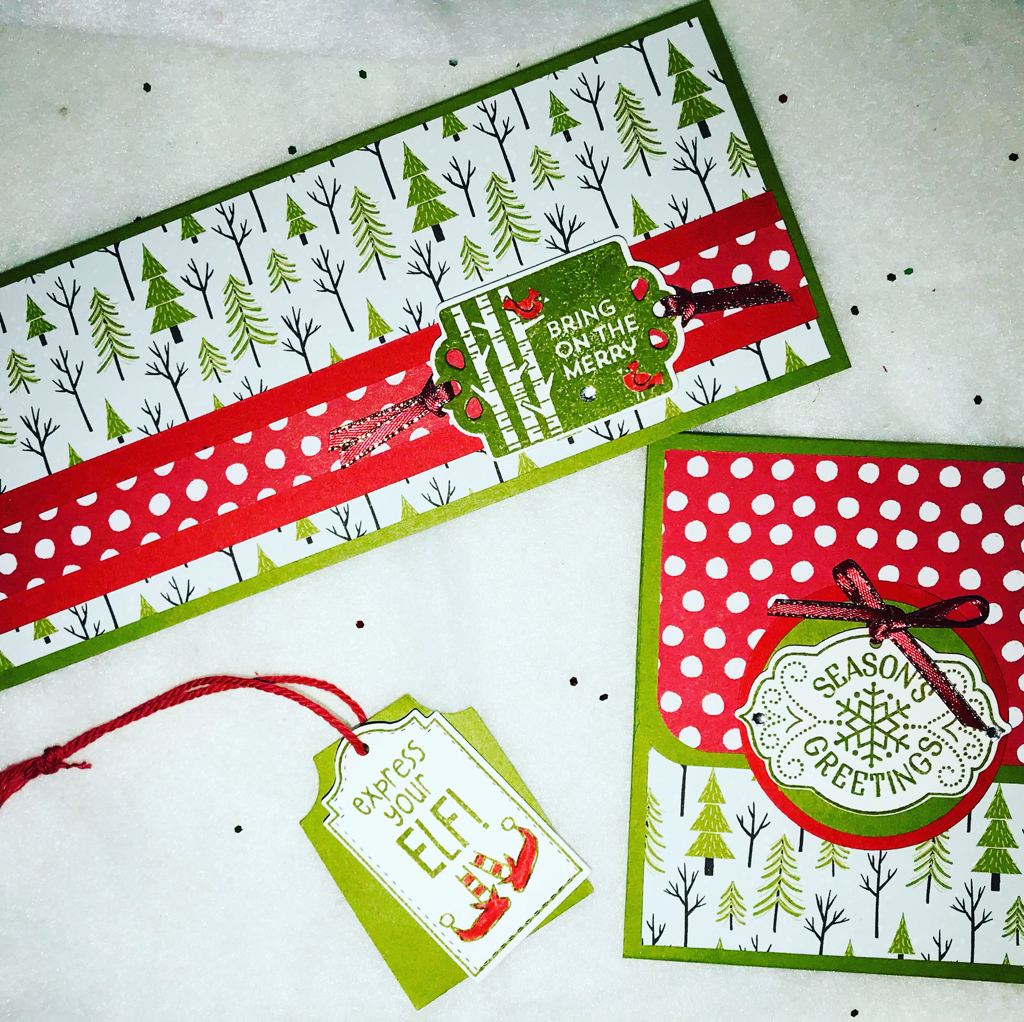
Who says money and gift cards are boring?!? Dress them up by placing them in these features holders! Add a little tag to any gift and give a plain gift bag a jolly look!! Learn how you can make these really easy gift projects with a few supplies; using 1 piece of Cardstock, 1 Tags, Tags,Tags Stamp Set and the Trimming the Town DSP! Stamp once, cut once and assemble!! Check it out below! Happy Gift Giving & Happy Stampin Steph
0 Comments
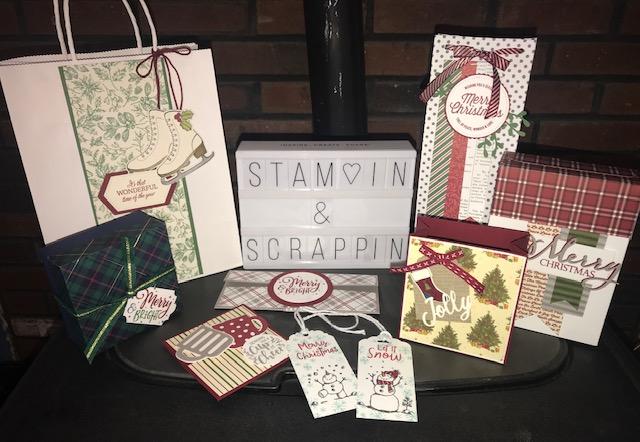
The holiday season is almost upon us and we will soon find ourselves scrambling to find the perfect gifts for our family & friends. Let me take away some of the stress and provide you with a fun event as you create fun gift packaging. Not only will your family/friends be excited to open their gifts....they will be super impressed that you created the packaging! I do the hard part...the cutting and preparation. You do the fun part...putting it all together!
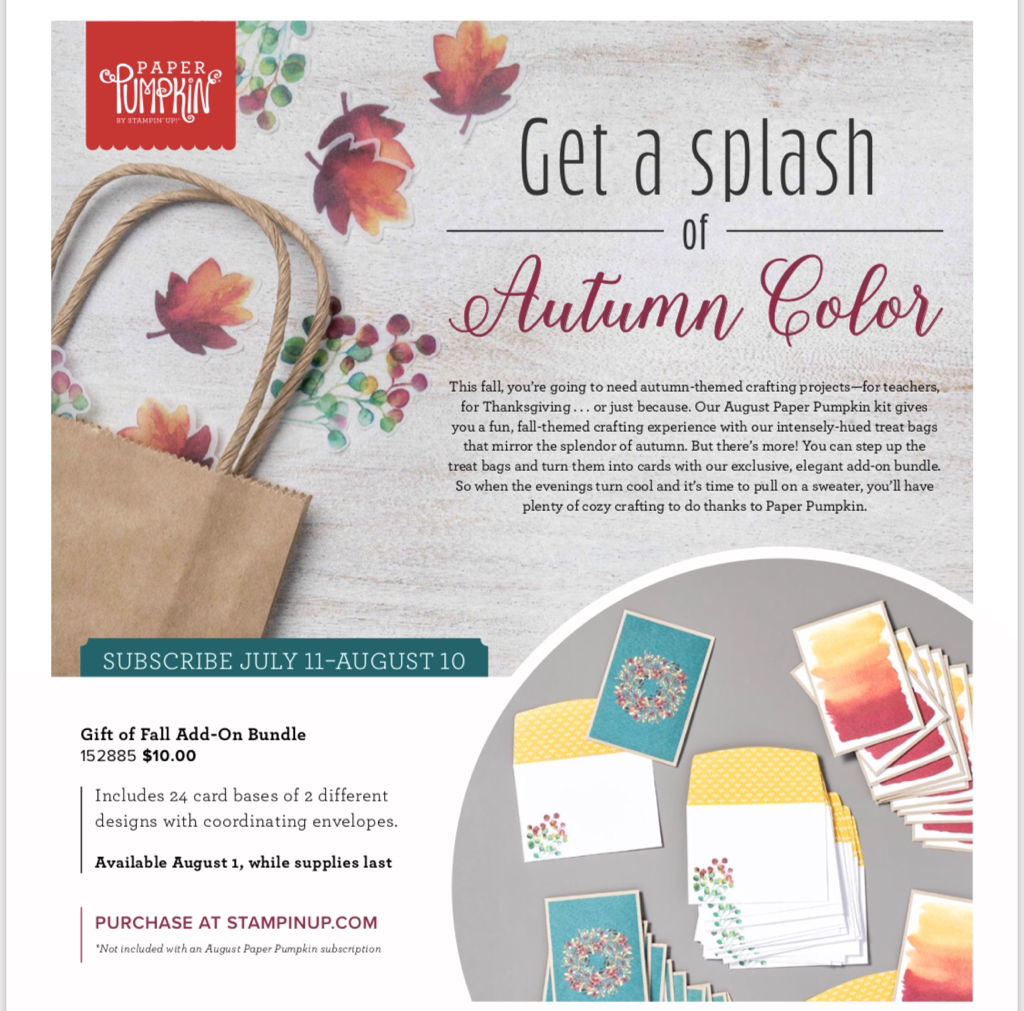
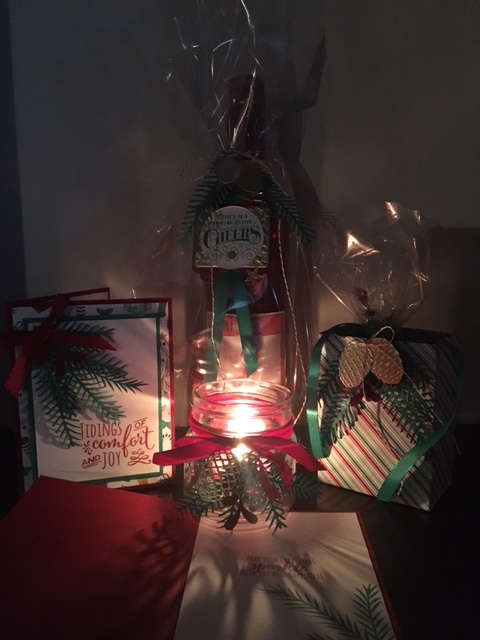
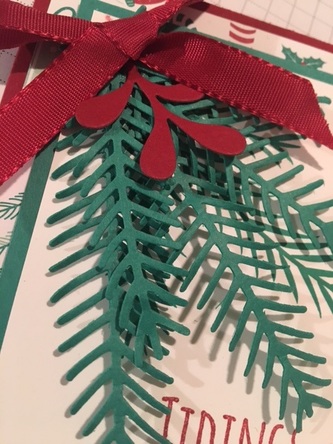
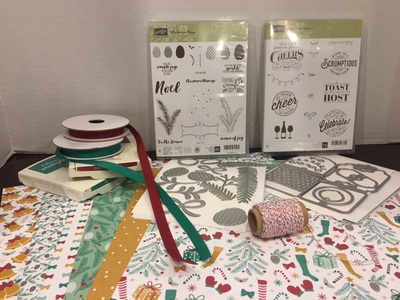
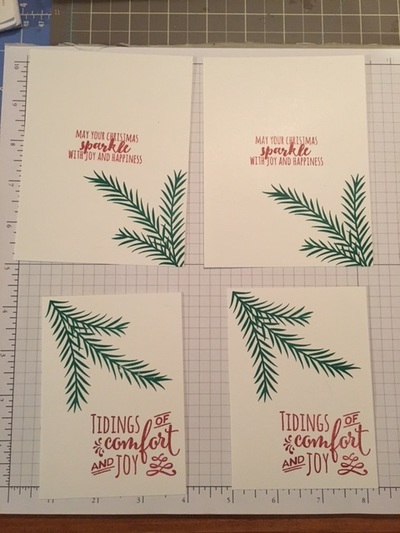
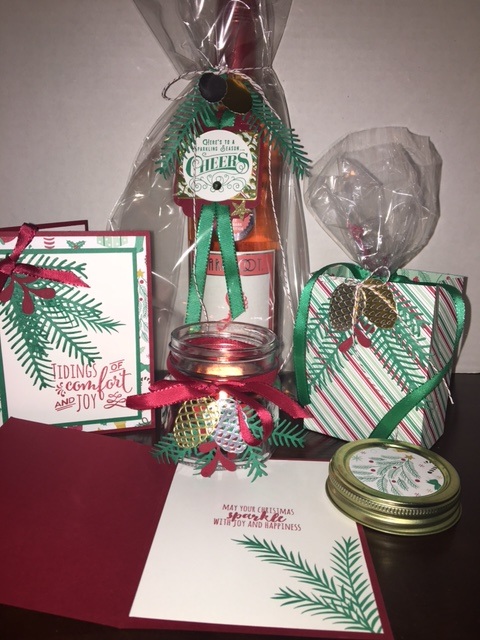
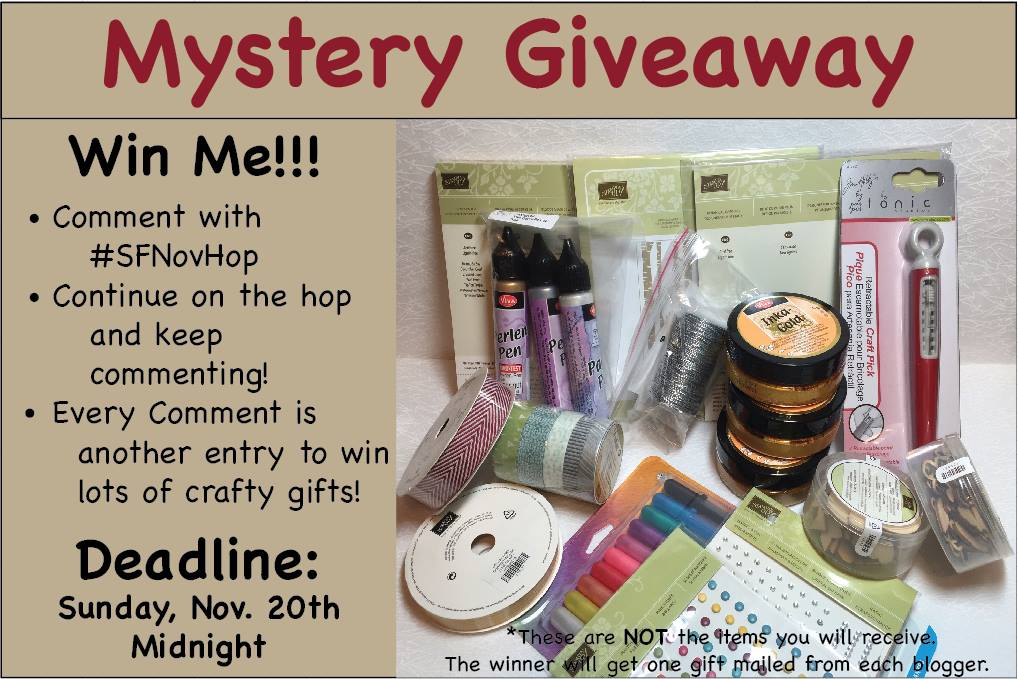
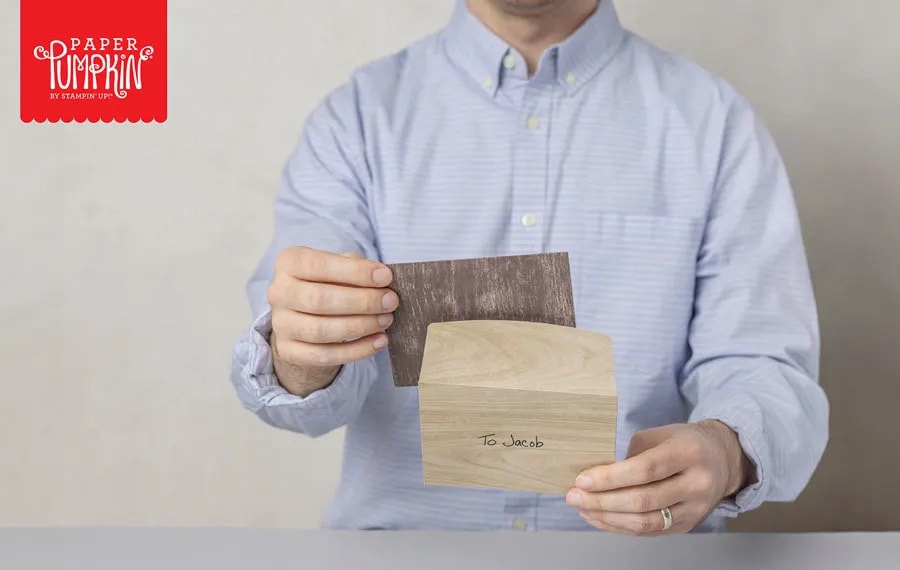
We will be creating a variety of Holiday Gift Tags, Gift Boxes/Bags and Money/Gift Card Holders. A total of 24 projects! Yes, 24.....10 bags/boxes, 4 money holders, 4 gift card holders and 6 gift tags! (Stampin Up designer paper may vary from what is shown based on current product availability) Come on by December 1 at 9am! Workshop fee is $30 this includes all the precut materials to complete each project. You may also add on additional projects please contact me for details. Can't make? Contact me about my to go option! To secure your seat, please register and pay at https://www.paypal.me/StephanieJandrow Stay up-to-date with event information by RSVP'ing to the Facebook Event. Click here to view the event. I look forward to seeing you Happy Stampin Steph Cozy fall craftingWhat’s the old saying? Variety is the spice of life? At Paper Pumpkin, we like to mix things up and keep your crafting experience fresh and fun. We plan each kit carefully, allowing you to check as many creative boxes as possible while keeping our projects simple—so you can explore the world of papercrafting with confidence. With this in mind, we are bringing an elegant fall gift packaging kit to Paper Pumpkin fans this August. Be sure to subscribe or have your subscription current before August 10th to receive this kit. And don’t forget about The Gift of Fall Add-On Bundle this a separate purchase for those who would like to convert their August Paper Pumpkin kit into cards. The price for the add-on bundle is $10.00 and is available for Paper Pumpkin subscribers only. This add-on is available beginning August 1, while supplies last! View the video below to see a sneak peak of the August kit and then click on this link to subscribe https://www.paperpumpkin.com/en-us/sign-up/?demoid=2127355 Please contact me if have any questions!! Happy Stampin Steph Welcome to our Stampin Friends November Happy Holidays Blog Hop! I'm so excited that you have decided to stop by. You are really going to love the projects shared this month! The Stampin Up Holiday Catalog was jammed pack with products to use for this hop, it was hard to choose just one this month!!!! We have 16 amazingly talented crafters participating in this month's hop, so be sure to follow along and check out everyone's blogs and fabulous projects. What's a Blog Hop without some Blog Candy?? Make sure to leave a comment to be entered in the Blog Hop raffle. Read each blog, scroll to the end, and leave a comment with #SFNOVHop!! Each member and guest blogger, will randomly select a winner from our blog comments. We will then pool those together and randomly select the overall hop winner. I would love to hear some feedback and you will earn a chance to win some Blog Candy! Thank you for visiting my blog from Carolina Evan's site, and thank you for continuing with the Blog Hop. Take a minute or two to enjoy my project and at the end click the NEXT button to continue to Kirsteen Gill's blog. Didn't come from Carolina's blog?? That's ok, just click the PREVIOUS button or scroll to the end and click on Carolina's name to visit her blog. I purchased the Here's to Cheers stamp set & Cheerful Tags framelits bundle awhile back and finally got around to using it. I think at first glance, being in the Stampin Up! Holiday Catalog, we think it is a set that needs to be used during the holidays. But that is not the case!!! It's a very versatile set for gift giving, whether your giving a baked good or a bottle of wine, it all boils down to the colors and presentation. My card & project for this month's blog hop is for the holidays. All products used are from Stampin' Up! I decided to make a little gift set that all goes together or can be broken out into separate gifts if necessary. But the intent is to give it together. Perfect for a co-worker, friend/family, pretty much anyone! It's perfect as a hostess gift too! A nice gift of candles and wine. A perfect to unwind during all the holiday stress. I paired the Here's to Cheers bundle with the Perfect Pines suite. I just love the DSP! So festive. But again a versatile pack of paper that doesn't need to be all about the holidays. Since the paper is double-sided, and only a few sheets have gift-giving on them, the paper is perfect to use for winter gifts, treats or cards! And the COLORS are fabulous. The main colors I used are Emerald Envy and Cherry Cobbler!!! So for the card, it is fairly simple to assemble. Cutting out all the pines was time consuming but I used the Diebrush and that helped out a bit. I used Cherry Cobbler as my card base and layered DSP with Emerald Envy and Whisper White. I think the only thing I would change is a different patterned DSP. The one I choice gets covered to much. I cut all the pines using Emerald Envy and the berries with Cherry Cobbler. I stamped a set of pines onto the whisper white with Emerald Envy, greeting is in Cherry Cobbler. I used the fine-point pen adhesive to assemble that way I only put the adhesive at the tips to let the rest hang!
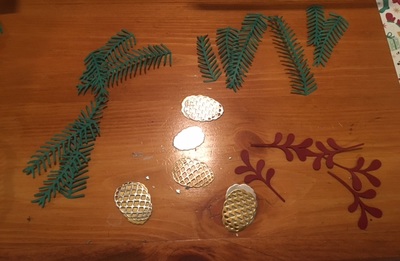
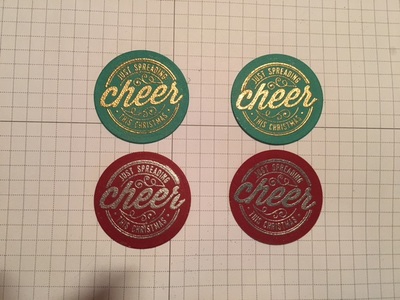
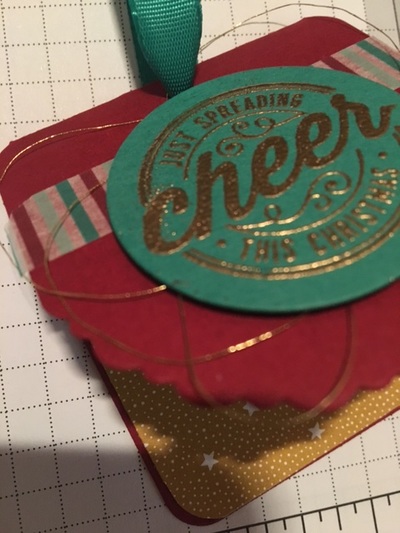
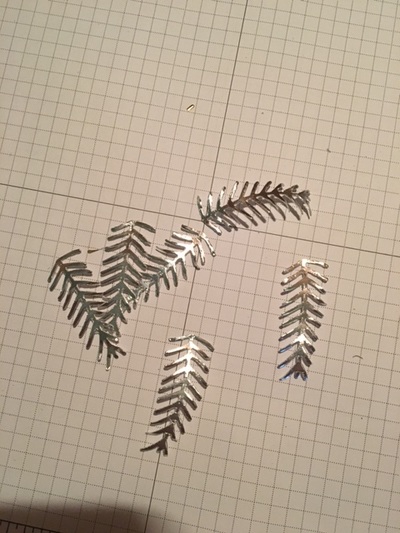
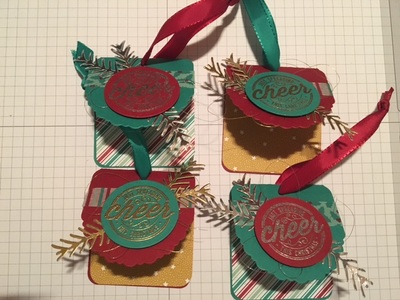
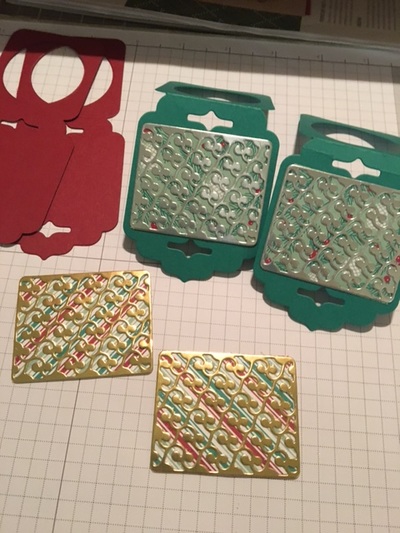
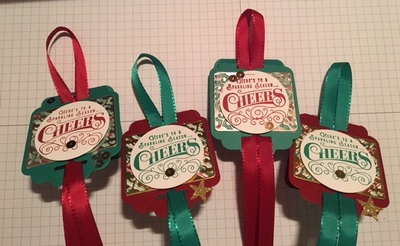
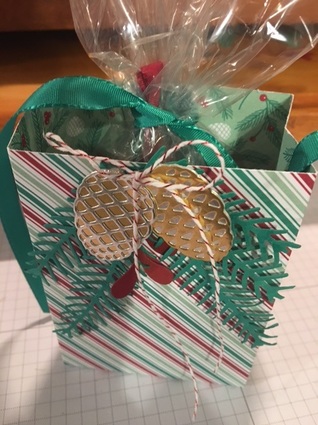
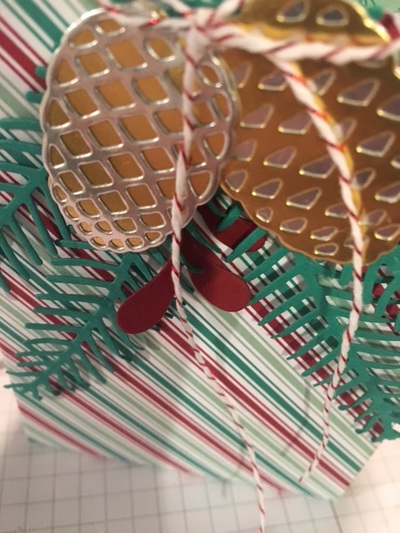
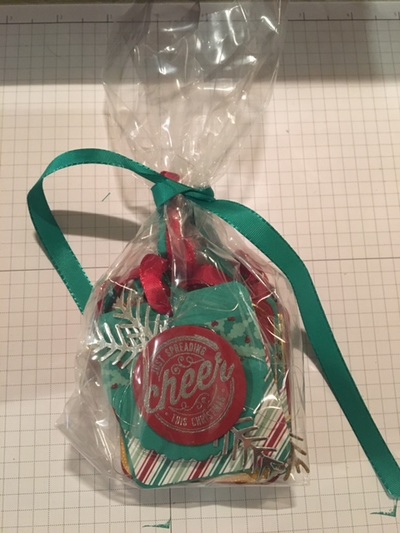
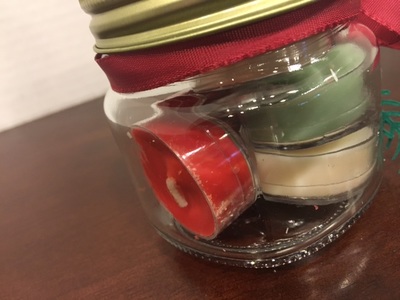
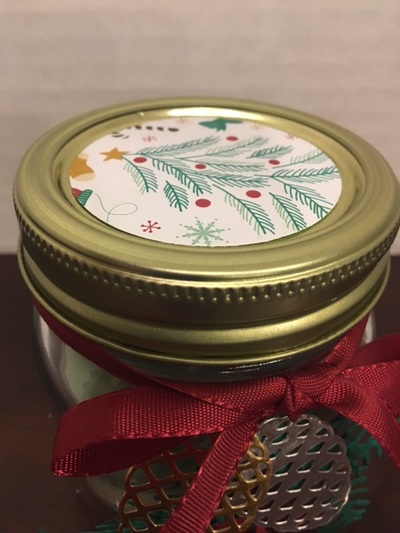
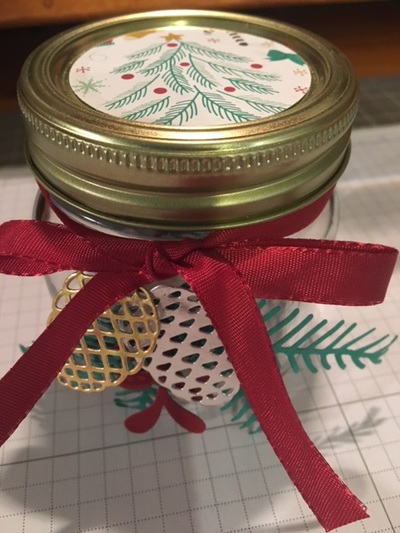
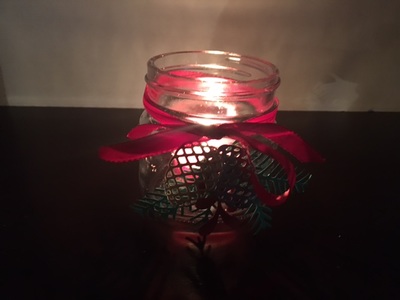
I used Gold and Silver Foil as accents to both sets of tags. I wanted them to pop! For the bottle tags, I used a piece of DSP behind the foil diecut to add a little more color. For the folding tags with the "Just spreading Cheer this Christmas, I embossed the greetings in Gold and Silver. I used the circles that are left over from the bottle tags. So no extra punching there. The framelits are really easy to use and assemble. It looks like alot, but honestly, once you get a system/assembly going they come together fairly easily. I made 8 tags (2 sets of four) you could certainly split this set up. But since I am doing a gift set, I needed something to put the tags in. I was going to just leave the tags in a cello bag and tie with a ribbon, but I felt it was missing something. So I quickly made a giftbag/box using the Giftbag Punchboard. I followed the directions to make a medium bag, I used a piece of DSP that measured 7w X 11L. I did not punch holes at the top. I wanted it to look more like the box than a bag. I had cut out a lot of pines, berries and pinecones while I was making the cards & tags. So I incorporated them on the box. Very cute!! And the last project for today is this super adorable candle jar! The jar was truly my favorite from this whole set. I have alot of canning jars on hand from gift giving projects. And this jar style was perfect. I decorated the jar very similar to the gift bag above. I kept the gold lid as is. I felt it tied in perfectly with the Gold and Silver foil. I punched a 2" circle using the same DSP that I used on the card, just tonadd a little something to the lid. The jar fits 6 PartyLite tealights perfectly. I added 3 different scents for the holidays. It smells sooo good when you take the lid off. Now if you or someone your giving this to is not into candles, fill the jar with a scrub or holiday kisses, or whatever you prefer! It looks so pretty when I lit the candle and it's glowing!! Don't you just love how when you start a project and you're not quite sure how it's going to look when it is done! And then you end with such a WOW factor!!! That's how I felt after I finished and grouped it all together for the picture!! I really hope you like what you saw!! Be sure to leave a comment with #SFNovHop and then click the NEXT button below to visit Kirsteen Gill's Blog. Thank you for stopping by, feel free to contact me with any questions about the projects or products used. Happy Stampin Steph
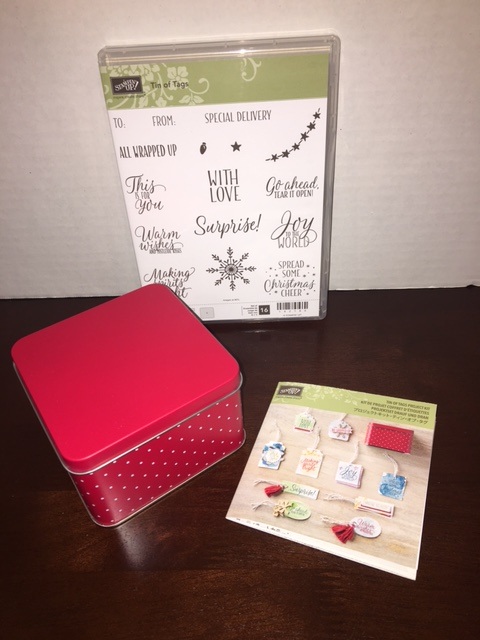
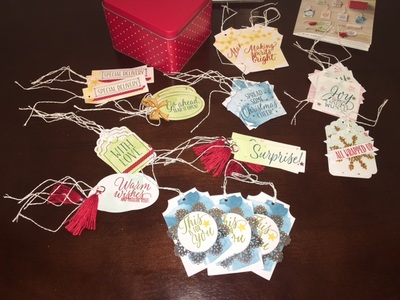
Project kits give you a fun creative experience without the need to design your own project. Just gather your friends and have your ME bring the extra supplies to make something special. Or if you want to DIY, purchase the additional products listed with each kit. You can find details for the Tin of Tags kit on page 32 of the Holiday Catalog.
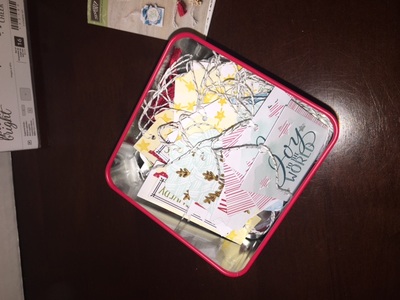
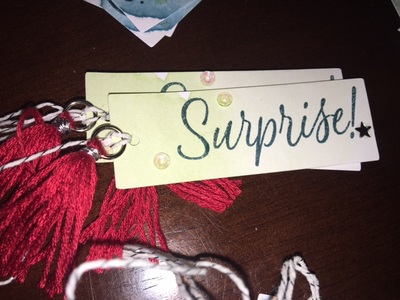
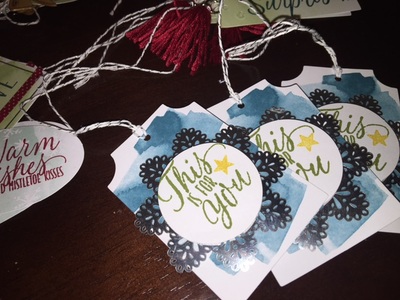
The Tin of Tags is the perfect Project Kit to use on all your holiday packaging. While it's perfect for Christmas, the sentiments work well for birthdays too!!! And the best part, they are handmade!!!! And I almost forgot to mention, this kit makes 30 tags. WOW 30!!!! The Tin of Tags Project Kit makes 30 tags, 3 each of 10 different designs. You will also receive an instruction booklet, but feel free to make these tags anyway you want!!!! The cost of the kit is $22 (plus tax/shipping). Grab a kit for yourself and grab another to complete and give as a gift for a Yankee Swap, co-worker, friend or family member. You can add on the Tin of Tags Stamp set for $21 (tax/shipping) and complete the kit at your leisure. Host a workshop at your house and earn your kit for free. Best of all I bring all the kits and supplies needed to complete the. OR attend a workshop with. Stay tuned to my events for upcoming workshop details. Interested in hearing more about the Tin of Tags?? Shoot me a message!! Need a Holiday Catalog?? Feel free to message me and I will drop one in the mail. Happy Stampin Steph
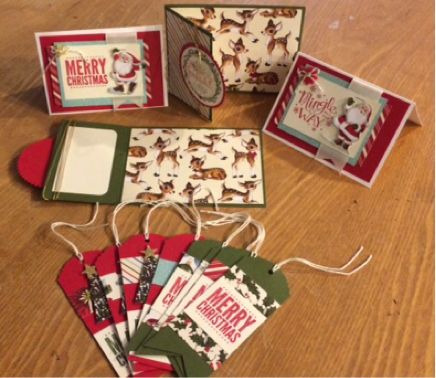
For this week card club I decided to get in the holiday spirit. Normally my card club consist of 4 cards, 2 each design. But instead I've included 2 notecards, 2 gift card holders and 8 coordinating tags all projects use the DSP Home for Christmas
Built for Free Using: My Stampin Blog
|
Categories
All
Archives
May 2024
|

 RSS Feed