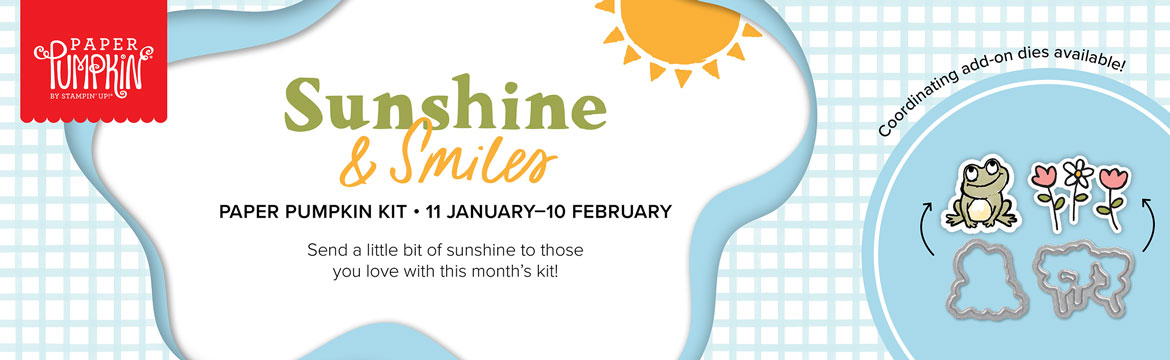
 Make cloudy days a little brighter with the Sunshine & Smiles Paper Pumpkin Kit! This kit includes nine sweet and sunny cards—three each of three designs. If someone you know is weathering a storm, this kit is just what you’ll need to create cards that are sure to brighten their day! AND for the first time ever, we’ve got a coordinating die add-on! (Stampin’ Cut & Emboss Machine sold separately). Keep reading to learn more!!
0 Comments
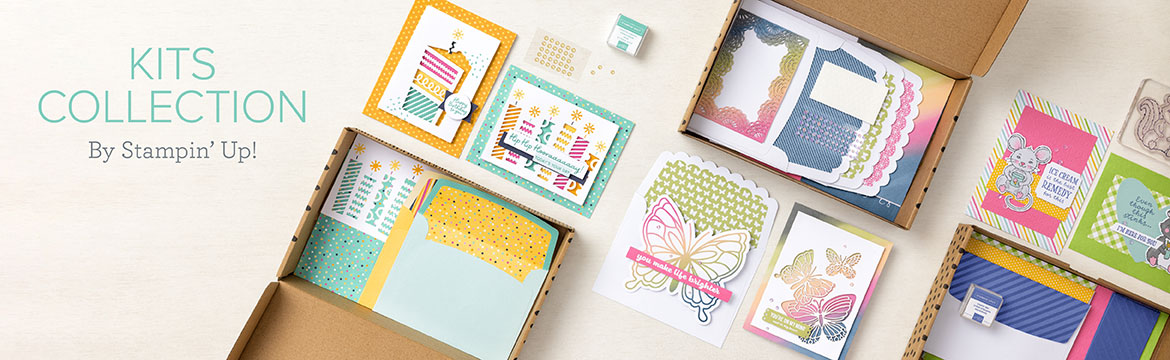 Kits Collection by Stampin’ Up! is the perfect program for new customers and beginner crafters with its variety and all-inclusive projects.
We invite you to say thank you to the people who make your day, every day with Saying Thanks all-inclusive card kit! This month’s kit has everything you need to show appreciation to family and friends who light up your life! Make nine bright, colorful cards in no time to say thank you, recognize friends, and share your gratitude with a bright watercolor wash that won’t go unnoticed! You’ll never miss an opportunity to express gratitude with this colorful kit! View this kit and others at https://www.stampinup.com/categories/shop-products/other-products/kits-collection #kitscollection #stampinandscrappinwithsteph #stampinup 
It's almost the end of January 2023, how quickly this month has gone by. But it's not over yet, and that means it's time for the first Stampin Friends Blog Hop of the year! And we have some fun cards to share with you! At the beginning of the year, I love to go through special occasions dates and see if I have cards on hand to match, if I don't I make a list and begin making the cards so I have them when the date arrives.
So sit back and relax and enjoy the hop and I hope you get some inspiration from us. I hope you joined me fromMaureen Rauchfuss's blog wasn't her card beautiful? Be sure to leave a comment and continue to Tiziana Milano's blog after visiting mine.
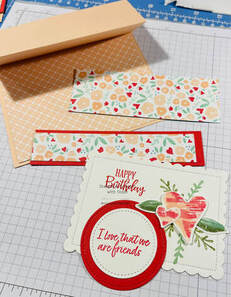
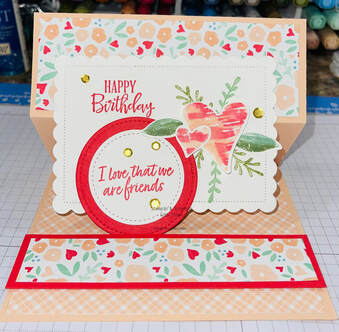
Here are the directions to make the reverse easel card:
Cardbase 8 1/2x5 1/2 score on 8 1/2 side at 2 1/8 and 4 1/4 Sweet Sorbet 5 1/2 x 1 1/4 and piece to cut out stitched circle Basic White: 1/2 piece of cardstock to cut out Scalloped Contour, stitched circle and stamping the hearts and leaves DSP: 4x5 1/4, 5 1/4 x 1 7/8 and 5 1/4x1 To stamp my images, I used the Stampin Write markers in Petal Pink, Sweet Sorbet, Mint Macaron and Mossy Meadow. I colored on the stamps with the lightest marker first, then I added the darker marker to add some dimension. Huff on the stamp and then stamp the images, I used the coordinating punch to cut them out. I stamped a few sprigs directly on the scalloped contoured shape and stamp the greeting. Attached the punched-out pieces over the sprigs. Stamp a greeting on the Basic White stitched circle. and attach to the Sweet Sorbet circle. Fold the cardbase in half on the 4 1/4 score line the fold the 2 1/8 score line in the opposite direction. Add the DSP layers. Attach the Scalloped Contour shape about halfway down the top section. Stand the card up like an easel and then attach the Sweet Sorbet 5 1/4x1 piece with dimensionls. The scalloped Contour piece will rest against this and hold the easel up. I attached the cirles to the bottom of the scalloped contour piece and used that as my easel base.
I hope you enjoyed my cards. Be sure to leave a comment and continue to the next blog!
Thanks for visiting. Happy Stampin Steph |


Categories
All
Archives
May 2024
|
 RSS Feed