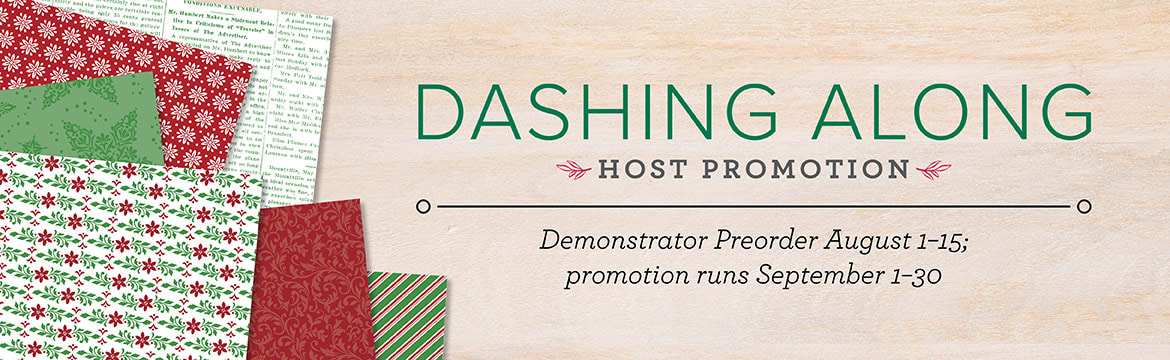
 Why is hosting a party always so exciting???? It's thrill of gathering friends and family together to share something you love and....well earn some things for free!! Stampin Up is offing and exciting incentive ….Dashing Along Host Promotion Hosting a holiday event is always fun—and we’ve made it even more delightful with our exciting Dashing Along Host Promotion. If you host a party with $250 in sales from September 1–30, you'll earn our FREE, exclusive Dashing Along Designer Series Paper. So why is this paper so exciting to get??? Because you won't find it anywhere in the Stampin Up catalogs!! That's right it's exclusive to this offer! But....what makes it sooo much more exclusive and exciting is; Not only does the paper pack coordinate with the Dashing Deer bundle in the Holiday catalog, but it is how the Dashing Along Designer Series Paper was created! To create our exclusive Dashing Along Designer Series Paper, we decided to use a mix of old favorites and new patterns to bring you, our hosts, beautiful, traditional Christmas paper. This collection of patterns has an eclectic feel and is perfect for layering, and while the newsprint design isn’t Christmas-themed, we selected it for its versatility and popularity with our Stampin Up families. We hope you’ll love this Designer Series Paper as much as we do, and remember, it’s available for a limited time only! WOW how amazing does this paper sound??? So how can you get your hands on it??? Host Promotion Details
Sounds great right??? Be sure to contact me today to schedule your event and we can customize to suit your needs Happy Stampin Steph 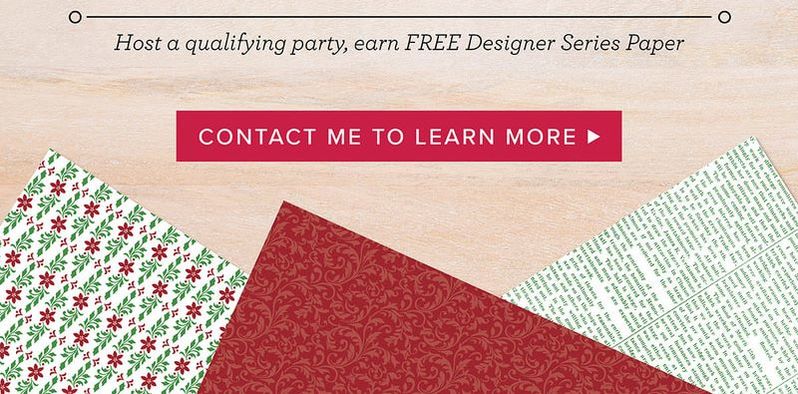
0 Comments
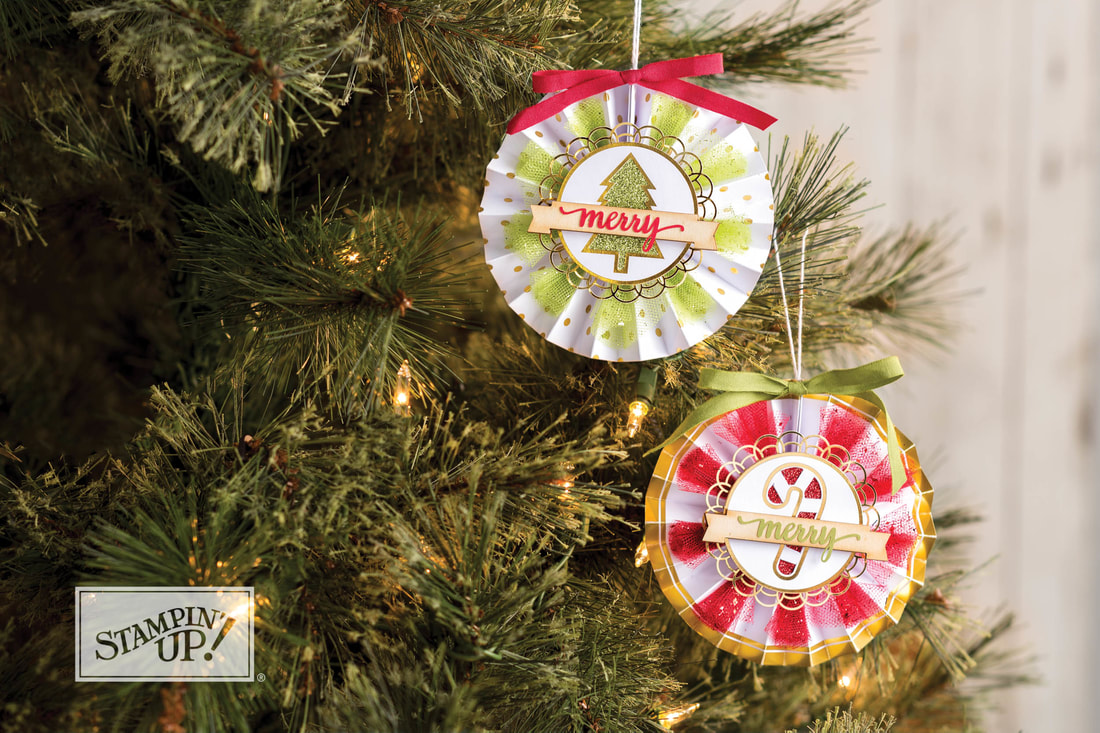 It’s the unofficial start of the holiday season: The holiday catalog sales period begins today! I want to share my favorite holiday products with be sure to attend my events and parties and I'd be happy to send you your very own copy of the catalog. You are going to be sooo excited about ordering their own all-new holiday products! If you haven't received a Holiday Catalog yet, you can view the online version here. There is something for everyone's likes! Holiday, New Year, Weddings, Fall and Halloween! And for those seasonal birthdays, you won't be disappointed! And if you're somebody who loves to craft, but doesn't have the time or supplies! Don't worry, the kits in this catalog will surely WOW you! The Be Merry Kit (picture above) is an all-inclusive kit! Yup I said all-inclusive! You receive everything you need to complete 12 Rosette Ornaments. These make perfect additions to your holiday gift packaging, little treats for your child's teachers or co-workers. And...a family project. I bought these gifts to sit with my children and craft together. Because it's all inclusive it's perfect for each of them to make. No guess work, no fancy directions! Below I shared a few of my favorite products! What's your favorite product?? Leave a comment, with you favorite holiday product in the catalog, for a chance to a free gift from me!!! I look forward to hearing from you Happy Stampin' If you like the Carols of Christmas Bundle, you are going to LOVE this video below! This video features the Merry Little Christmas Suite in the upcoming Holiday Catalog. It's a mega suite!!! And it's amazing!!!! Be sure to contact me to receive your Holiday Catalog Happy Stampin Steph 
Welcome to our March Stampin Friends Easter Like Blog Hop! We have 11 talented crafters involved in the hop, including 2 Guest Hoppers.
Please, make sure you check everyone's blogs out. After reading my blog, scroll to the end, and please leave a comment for your chance to win a little blog candy from me! If you have visited my blog from Twila Davis's site, thanks so much for continuing with the Blog Hop. A full list of Blog Hop participants are listed at the end so you can continue along the hop!
This Month's Guest Hoppers are:
Mandy Reedyk Sue Vine
he March's Blog Hop is a bit of challenge, I do not typically make many Easter projects. In my house we have Easter baskets for the kids and we color eggs. But, I usually don't have the need to give gifts or cards. With that said, I do not own a lot of Easter stamps. Sometimes I good challenge is all I need to get motivated to think outside of my comfort and get more creative.
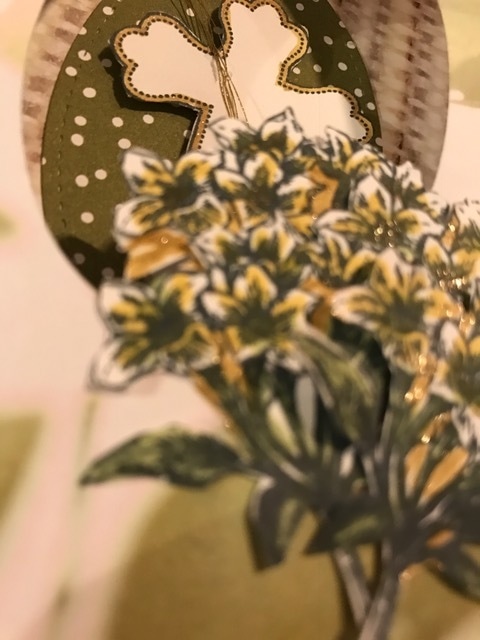
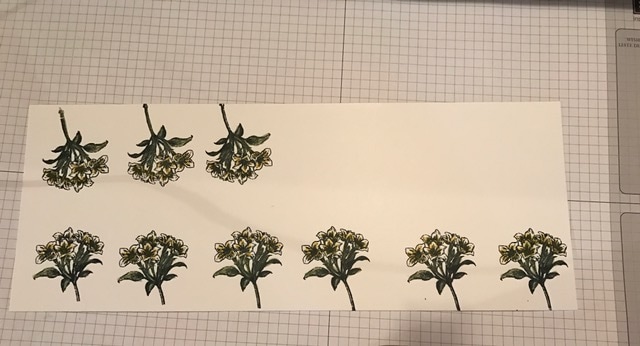
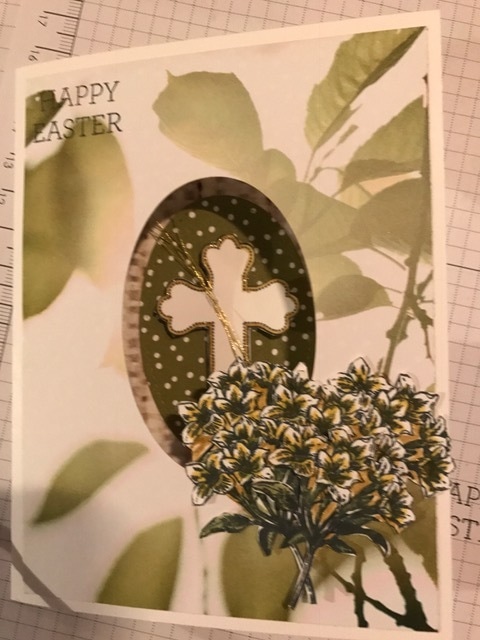
The card I chose to make uses all Stampin Up products. This card somewhat evolved while I was creating, I have added, removed and changed this along the way! I am happy with the results. I hope you enjoyed it. The stamped images are from the Sale-a-bration Avant Garden and All God's Grace. I kept the cardbase Whisper White and I used 2 sheets of DSP from the Serene Scenery paper stack. I cut out an oval on the front of the card using the Stitched Frameleits and did the same to the DSP, making sure it lines up. I adhere another piece of DSP on the inside, I added the oval left over and adding the cross on top. As you can see from the pictures below I stamped and colored in many flowers before fussy cutting them out. I arranged them like a bouquet overhanging the over cut out! I added Gold Wink of Stella around the edges of the cross and in the blank spaces between the flowers and leaves. Also on the cross I added strands of gold floss. 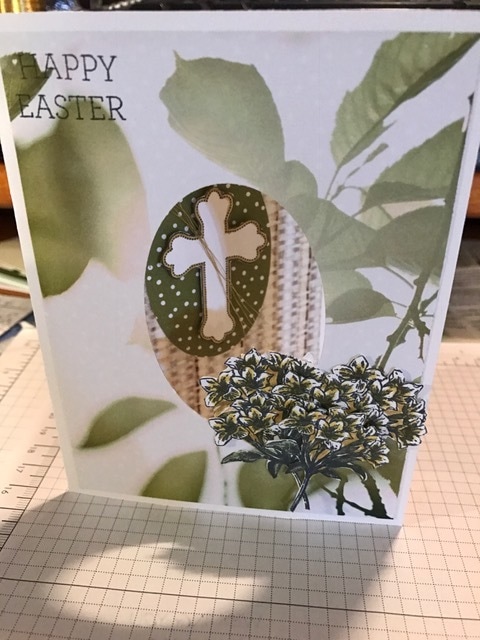
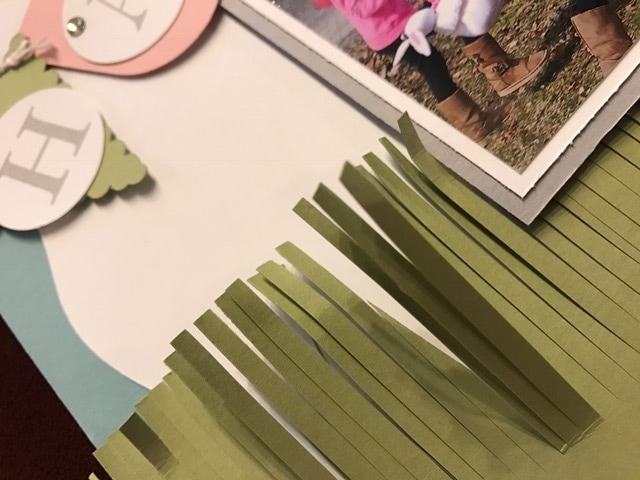
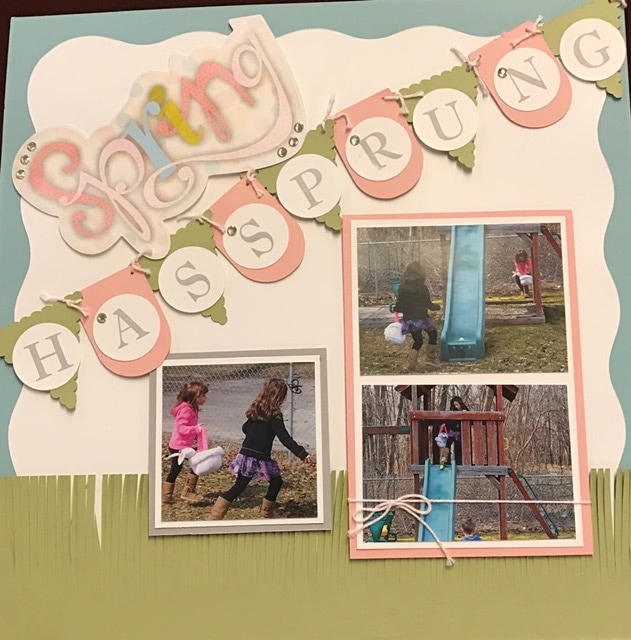
My project is something that I had in the works or awhile. I was an avid scrapbooker before kids and that slowly dwindled after each child was born. I've mostly worked on digital as its a little accessible. I haven't dabble in Project Life, frankly because I have so much stuff on hand. But I have decided to try to incorporate a little more traditional scrapbooking back into my crafting.
Most of the page was designed to use the fringe scissors and the Spring image that I printed and cut with my Cricut image. Such a long time ago. So, I apologize the lighting in my basement is a little off. The colors I used was Marina Mist, Pear Pizzazz, Blushing Bride, Smoky Slate and Whisper White. The words has sprung, was printed from my printer and I used a circle punch to cut them out, The banner was cut out using a Cricut cartridge called Pretty Pennants. The Whisper White was cut using a Creative Memories Cutting template. The grass on the bottom was used but cutting the edges with the Fringe Scissors. I added some bakers twine and rhinestones to finish the pages off.
Thanks so much for stopping by. I hope you enjoyed the projects I shared with you. Leave a comment and I will make sure to choose a winner of some blog candy!!!
Below is a list of everyone who participated in this month's blog hop. You are currently at Steph Jandrow. Be sure to click on #5 Lynn Streifert. Have a great day and Happy Stampin Steph 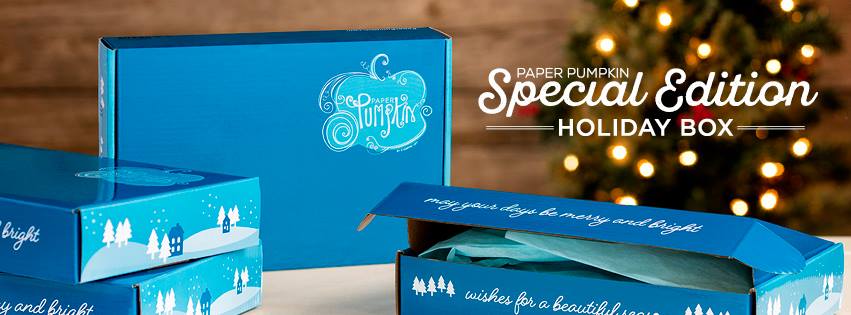 The weather outside is wonderful! It’s time to get cozy by the fireplace with some hot chocolate and the Wonderful Winterland Kit. With gently falling flurries and houses nestled on the hillsides, this picturesque project is sure to warm your heart. The kit includes all the supplies you need to make eight cards and spread some cheer this holiday season! Isn't this kit amazing????
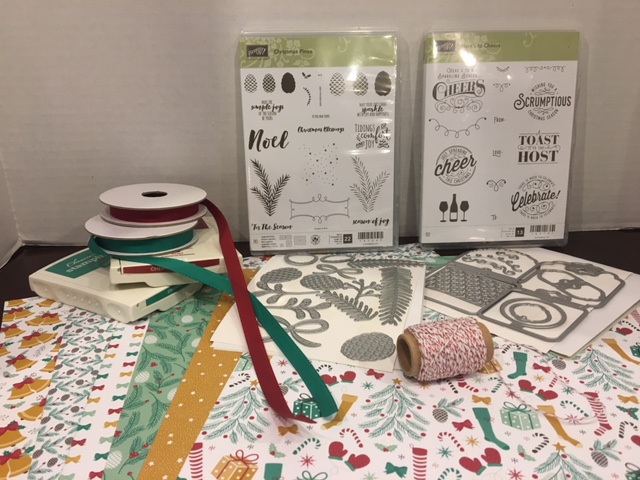
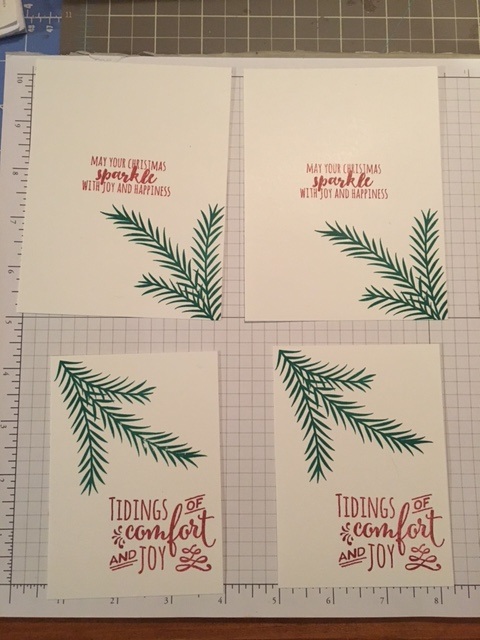
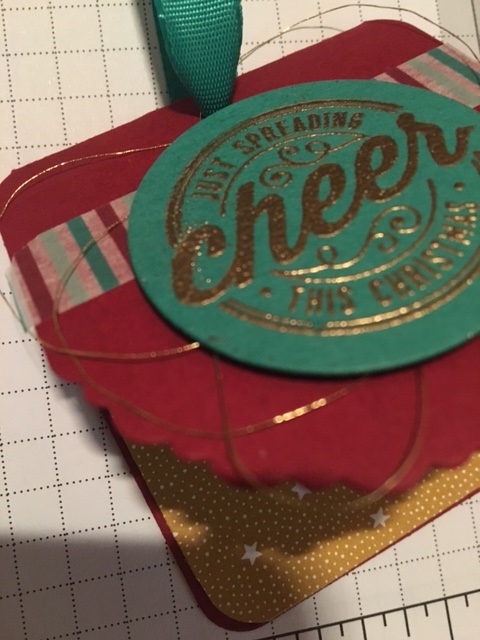
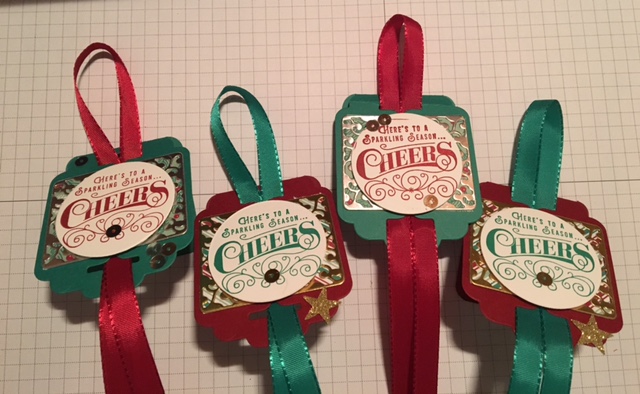
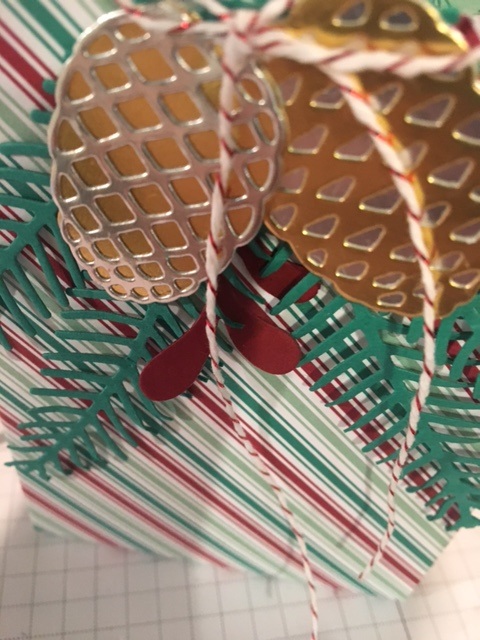
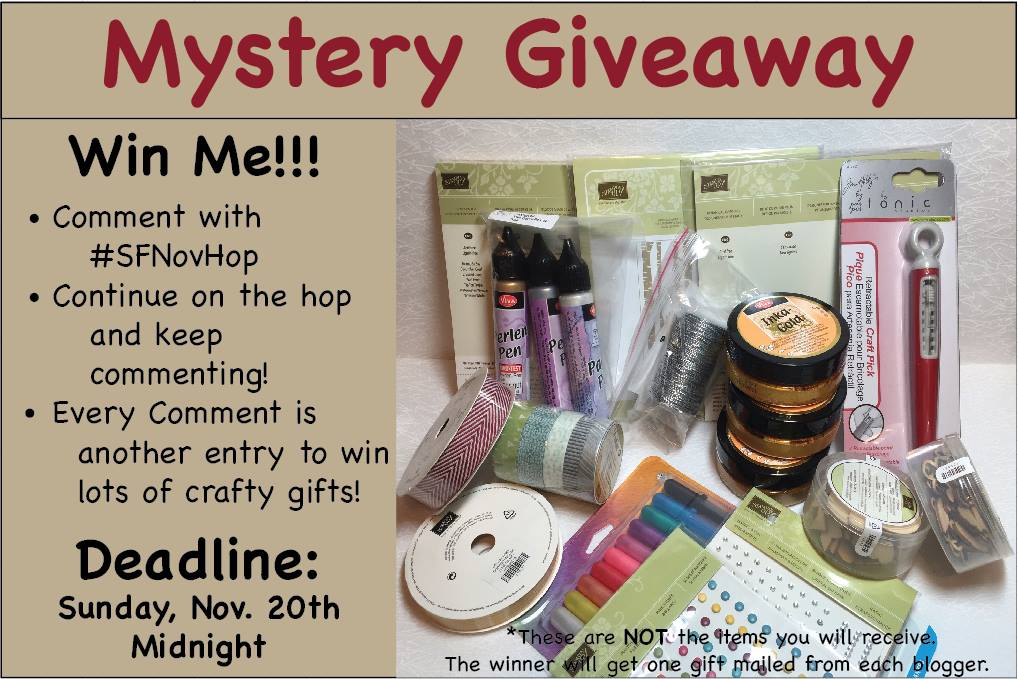
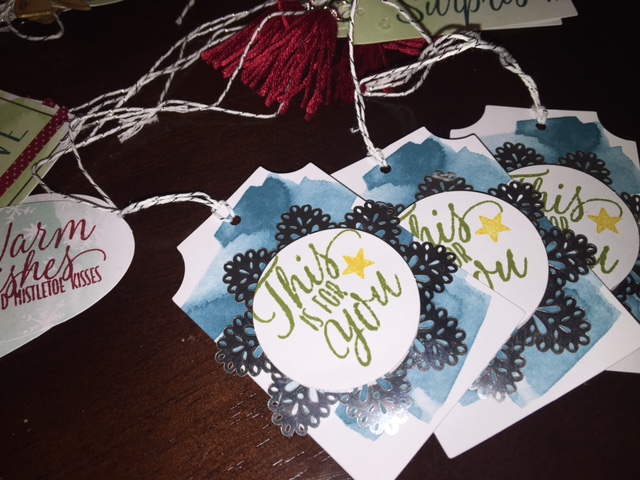
Contact me to learn how you can subscribe to Paper Pumpkin today! Happy Stampin Steph   Welcome to our Stampin Friends November Happy Holidays Blog Hop! I'm so excited that you have decided to stop by. You are really going to love the projects shared this month! The Stampin Up Holiday Catalog was jammed pack with products to use for this hop, it was hard to choose just one this month!!!! We have 16 amazingly talented crafters participating in this month's hop, so be sure to follow along and check out everyone's blogs and fabulous projects. What's a Blog Hop without some Blog Candy?? Make sure to leave a comment to be entered in the Blog Hop raffle. Read each blog, scroll to the end, and leave a comment with #SFNOVHop!! Each member and guest blogger, will randomly select a winner from our blog comments. We will then pool those together and randomly select the overall hop winner. I would love to hear some feedback and you will earn a chance to win some Blog Candy! Thank you for visiting my blog from Carolina Evan's site, and thank you for continuing with the Blog Hop. Take a minute or two to enjoy my project and at the end click the NEXT button to continue to Kirsteen Gill's blog. Didn't come from Carolina's blog?? That's ok, just click the PREVIOUS button or scroll to the end and click on Carolina's name to visit her blog.  I purchased the Here's to Cheers stamp set & Cheerful Tags framelits bundle awhile back and finally got around to using it. I think at first glance, being in the Stampin Up! Holiday Catalog, we think it is a set that needs to be used during the holidays. But that is not the case!!! It's a very versatile set for gift giving, whether your giving a baked good or a bottle of wine, it all boils down to the colors and presentation. My card & project for this month's blog hop is for the holidays. All products used are from Stampin' Up! I decided to make a little gift set that all goes together or can be broken out into separate gifts if necessary. But the intent is to give it together. Perfect for a co-worker, friend/family, pretty much anyone! It's perfect as a hostess gift too! A nice gift of candles and wine. A perfect to unwind during all the holiday stress. I paired the Here's to Cheers bundle with the Perfect Pines suite. I just love the DSP! So festive. But again a versatile pack of paper that doesn't need to be all about the holidays. Since the paper is double-sided, and only a few sheets have gift-giving on them, the paper is perfect to use for winter gifts, treats or cards! And the COLORS are fabulous. The main colors I used are Emerald Envy and Cherry Cobbler!!! So for the card, it is fairly simple to assemble. Cutting out all the pines was time consuming but I used the Diebrush and that helped out a bit. I used Cherry Cobbler as my card base and layered DSP with Emerald Envy and Whisper White. I think the only thing I would change is a different patterned DSP. The one I choice gets covered to much. I cut all the pines using Emerald Envy and the berries with Cherry Cobbler. I stamped a set of pines onto the whisper white with Emerald Envy, greeting is in Cherry Cobbler. I used the fine-point pen adhesive to assemble that way I only put the adhesive at the tips to let the rest hang! 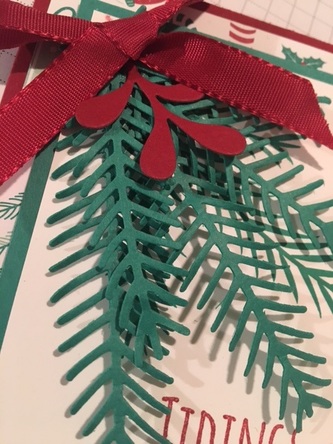
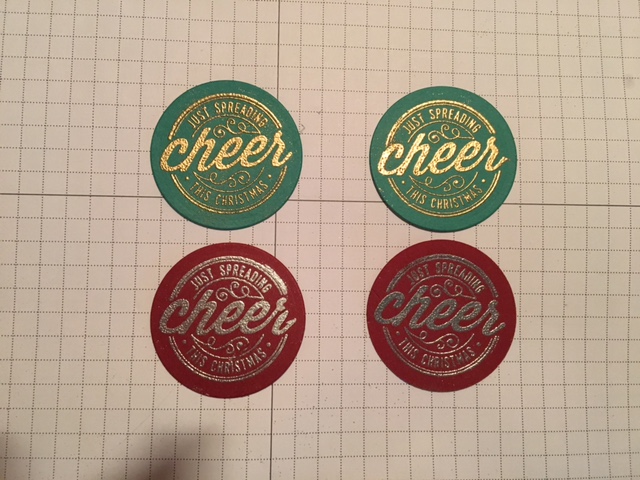
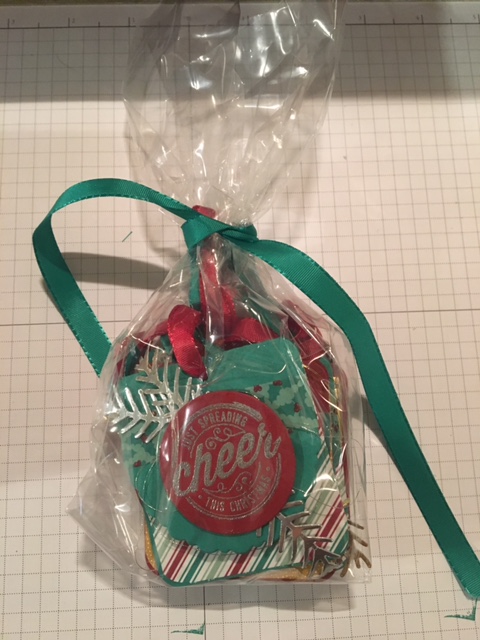
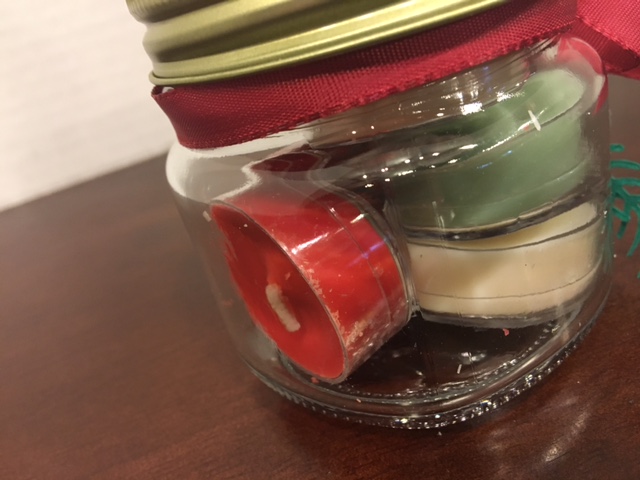
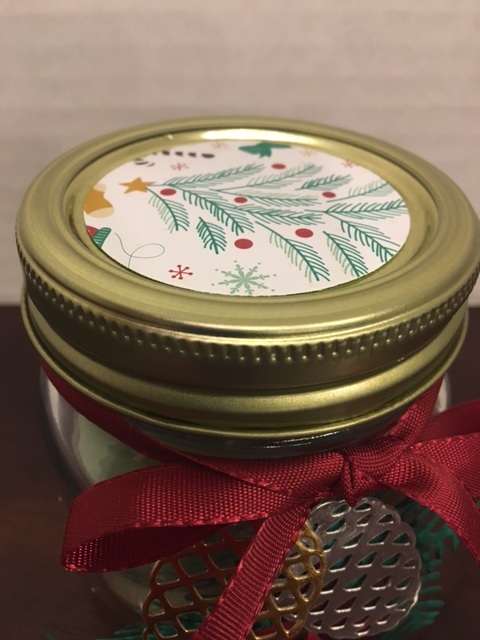
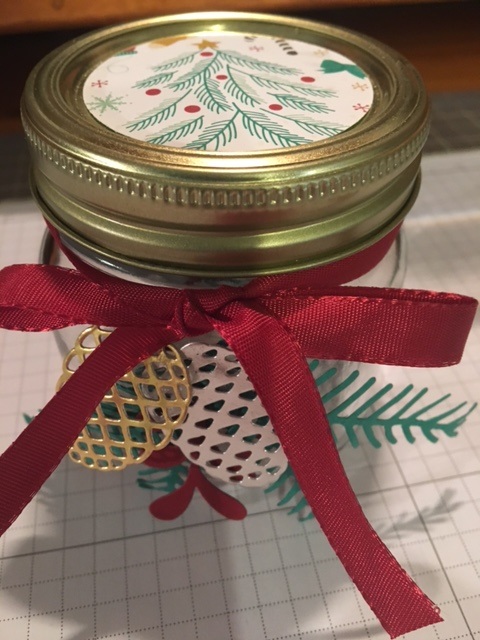
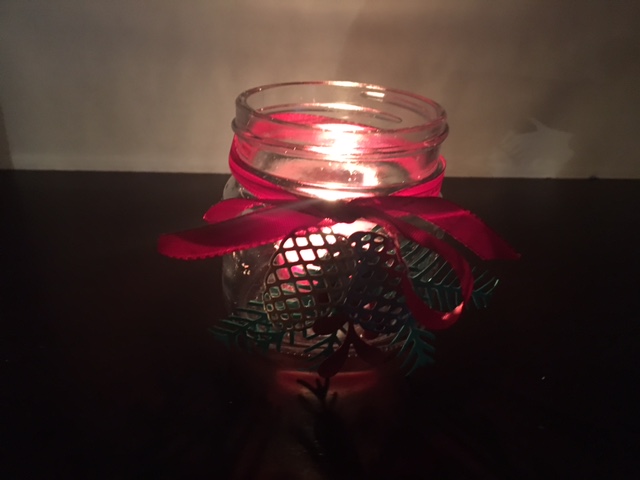
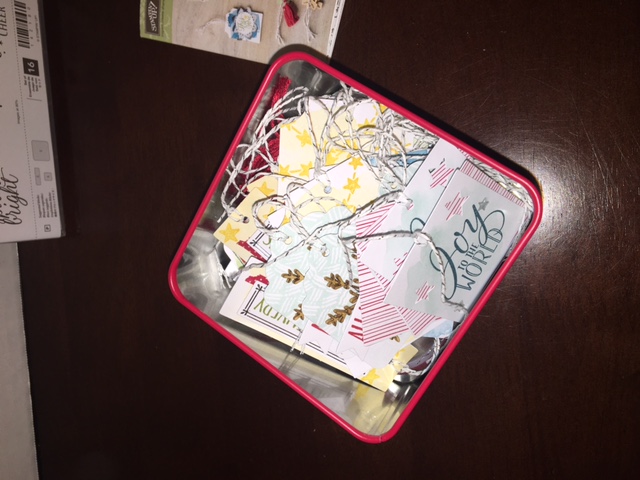
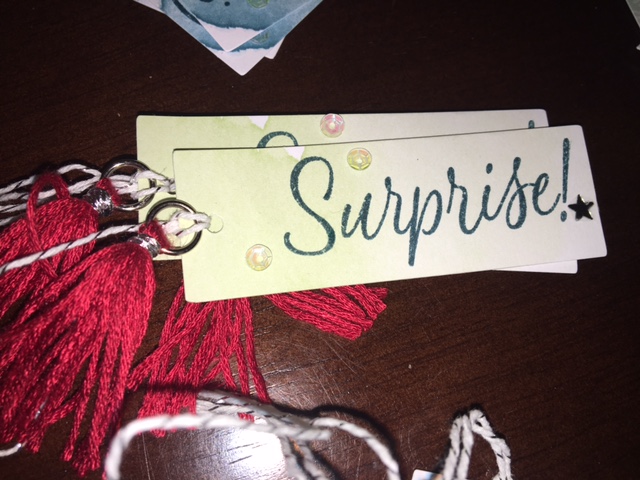
I used Gold and Silver Foil as accents to both sets of tags. I wanted them to pop! For the bottle tags, I used a piece of DSP behind the foil diecut to add a little more color. For the folding tags with the "Just spreading Cheer this Christmas, I embossed the greetings in Gold and Silver. I used the circles that are left over from the bottle tags. So no extra punching there. The framelits are really easy to use and assemble. It looks like alot, but honestly, once you get a system/assembly going they come together fairly easily. I made 8 tags (2 sets of four) you could certainly split this set up. But since I am doing a gift set, I needed something to put the tags in. I was going to just leave the tags in a cello bag and tie with a ribbon, but I felt it was missing something. So I quickly made a giftbag/box using the Giftbag Punchboard. I followed the directions to make a medium bag, I used a piece of DSP that measured 7w X 11L. I did not punch holes at the top. I wanted it to look more like the box than a bag. I had cut out a lot of pines, berries and pinecones while I was making the cards & tags. So I incorporated them on the box. Very cute!! 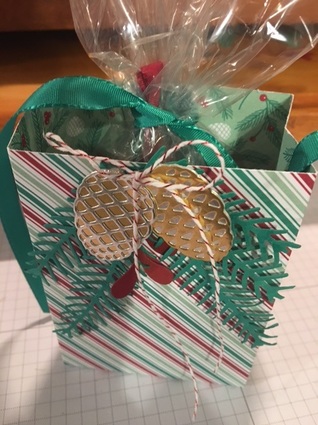 And the last project for today is this super adorable candle jar! The jar was truly my favorite from this whole set. I have alot of canning jars on hand from gift giving projects. And this jar style was perfect. I decorated the jar very similar to the gift bag above. I kept the gold lid as is. I felt it tied in perfectly with the Gold and Silver foil. I punched a 2" circle using the same DSP that I used on the card, just tonadd a little something to the lid. The jar fits 6 PartyLite tealights perfectly. I added 3 different scents for the holidays. It smells sooo good when you take the lid off. Now if you or someone your giving this to is not into candles, fill the jar with a scrub or holiday kisses, or whatever you prefer! It looks so pretty when I lit the candle and it's glowing!! Don't you just love how when you start a project and you're not quite sure how it's going to look when it is done! And then you end with such a WOW factor!!! That's how I felt after I finished and grouped it all together for the picture!! I really hope you like what you saw!! 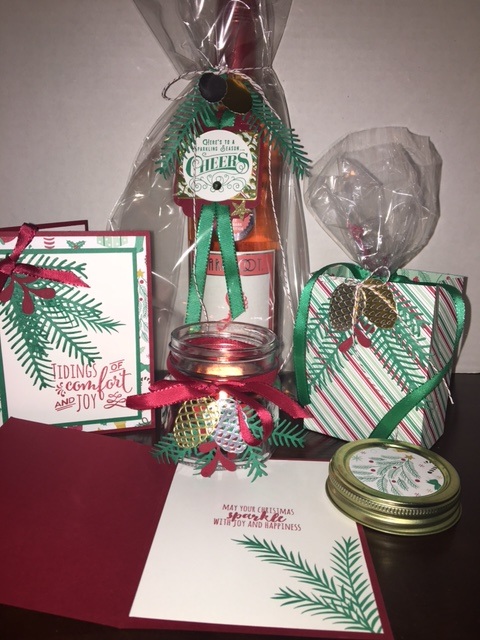 Be sure to leave a comment with #SFNovHop and then click the NEXT button below to visit Kirsteen Gill's Blog. Thank you for stopping by, feel free to contact me with any questions about the projects or products used. Happy Stampin Steph
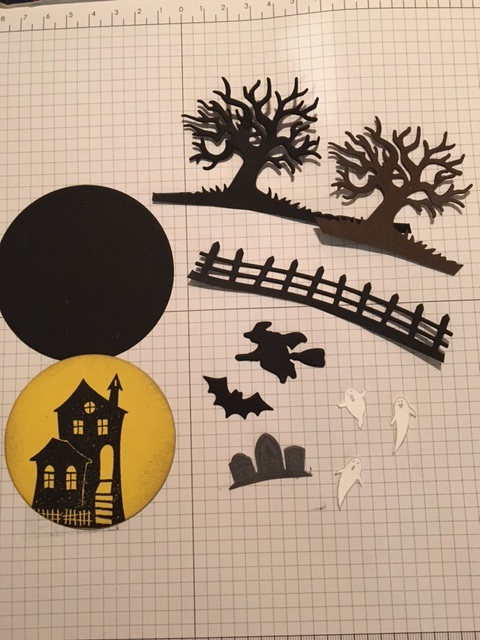
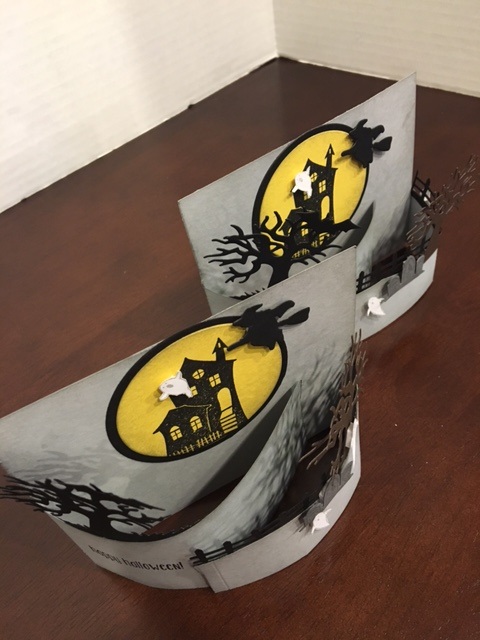
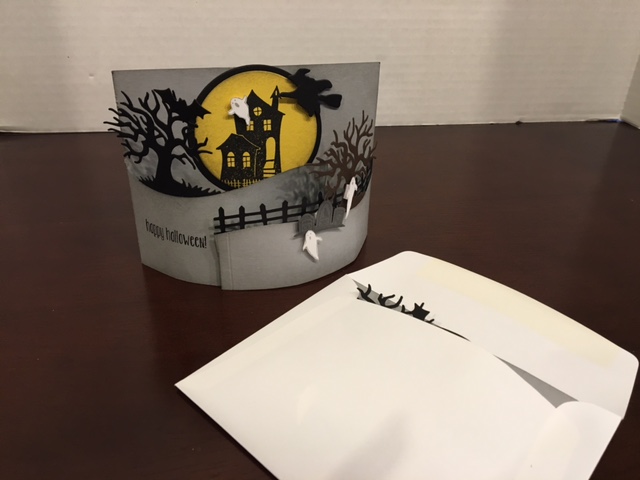
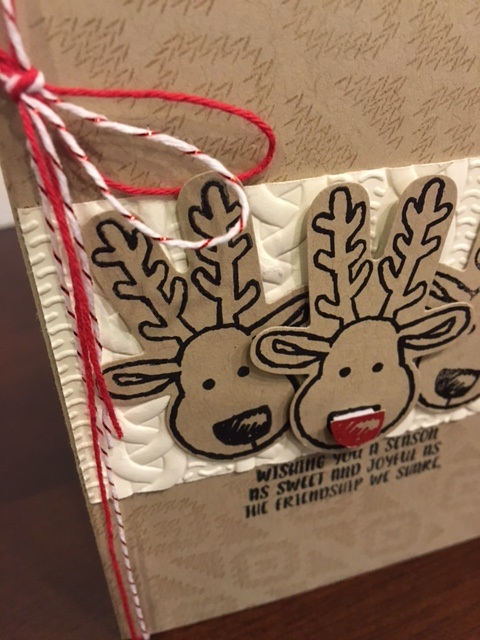
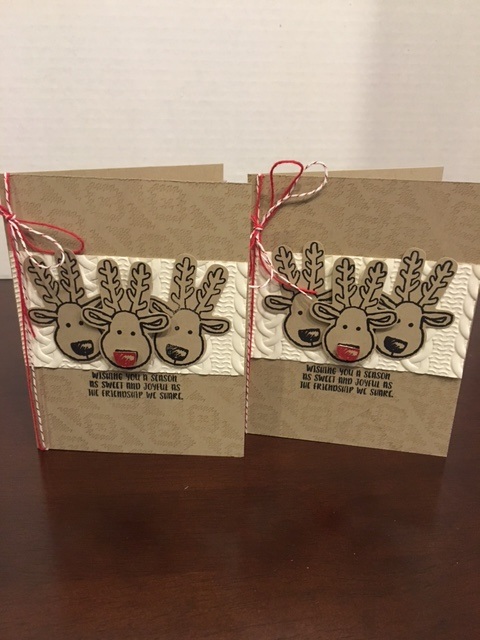
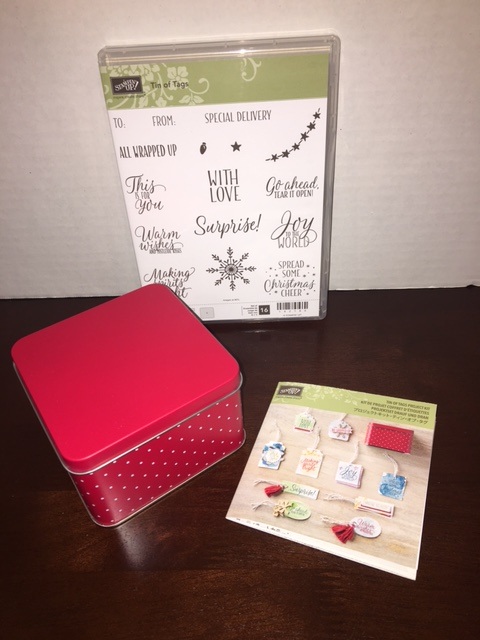 Project kits give you a fun creative experience without the need to design your own project. Just gather your friends and have your ME bring the extra supplies to make something special. Or if you want to DIY, purchase the additional products listed with each kit. You can find details for the Tin of Tags kit on page 32 of the Holiday Catalog. The Tin of Tags is the perfect Project Kit to use on all your holiday packaging. While it's perfect for Christmas, the sentiments work well for birthdays too!!! And the best part, they are handmade!!!! And I almost forgot to mention, this kit makes 30 tags. WOW 30!!!! The Tin of Tags Project Kit makes 30 tags, 3 each of 10 different designs. You will also receive an instruction booklet, but feel free to make these tags anyway you want!!!! The cost of the kit is $22 (plus tax/shipping). Grab a kit for yourself and grab another to complete and give as a gift for a Yankee Swap, co-worker, friend or family member. You can add on the Tin of Tags Stamp set for $21 (tax/shipping) and complete the kit at your leisure. Host a workshop at your house and earn your kit for free. Best of all I bring all the kits and supplies needed to complete the. OR attend a workshop with. Stay tuned to my events for upcoming workshop details. Interested in hearing more about the Tin of Tags?? Shoot me a message!! Need a Holiday Catalog?? Feel free to message me and I will drop one in the mail. Happy Stampin Steph 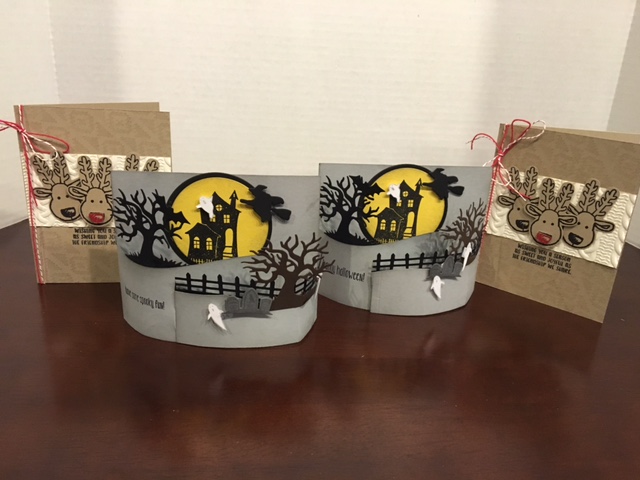 How adorable are these cards??? I love the new Holiday Catalog, there are so many awesome products in here, perfect for all your holiday projects. I was inspired by all the bendy cards on Pinterest that I just couldn't wait to make one. The Halloween card features a super cool bundle; Spooky Fun Stamp Set and Halloween Scenes Edgelits and I also used the Halloween Scares Stamp Set! And best of all, the card still fits in our standard envelopes. These awesome reindeer were made using another new bundle from the Holiday Catalog; Cookie Cutter Christmas Stamp Set and Cookie Cutter Builder punch. WOW Super easy! And check out the Cable Knit embossed Very Vanilla paper! You can whip a bunch of these up in no time!! Would you like to learn how to make them?? Make sure you come by my Card Club.
I am offering 2 dates (one evening and one morning) for your convenience. September 6th at 7pm or September 7th at 9am. Pick whichever date works for you!!! Be sure to RSVP by Monday the 5th. Check out my Facebook page or my Stampin UP website for event details. Need a catalog? Please contact me and I'll be sure to send you one. Happy Stampin Steph 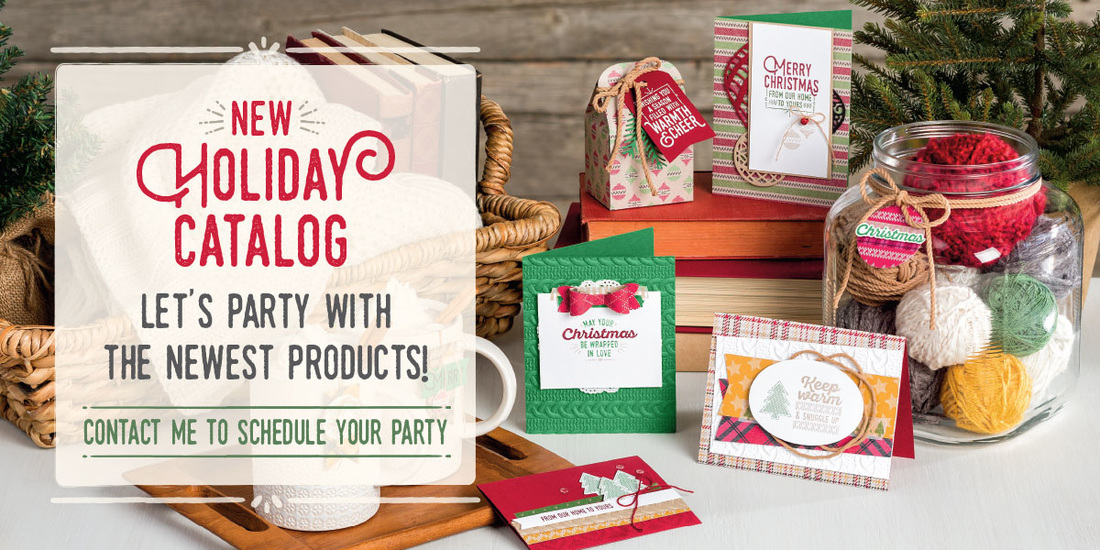 Finally, the new 2016-2017 Stampin' Up! Holiday Catalog is now available. You may have seen me or others share a few products from this catalog and wondered when you can get them. Well now, you can! The Holiday is jammed packed with beautiful paper, awesome stampsets and bundles. If you're like me your wish list is going to be huge. Please click the file below to view the catalog. Feel free to contact me if you'd like a physical copy of the catalog as well. I'd be more than happy to mail you one! Look forward to hearing from you Happy Stampin Steph
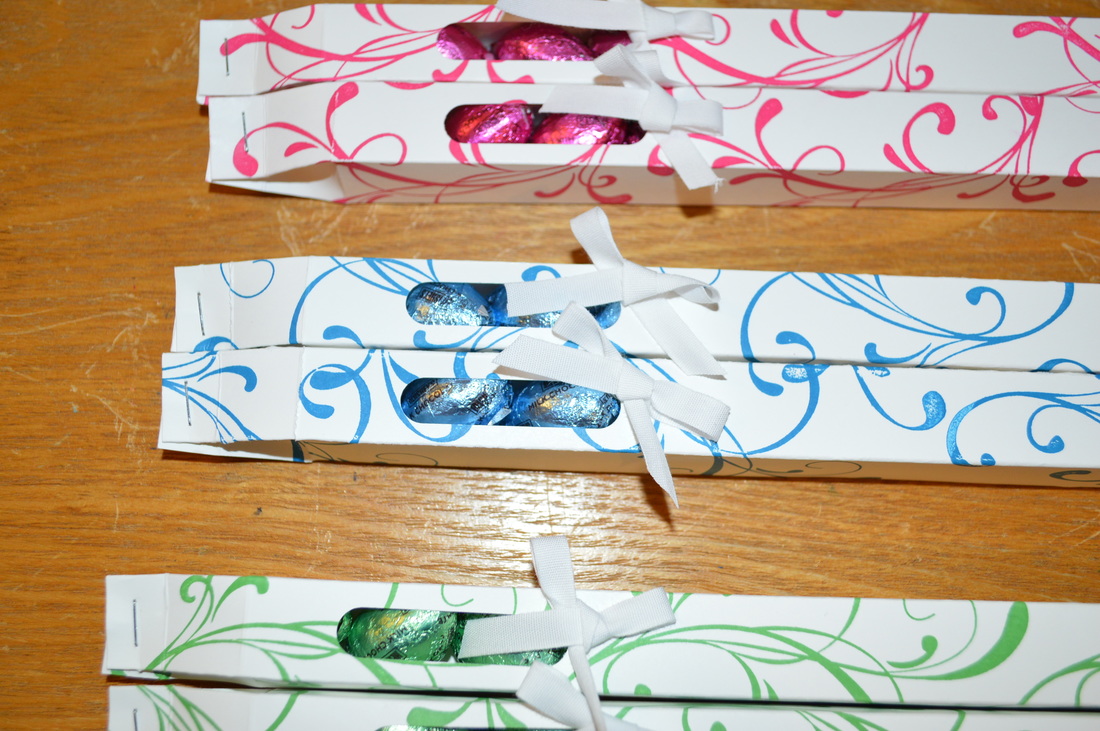
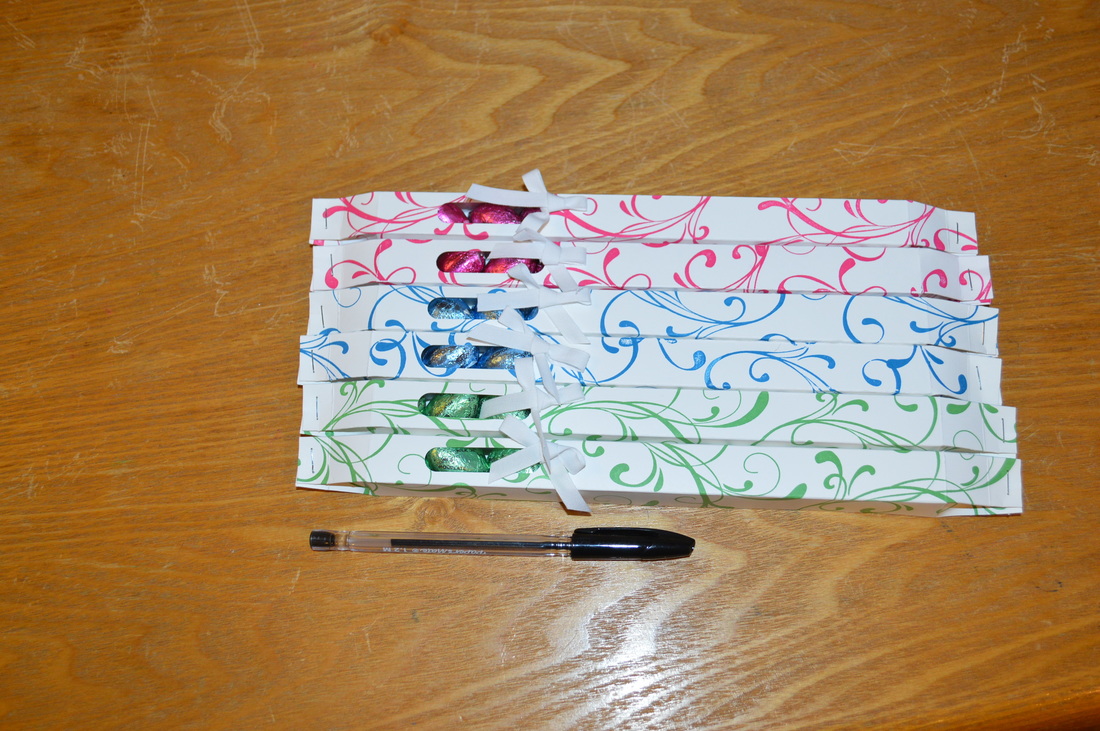
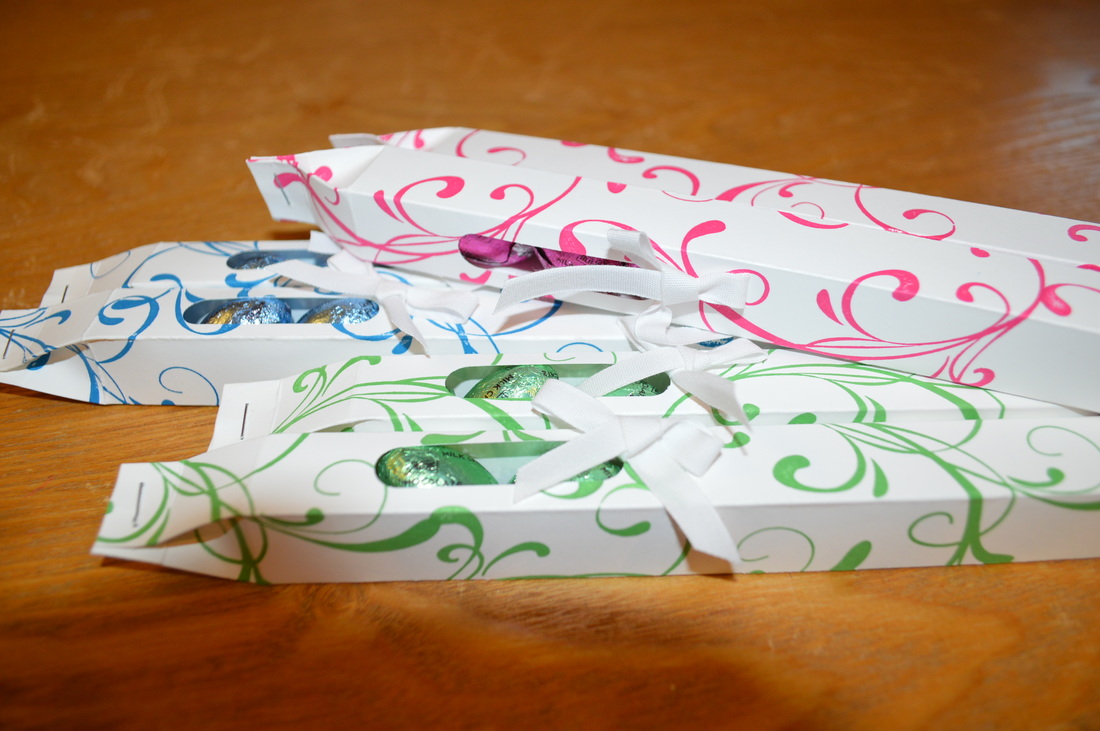 I recently watched a tutorial video by Sam Donaldson at Pootles Papercraft. I had bought these Hershey Chocolate Eggs and I had no idea what to do with them, besides eat them. So after viewing Sam's video, I decided why recreate the wheel? These could be cute little treats to give teacher to wish them a Happy Easter. Sam was able to fit 12 chocolate eggs in her sample. I was only able to fit 10, the Hershey eggs are probably a bit bigger. Since the bag I had only had 3 different colors. I chose Melon Mambo, Pacific Point and Cucumber Crush. I love how bright and vivid the colors are on the Whisper White cardstock. I used the flourish stamp from the Everything Eleanor Stamp Stamp and Whisper White Cotton Ribbon. 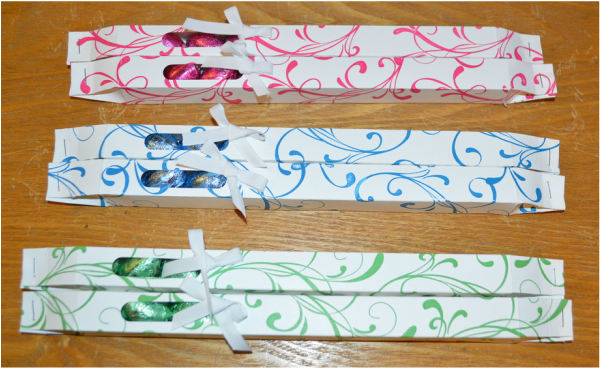 The 2 bags I had did not have an even amount of eggs per color. So, I made 2 of each color. I think I have enough left that I can make 2 more in Cucumber Crush and 1 in Melon Mambo. Just have decided if I need to make more just yet. upper You can view Sam's YouTube tutorial on how to make the box below. Super Easy!!! Happy Easter and Happy Stampin |

New 2023-2024 Stampin Up Annual Catalog


Kits Collection


Join today

Categories
All
Archives
January 2024
|
||||||


 RSS Feed