 Welcome to Sale-A-Bration, our most exciting promotion of the year! Sale-A-Bration rewards you for shopping! With two earning levels, you receive free products with qualifying orders, and there's no limit to how many free products you can earn. Your free product choice is: Receive one free Level One Products with Every $50 purchase. Receive one free Level Two Products with every $100 purchase. 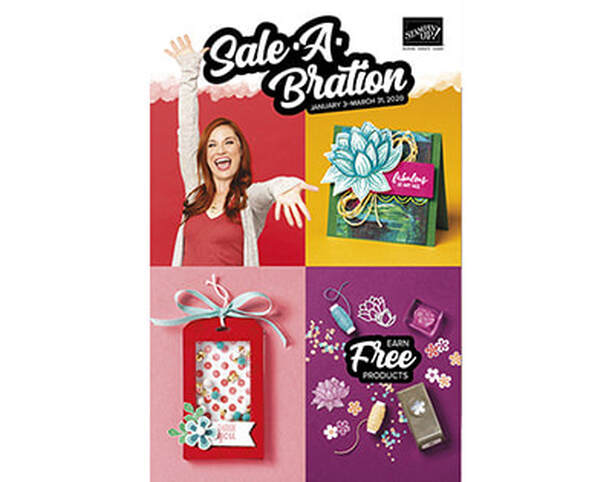 Now through the end of March 2020, is the best time to become Stampin Up Demonstrator! Not only will you earn a discount on your favorite paper crafting supplies, but when you join now, you receive a few more exciting bonuses:Join Stampin’ Up! as an independent Stampin’ Up! demonstrator between January 3–March 31, 2020, will receive the Mini Paper Cutter, 6" x 6" Designer Series Paper sampler, and your choice of stamp set*.
*Host stamp sets and Sale-A-Bration stamp sets not included.
I look forward to hearin from you! Happy New Year Happy Stampin Steph
0 Comments
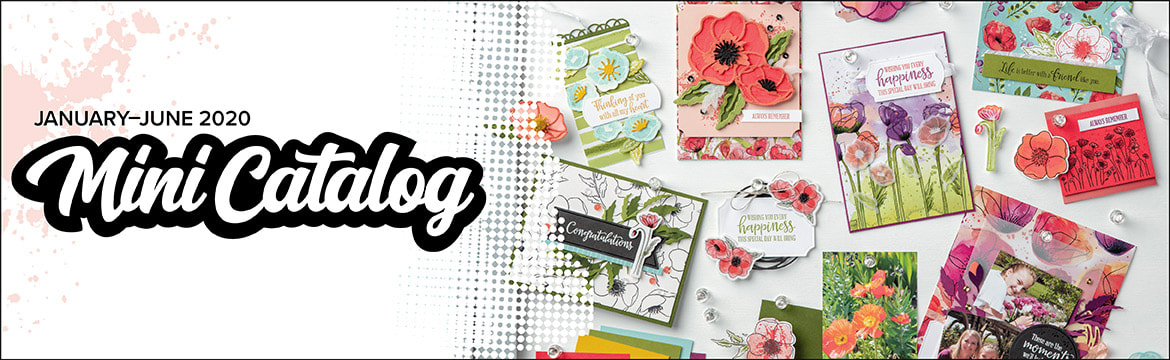
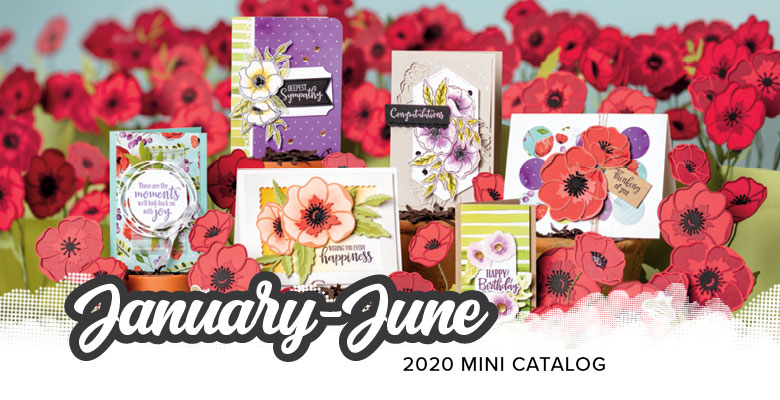 Check out this video to see a peak at the mini catalog!!! Be sure to make your wish list by using the form below and then click here to shop at my personal website. Thanks for stopping by
Happy New Year Happy Stampin Steph I know I have been missing for a few months! Honestly life got so busy with work, kids, sports and the holidays! I am sure many of you can relate! I am back and working hard to plan, create and share my projects! I will also be sharing information on the new Mini Catalog and Sale-A-Bration catalogs. There are so many goodies you won't want to miss out on! So be sure to check back or subscribe to my blog so you will receive emails when I post content! Thanks for stopping by Happy Stampin and Happy New Year Steph January 2020 Paper Pumpkin-I'll Be Yours Paper Pumpkin’s first kit of 2020 is all about L-O-V-E. Whether you want handmade favors for Valentine’s Day, a bridal shower, or a remarkably romantic wedding, this month’s kit has everything you need to help you celebrate your favorite friendships and love stories. So make it a “LOVE”-ly year with Paper Pumpkin, and start sharing the details about this fun kit with your customers today. Click here to start your subscription today! Be sure to subscribe by January 10th to receive the kit!
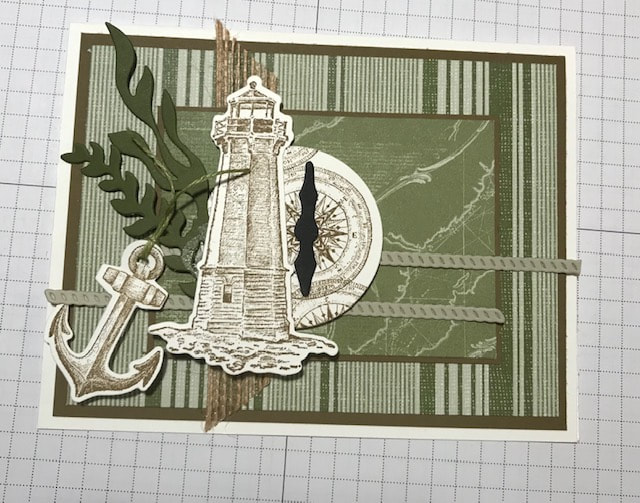
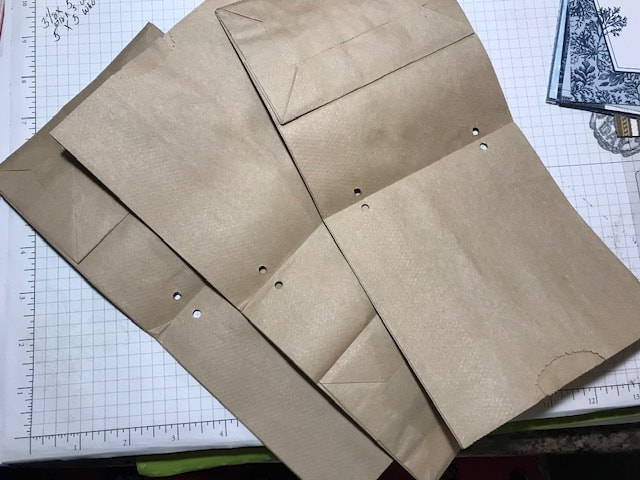
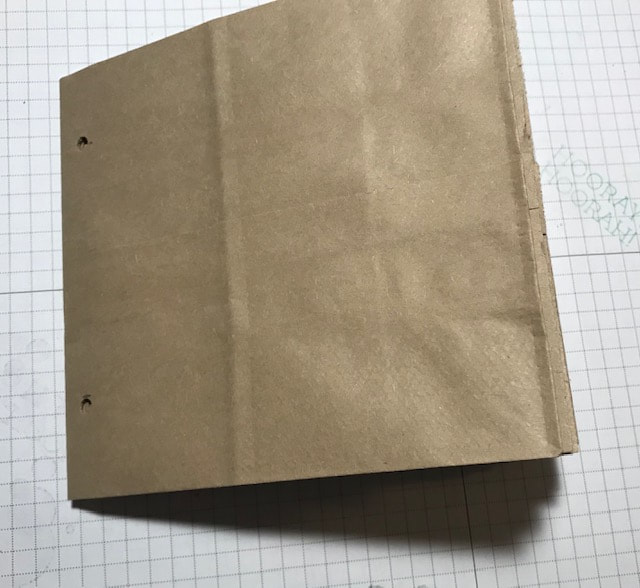
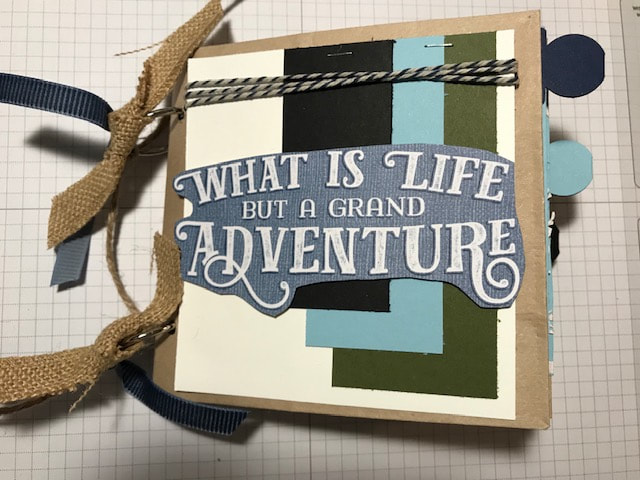
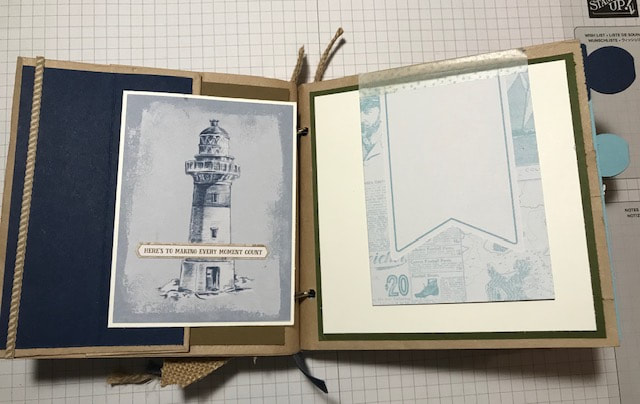
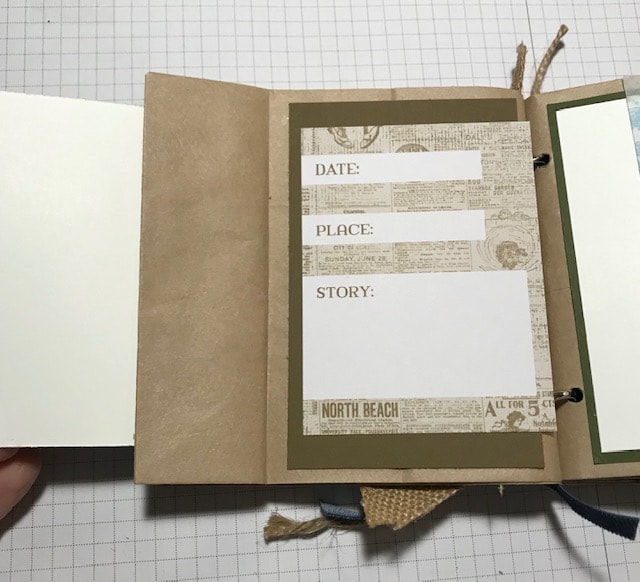
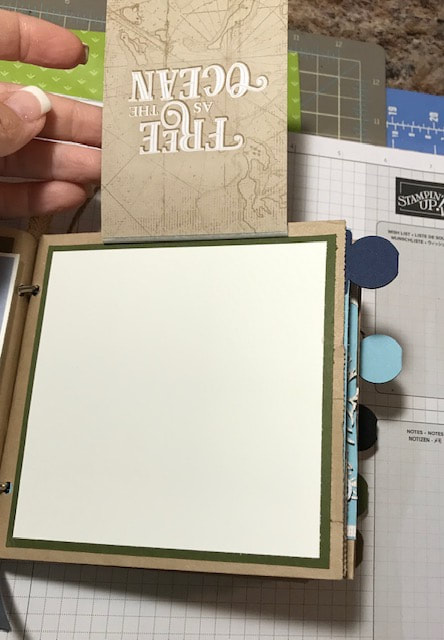
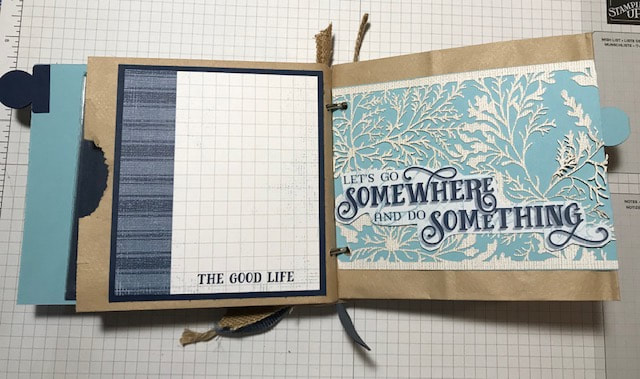
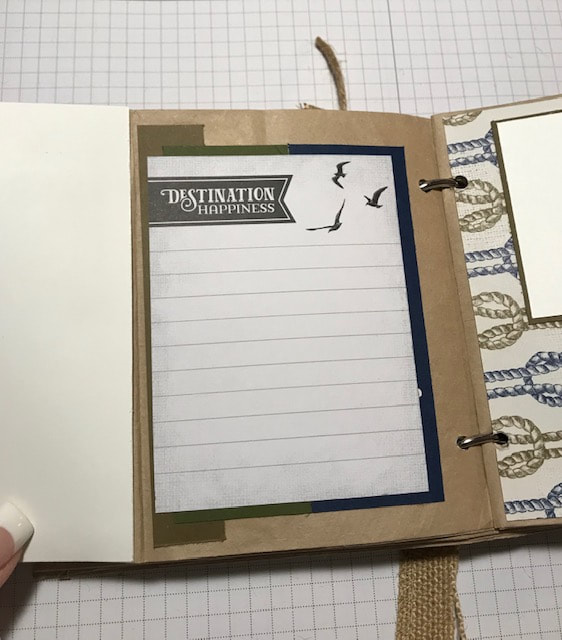
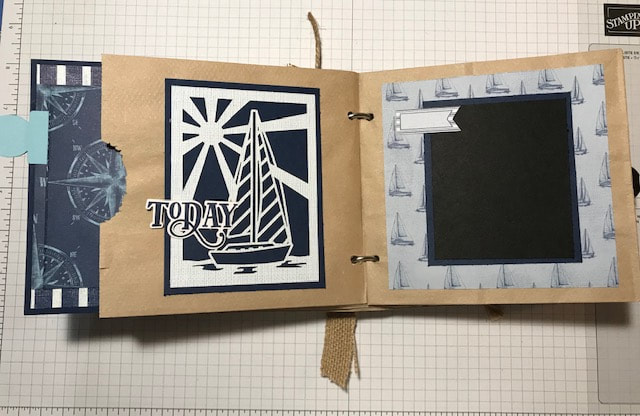
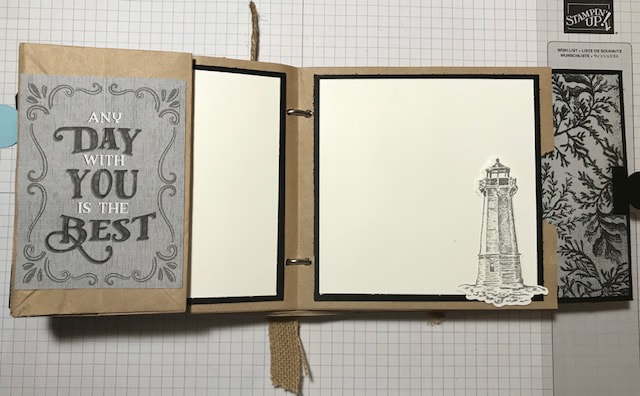
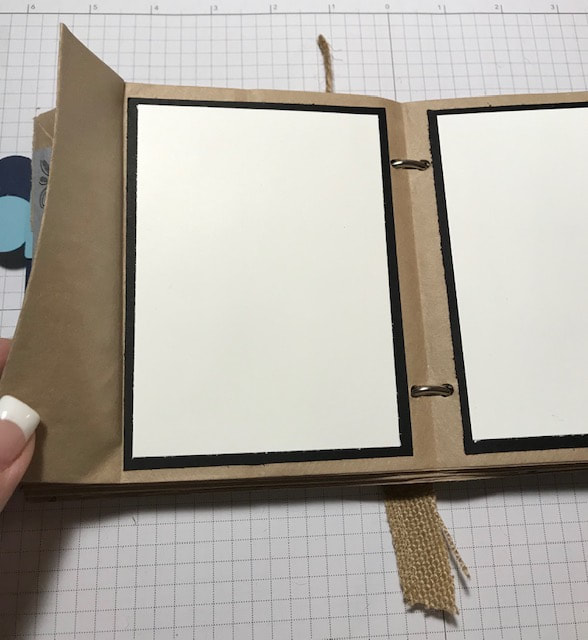
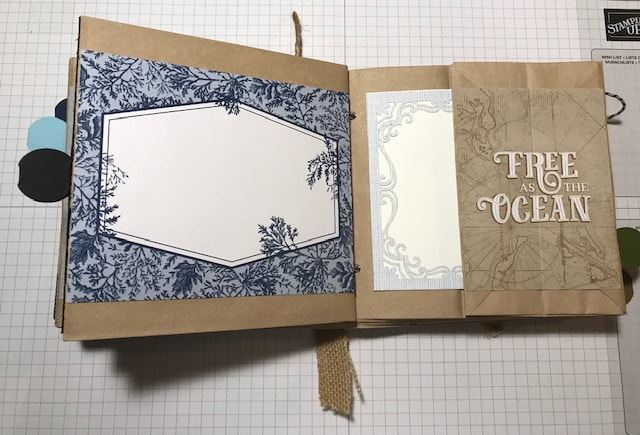
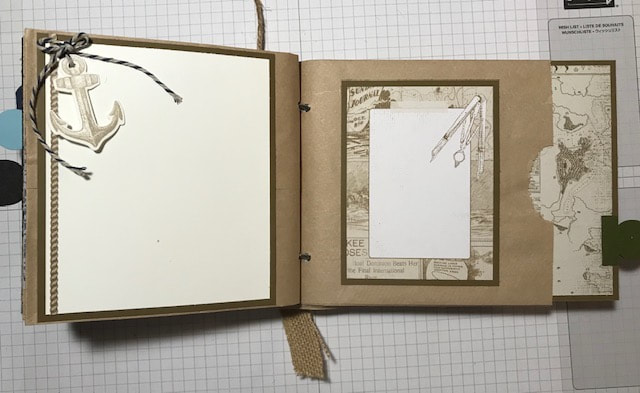
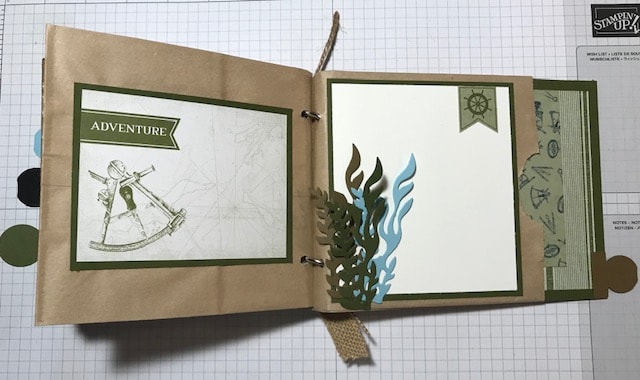
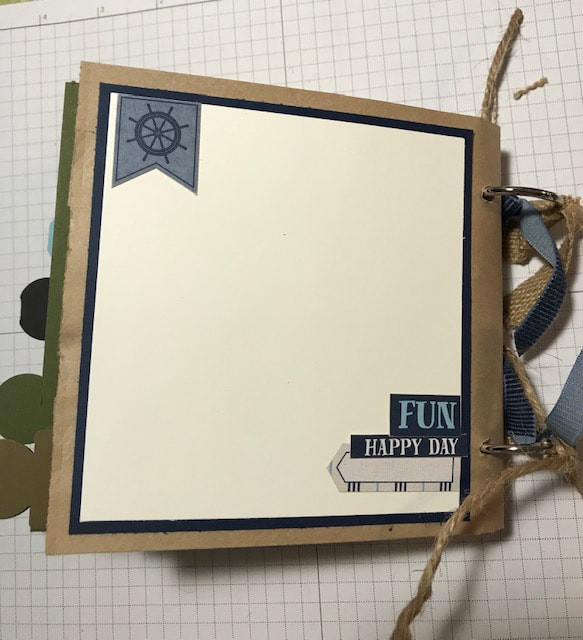
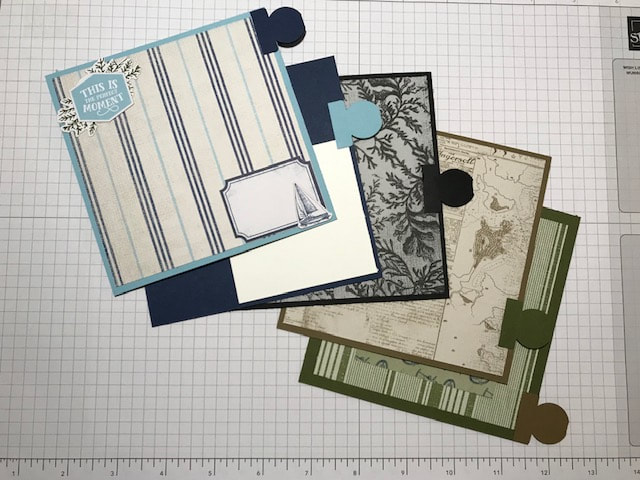
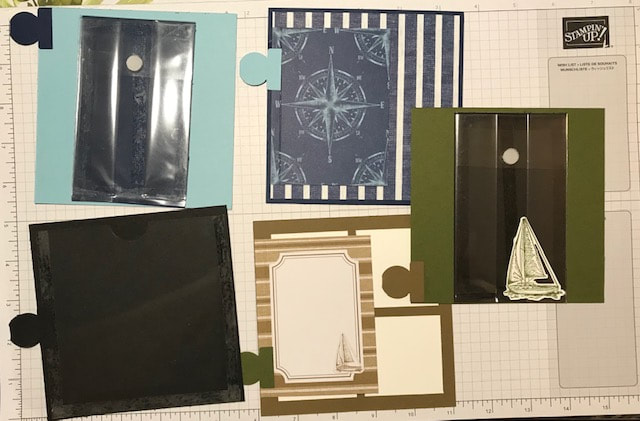
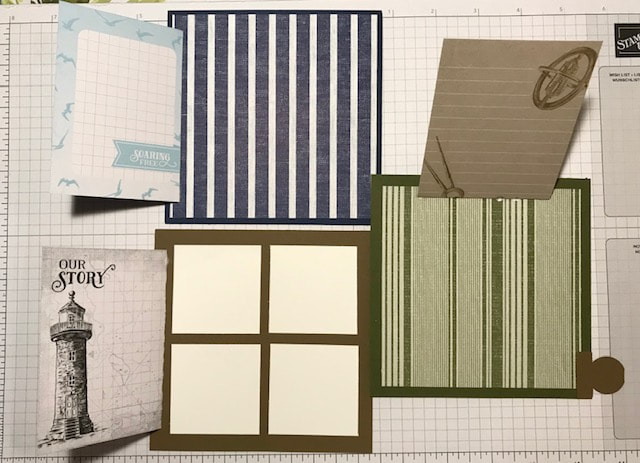
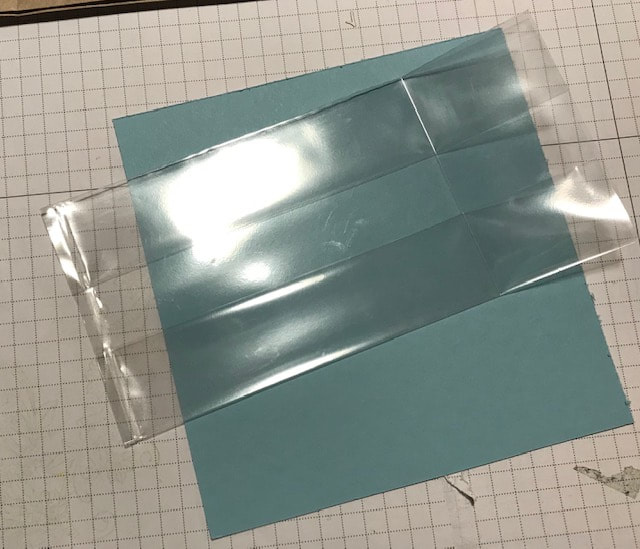
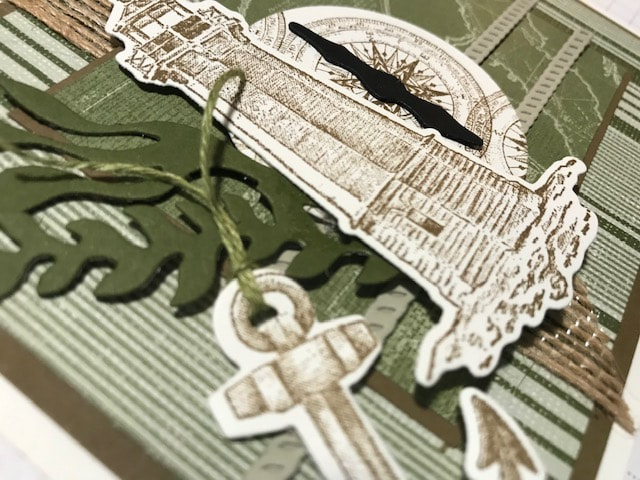
Happy Stampin Happy New Year Steph 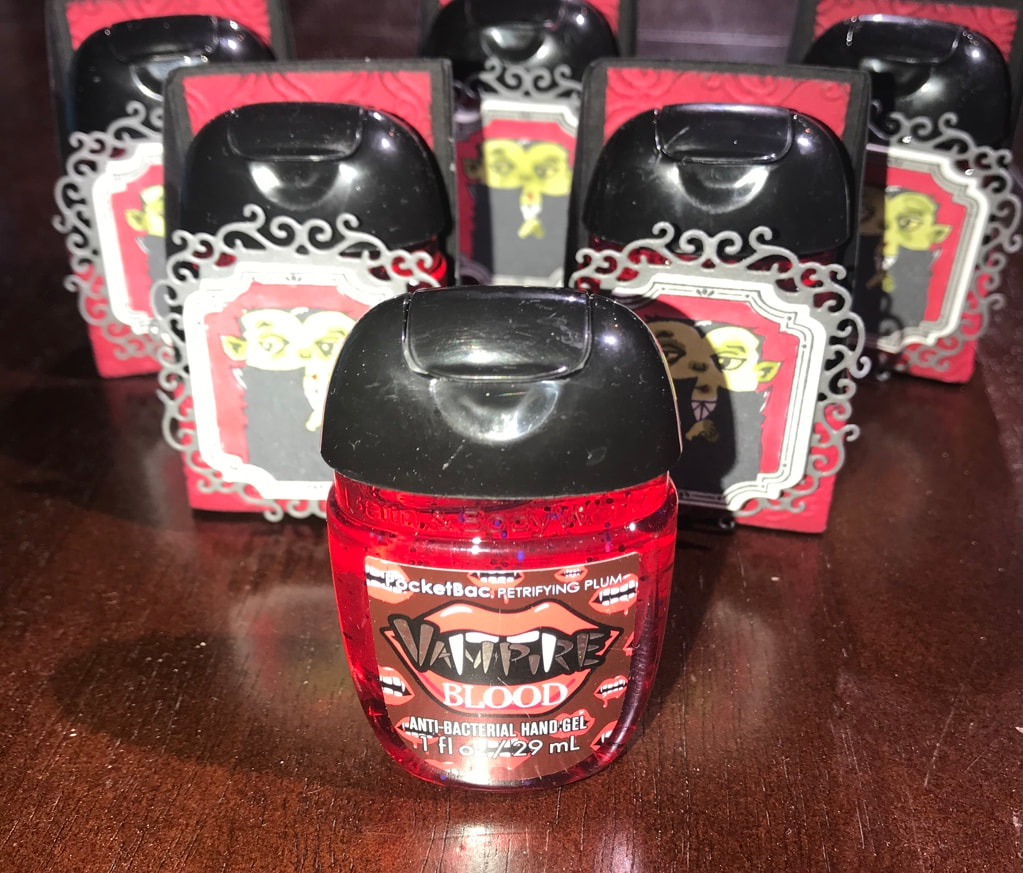 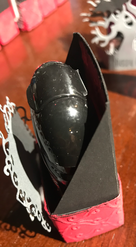 I love making little treats to give teachers, family, friends. The hand sanitizers from Bath & Body Works are perfect for this! They are affordable, have cute designs, smell amazing and everyone loves them! You can find many designs if you search Google or Pinterest. But I stick with this type of box to hold them! I like how it fits and you still have space to decorate! To make the box, you will need a piece of cardstock that measures 3 3/4" x 4 3/4". Score it on the 3 3/4" side at 1" and 2 3/4". Then turn the paper to the 4 3/4" size and score at 1" & 2" Fold all the score lines. On the sides that measure 4 3/4", cut the score lines to create tabs. Fold the middle tabs in and adhere the bottom tabs on the outside to create the box. The you going to cut at a diagonal from the top of the box side down to the top of the tabs. (My picture shows the completed box, but hopefully this makes sense) Contact me with any questions. I chose to match up the box to the style of the sanitizer, this one was called Vampire Blood. So I used a pieces of Real Red cardstock (measure 1"x6" and 1 3/4"x2 1/2") and embossed the pieces with the new Stampin Up embossing folder called Stylish Scroll. I then sponged the edges with Basic Black to give it an old look. The Vampire stamp is also from Stampin Up the stamp set is Spooktacular Bash. I made a layer by cutting the Vampire out and the greeting using a framelit from Stampin Up's Ornate Frames Dies. Added glue dots to the top of the greeting so you can lift the Vampire up. I adhered them to another die from the same size! Love it!! I also completed another set for the Ghoul Friends scent. I used the Stampin Up stamp set Spooky Fun & Halloween Scenes Dies. I think I prefer the witch flying across the moon, so I will up the rest of the boxes and finish them that way!!! I hope you enjoyed this project! Let me know what you think! Happy Halloween & Happy Stampin' Steph 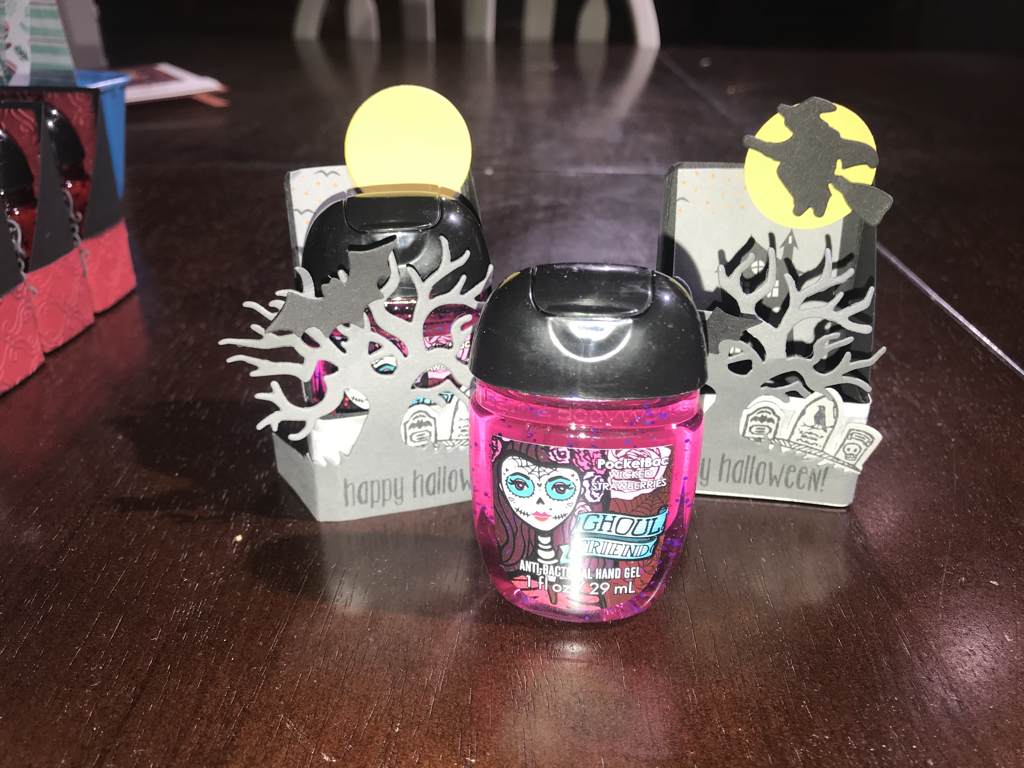 Cozy fall crafting What’s the old saying? Variety is the spice of life? At Paper Pumpkin, we like to mix things up and keep your crafting experience fresh and fun. We plan each kit carefully, allowing you to check as many creative boxes as possible while keeping our projects simple—so you can explore the world of papercrafting with confidence. With this in mind, we are bringing an elegant fall gift packaging kit to Paper Pumpkin fans this August. Be sure to subscribe or have your subscription current before August 10th to receive this kit. And don’t forget about The Gift of Fall Add-On Bundle this a separate purchase for those who would like to convert their August Paper Pumpkin kit into cards. The price for the add-on bundle is $10.00 and is available for Paper Pumpkin subscribers only. This add-on is available beginning August 1, while supplies last! View the video below to see a sneak peak of the August kit and then click on this link to subscribe https://www.paperpumpkin.com/en-us/sign-up/?demoid=2127355 Please contact me if have any questions!! Happy Stampin Steph 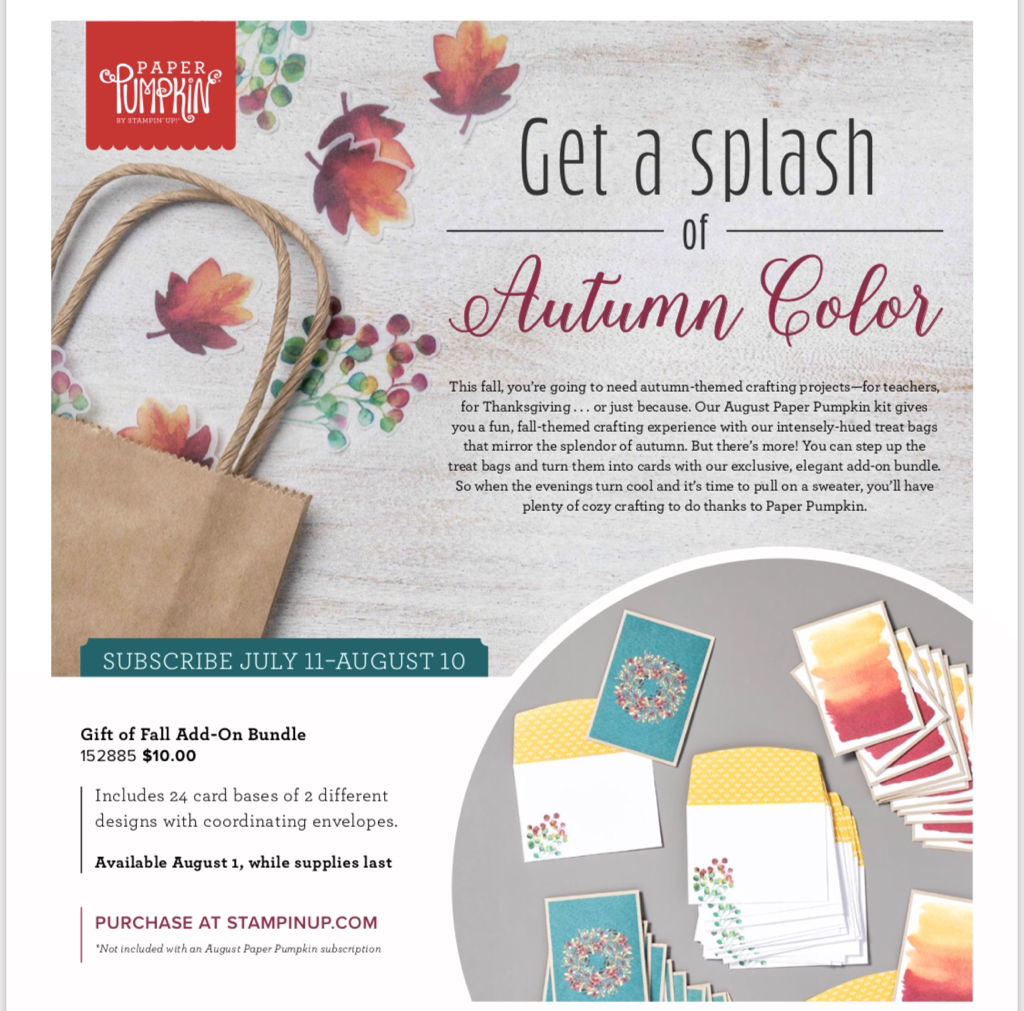 Welcome to our Stampin Friends June Summertime Blog Hop. I am so excited to share this month! School is out and sports are over! So I was able to design a little more this month, than I normally have time for! As you can tell, this month's hop showcases projects that have a summertime theme! Be sure to check out all our wonderful crafters and their amazing projects. Did you come from Maureen Rauchfuss's blog? Her projects were awesome! Be sure to continue to Barbara Welch's blog once you have finished viewing mine!!!  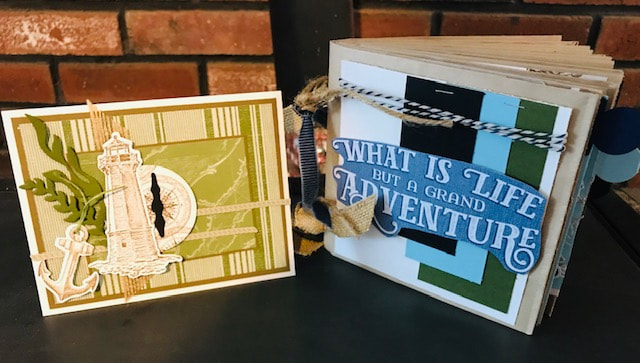 I am really happy with my project this month and I hope you enjoy! I made a travel album from brown paper lunch bags. Super easy! The projects feature products from the Come Sail Away Suite! Brand new in our Stampin Up Annual Catalog. I used coordinating cardstock colors; Balmy Blue, Basic Black, Mossy Meadow, Night of Navy, Soft Suede and Whisper White. The first thing you need to do is figure out how many bags thick you want to make your album. I used 5 brown bags. Then fold each bag in half and make sure you burnish the folds so the bags sit flat! Lay them one on top of the other alternating top and bottom of the bags. Once they are stacked and folded (make sure they all line up on edges or when you punch your holes the bags will be off), use a heavy duty hole punch or Cropidile. I measured from the top and bottom about 1" in and punched. Now for decorating I used the Come Sail Away Memories and More Cards, as well as the Come Sail Away Designer Series Paper. I basically looked through the cards to see what I wanted to use and then just went from there creating photo & journal layouts! Now, let's not forgot that with the bags folded in half, the top of the bags (the open ends) become a pocket. You can leave them empty, but what fun is that! I created 5 cards for the 5 pockets. Each card is a 5x5 piece of cardstock. I used the Circle Tag Punch to create the tabs on the ends so the cards can slide in and out of the pocket easily! Again, some of the cards have parts that flip up or out! You may have noticed on 3 of the cards there are pockets. I thought since this was to be a keepsake from traveling, you may want to have a place for some memorabilia. Creating the pockets was super easy. Lets start with the black card. To make the pocket, I took a piece of transparency (you can find these at office supplies stores) and cut it to 4 1/2x4 3/4. I cut a half circle at the "top" of one side. The reason I didn't cut it square is that you have a little more room to add things in and out. I added Tear N Tape to 3 sides and adhered to card. To make the pockets on the Balmy Blue and Mossy Meadow cards; 2- 3x6 Gussetted Cello Bags 2- small Velcro dots. Fold each bag, on the opened side, about 1"-1 1/4" down. Cut along the fold, be sure to leave 1 side still on (this is the closure to the pocket)SEE PICTURE 2 BELOW. Add the velcro dots. I then took a different color cardstock than the card base and cut it to the size of the pocket (you could skip this step and just adhere it right to the pocket. Some of the decorating throughout the album is from the Memories & More cards as well as a few stamped images from the Sailing Home Cling Stamp Set cut out with the Smooth Sailing Dies. The album is bound together by Binder Rings, you can find these at Walmart and other office supply store. The size you need will depend on how thick you made your album. I tied on some retired ribbon scraps to the binder rings to add a little more embellishment.
 Thank you so much for viewing my projects for the Stampin Friends June Summetime Blog Hop! I hope you liked what I made for you to share! PLEASE, leave a comment so I know you were here and I'd love to hear with you thought! Be sure to continue with the hop and visit on the list. If you missed a blog along the way you can see all the participant's blogs below! Thank you again for stopping by Happy Hoppin' and Happy Stampin' Steph Here is a list of all the bloggers for the Stampin Friends June Blog Hop
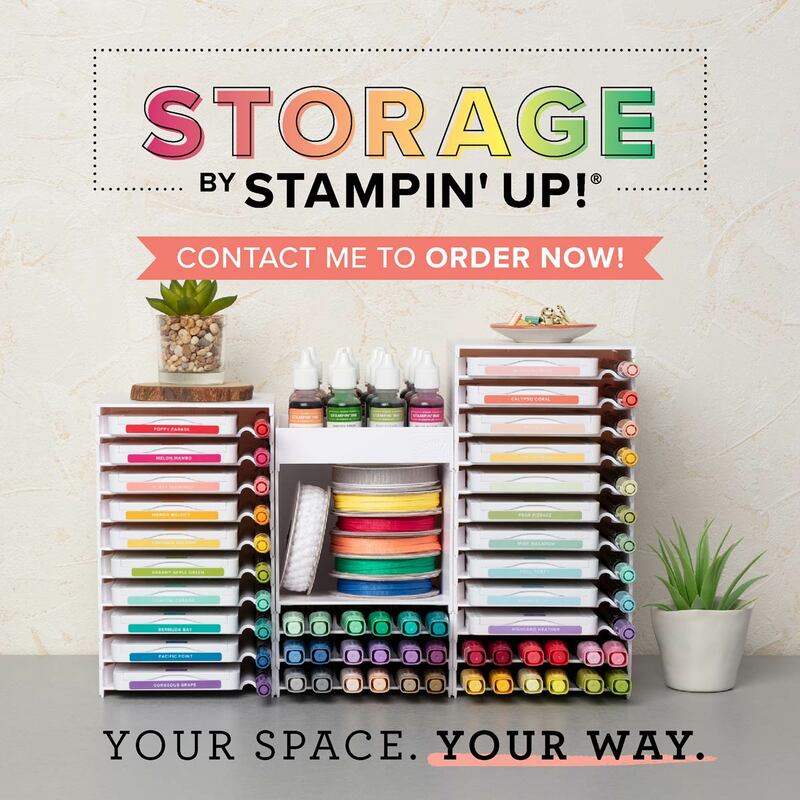 I am so excited to share with you that the Storage by Stampin Up modular storage system is NOW available for sale! Nope this is not April Fools....this is for real!! This system is perect, because you customize how you want to use it! It's not a big a bulky storage unit. By a sleek modular system that always you to choose the components that work for you current and future needs. And....you do not have spend alot all at once. You can build as your need changes! Whether you have an entire room or a small corner in your home for stamping, your creative space should be tailored to you. Our new product line, Storage by Stampin’ Up!, provides you with modular storage solutions that let you organize—and customize—your space your way! FEATURES AND BENEFITS Storage by Stampin’ Up! is designed to store and showcase your Stampin’ Pads, Stampin’ Ink Refills, Stampin’ Blends, Stampin’ Write Markers, Watercolor Pencils, and other accessories. Here are some other features and benefits of Storage by Stampin’ Up!:
 Click here to download the Storage by Stampin Up Product Flyer  Click here to download the Storage by Stampin Up Configuration Chart Click here to download the Storage by Stampin Up Configuration Chart Take a look at the video below to see the Storage in action!!!! Leave a comment and tell me what you like about the new Storage by Stampin Up! I'd love to hear what you think!...And 1 lucky person will win 1 set of ink pad and marker holders!!!
Thanks for stoppin by Happy Storage and Happy Stampin Steph 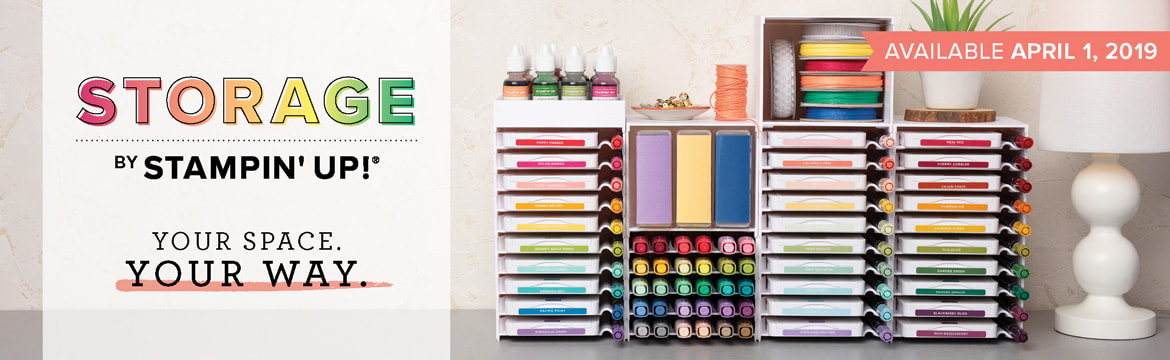 Your space. Your way. Whether you have an entire room or a small corner in your home for stamping, your creative space should be tailored to you. Our new product line, Storage by Stampin’ Up!, provides you with modular storage solutions that let you organize—and customize—your space your way! Available April 1st, these modular and customizable Stampin' Up Stamp 'n' Write Markers and Blendables storage are the perfect solution for color organization!! I can not wait until I can get my hands on these!!! Check out the video below to see all about how the new Storage by Stampin Up works!!! Be sure to contact me with your order... Happy Stampin Steph 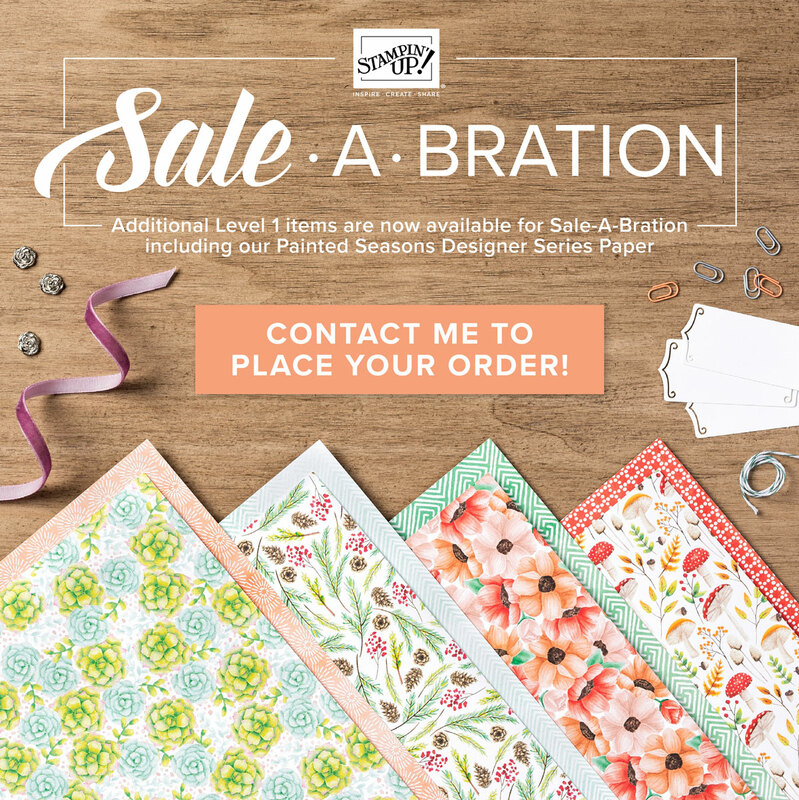
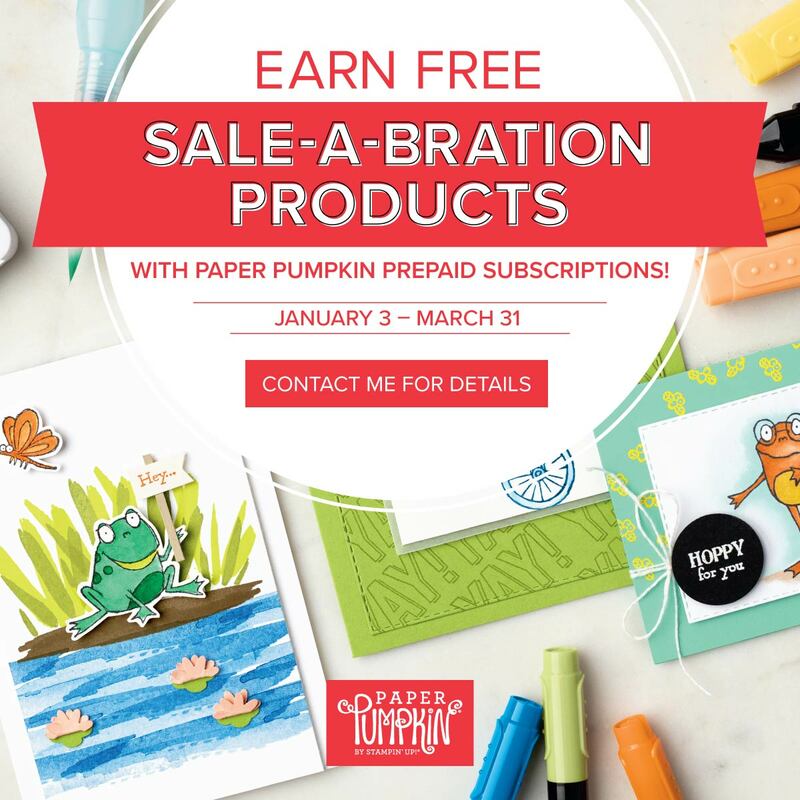 Look at these adorable cards made with free products! WOW!!! Be sure to subrscribe and join today
Happy Stampin Steph 
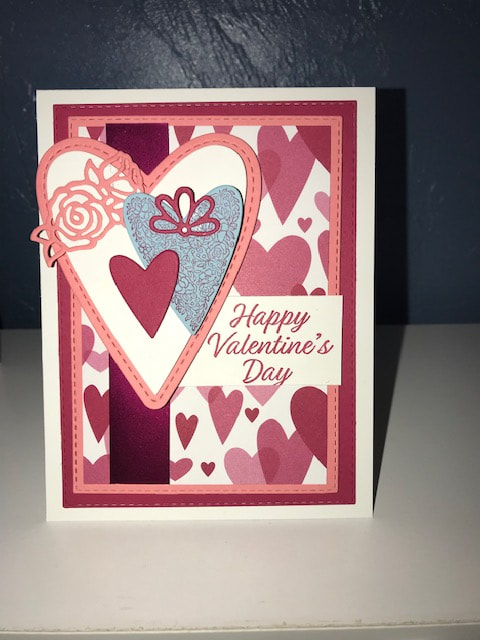
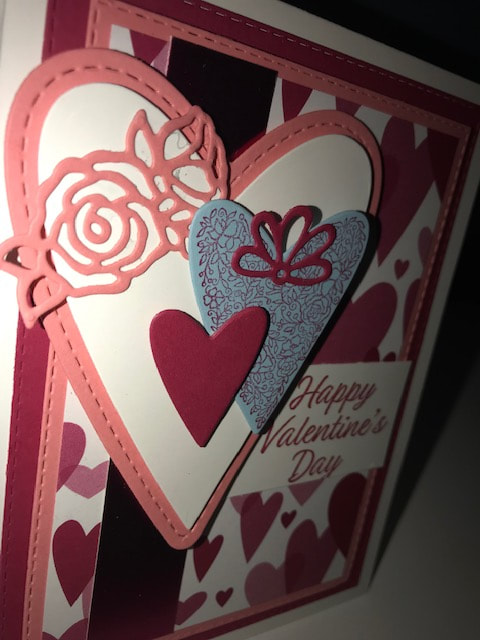
Welcome 2019 and welcome to the first Stampin Friends Blog Hop of the new year. I am so excited to be continuing as a regular hopper for the year. We have some great theme's planned so make sure to check us out each month!! This month's Stampin Friends theme is Love! So relax and enjoy all these amazing projects!! You are really going to love the projects shared this month!
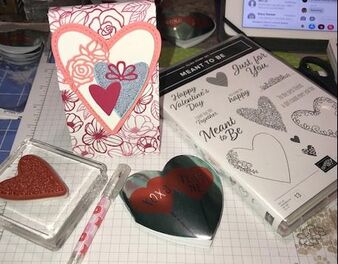
We have 11 amazingly talented crafters participating in this month's hop, so be sure to follow along and check out everyone's blogs and fabulous projects. Wasn't Maureen's projects just wonderful???? Be sure to leave a comment on my blog post and I will enter you in to my personal raffle to make this project yourself!!!! Today I wanted to share with you 2 really fun projects made with new products from the Stampin Up Occasions catalog! My projects use the All About Love Designer Series Paper, the Meant to Be stamp set and the colors Lovely Lipstick, Flirty Flamingo, Whisper White and a pop of Balmy Blue.
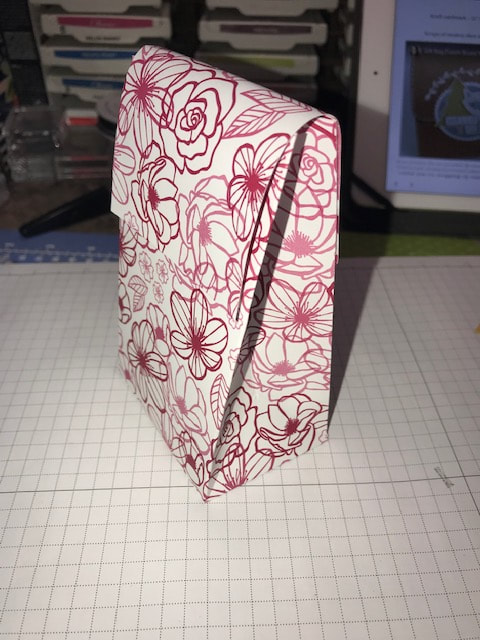
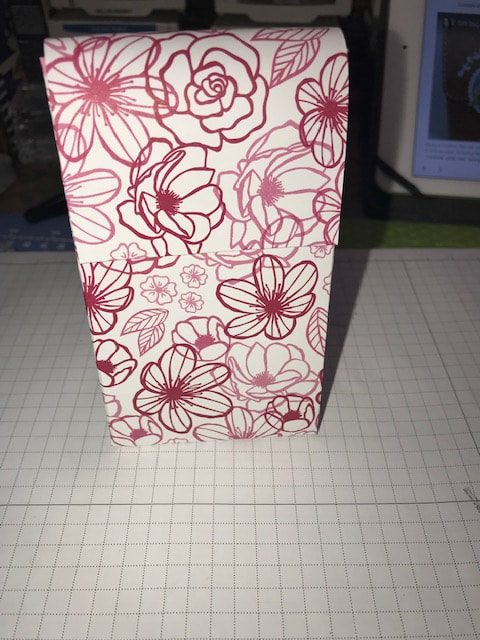
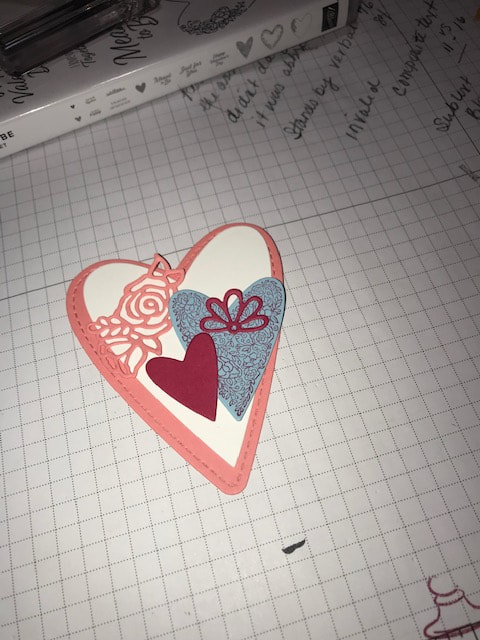
To decorate the front of the bag, I used the new Be Mine Framelits in the new Occasions catalog. I layered the colors of Flirty Flamingo, Lovely Lipstick, Balmy Blue and Whisper White. I cut 2 of each out as I will used the second set when making the coordinating card.
What do you think??? I hope you like my projects!
Be sure to follow along to Melissa Thomas's blog, you can click on her name below and check out her projects!!! Thanks for stopping by Happy Stampin Steph 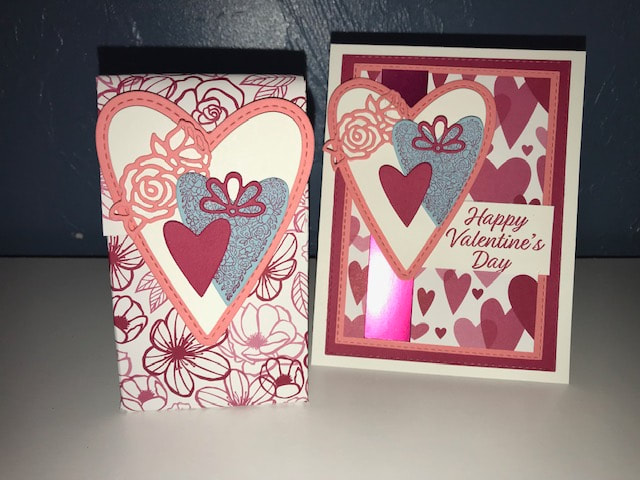
|


Categories
All
Archives
May 2024
|


 RSS Feed