
How crazy that it is June already! I feel like this month has just flown by!!! I guess that can just mean it is time or our monthly bl og hop sooner than later! Right?
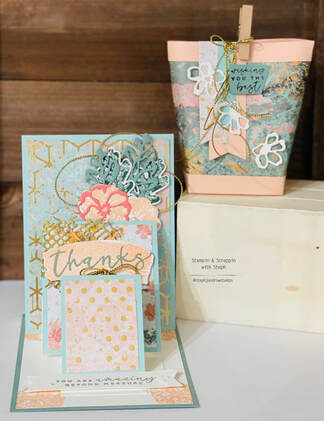
Our theme this month is Lots of Layers. Who doesn't love cards with alot of layers and embellishments? I know I do! But in the craziness of life, I tend to make more simple cards, with a few layers and embellishments! I need to get them done!!! I enjoy this theme, because I get to pause and think about designing a card much different than I would. I don't want a card that will be over the top and too difficult to mail. And, a card like this would not be just for anyone, so I will definitely think about who I'd love to give a stepped up layered card to! To make my projecys today I choice to use the new Stamin Up Suite called Texture Chic. Its a beautiful set with color combo of Petal Pink, Mango Melody, Pool Party, Evening Evergreen, Soft Succulent and Gold accents in the DSP . The stamp set has stunning images of different seasons and coordinates with a 19 piece die set. Alright before we dive into the projects, I hope you visited from Barb Pfeffer's blog and saw her amazing projects. Make sure to visit all participants blogs and if your not sure whose blog you have been too, you can view a list at the end! Be sure to leave a comment! I love hearing what you think! 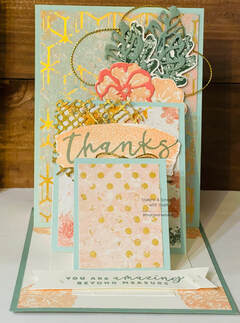
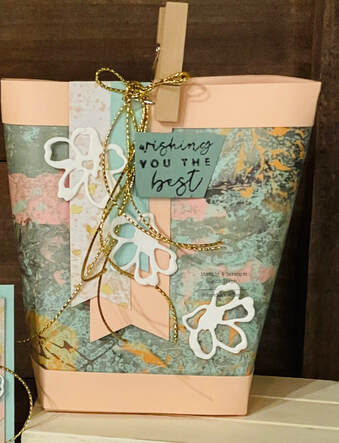
The card I chose was a Triple Easel card! I just love easel cards, I have never made a double easel card, let alone a triple! So, I gave it a go!!! I thought this type of fun card would definitely showcase layers, the beautiful DSP, Stamp set and dies.
The card came together easier than I thought. Your basically making 3 separate easels and then putting them all together! Measurements: Cardbase
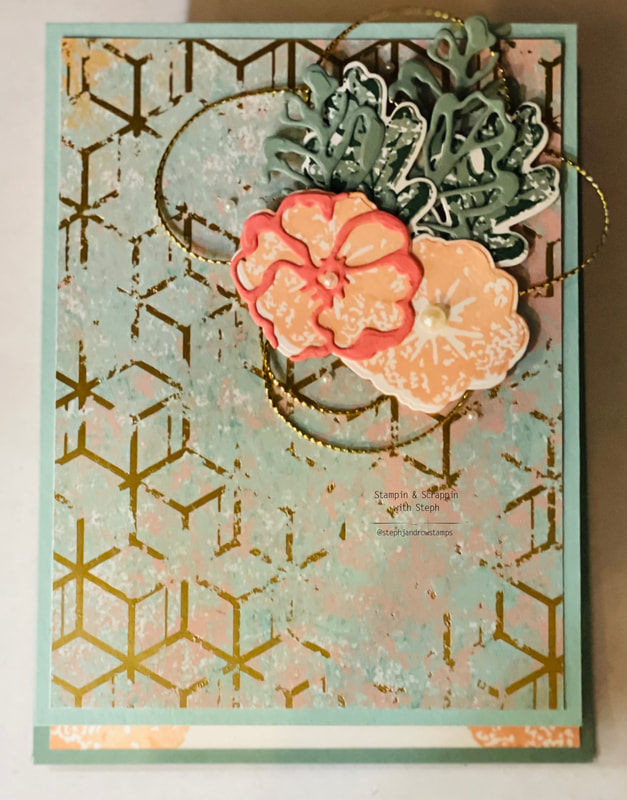
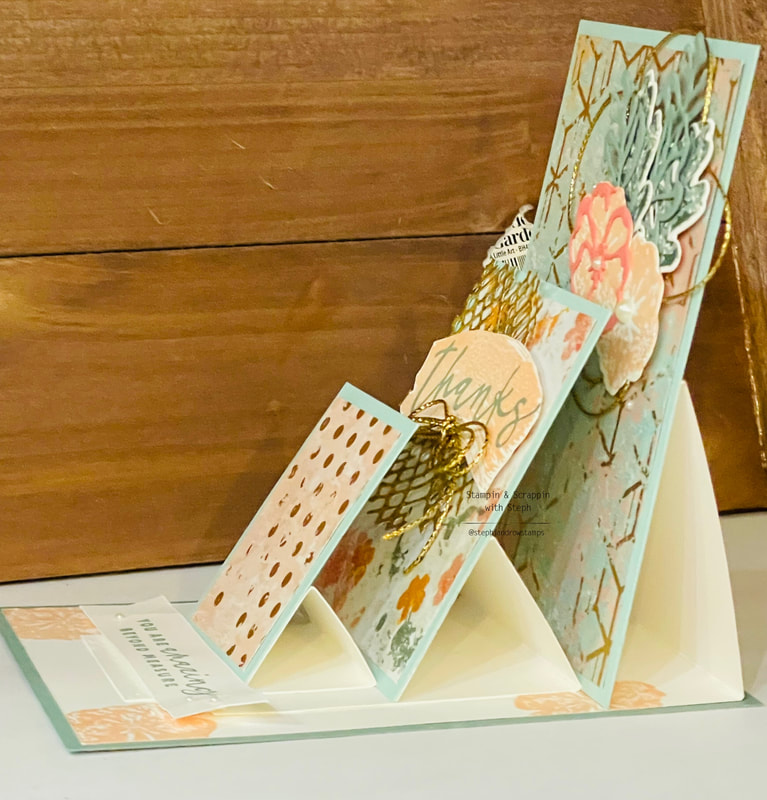
Adhere the DSP to the Pool Party layer. Stamp, diecut and embellish your card front!! Do the same to create the other easel frames lay each easel folding in half. Add adhesive only to the bottom half (section without the fold) and lay the cardstock on top. make sure to lay the card stock flat ontop (it should cover the all the basic white) but only the bottom half will be adhered. Adhere each easel ontop of one another like in the picture. Stand each easel up in the angle you prefer then adhere the next one down. To see how this card comes together, I made a video showing how to assemble from start to finish.
Full disclosure, it's been a while since I recorded, so I'm a little off my game. Its a bit longer than i wanted due to a few interruptions along the way!
I hope you enjoy the projects I shared with you today.
Happy Stampin Steph
7 Comments
Barb
6/24/2022 09:10:45 am
That is such an impressive easel design!
Maureen Gail Rauchfuss
6/24/2022 11:01:07 am
Love this - I've never done a triple easel and it looks so elegant with this paper!
Jean B
6/28/2022 03:12:50 pm
Triple easel! My advanced classes will love that. Thanks for sharing!
Tiziana
6/28/2022 09:27:23 pm
The thought of triple easel sounded very intimidating...but great job at showing how easy it is to do. Love your card and bag!
Debbie L Roberts
2/14/2023 07:31:51 pm
Love pop up cards
Steph
4/17/2023 06:49:11 am
Me too!!! Thanks so much!! Leave a Reply. |


Categories
All
Archives
May 2024
|
 RSS Feed