WOW September is rolling right along! And here in Massachusetts it doesn't feel like fall is ready to make it's appearance yet! We've had record breaking temperatures with nasty humidity! I am hoping it cools done soon! I look forward to the cool crisp air, changing leaves...except when I have to rake them, and smells of fall like baked apple pies and pumpkin spices! I love to decorate and get into the spirit of Halloween for the kids! So, I am so excited to share my projects with you!
I want to welcome you and thank you for stopping by the Stampin Friends Blog Hop for September. My blog hop winner, from the August hop, is Barbara Welch! Congratulations! Barbara will receive 1 set of the completed projects I made in August. So be sure to comment on my blog for this month and I will send you a little prize from me! Did you hop over from Kim Jolley's blog! Weren't her projects just amazing?? Let's jump into the projects!!! If you haven't notice, this month's theme is Halloween! I decided to redo a project I made before. It's a Halloween Countdown Calendar! OMG It's adorable! I first, came across the idea either from Facebook post or something on Pinterest. But the information is all on Splitcoaststampers website. The project and directions are from Melissa Stout and you can find all the directions by clicking here. 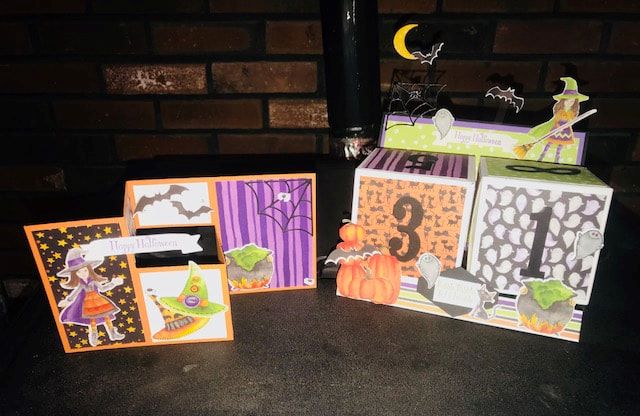
I won't go in to much detail about the directions. I made a couple modifications in mine, I will share those. My first modifications are the supplies used. From the original project, the boxes, DSP and tools were discontinued and I wanted to make sure I used current supplies. Of course, you can use whatever supplies you have!
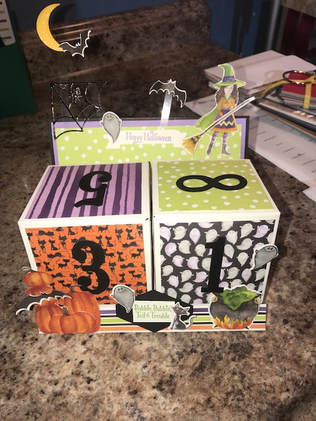
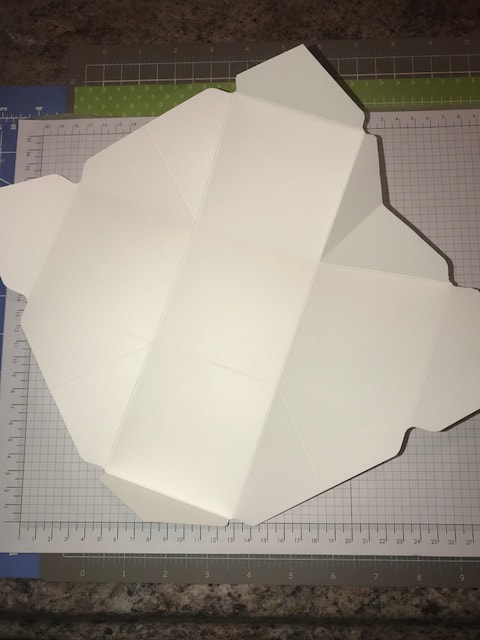
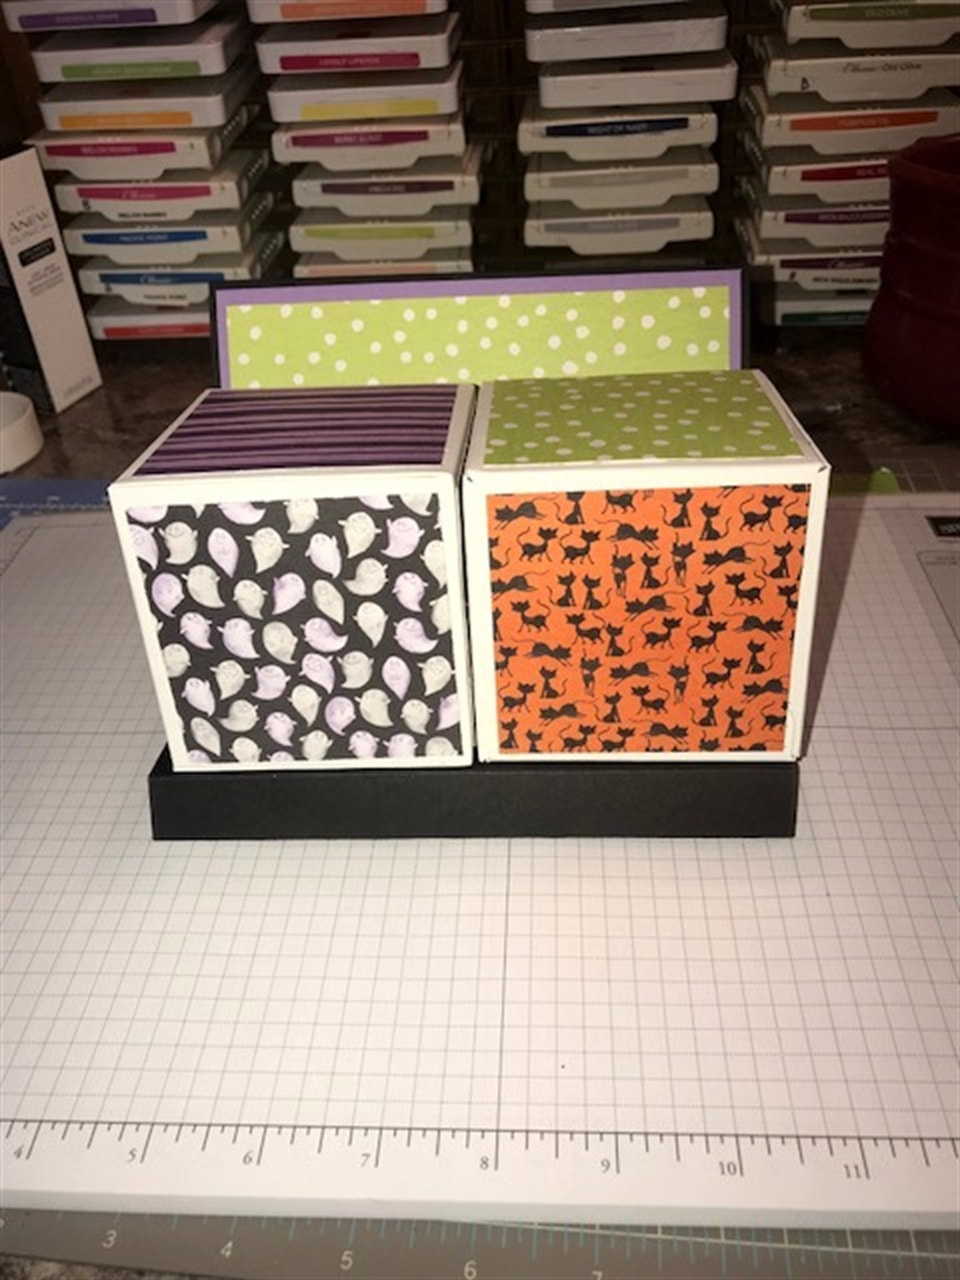
So..what I did was use the Giftbox punchboard and made a 3.25' box. I used 2 pieces of 12x12 cardstock and cut them to 10x10. I followed the scoring instructions on the punchboard. Now, if you are familiar with our punchboard, then you know it's going to allow you to have a box that will open out. Since I knew I wasn't use the box to put anything in, I just sealed it all up.
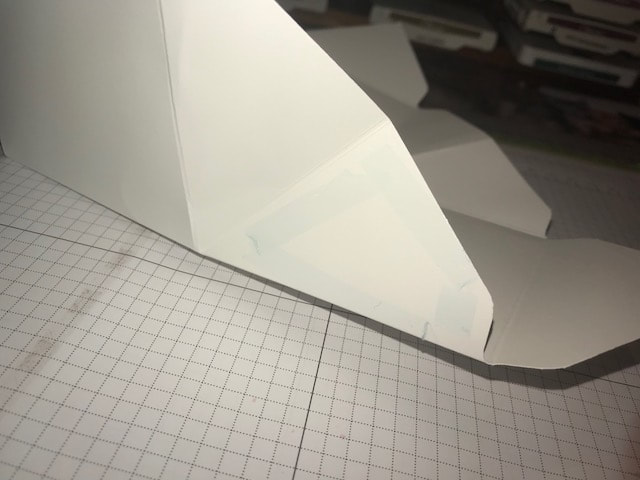
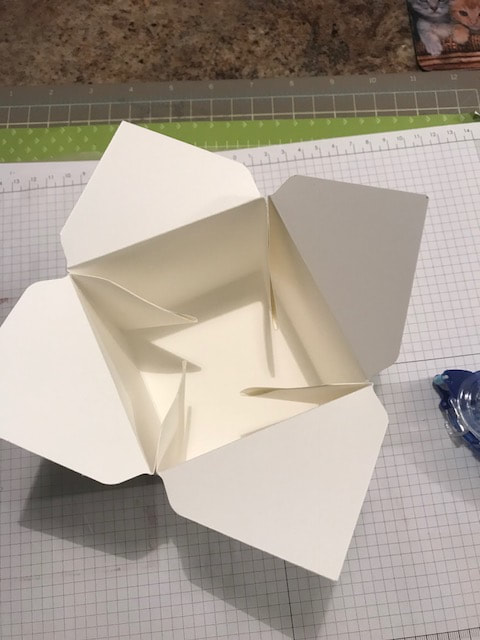
I put adhesive in each of the corners and then sealed the lid. Normally, if I wanted the box to be used but to stay square, I would have adhered the inside tabs to the sides so they don't get in the way of the contents. You can see in the pictures below regarding the tabs.
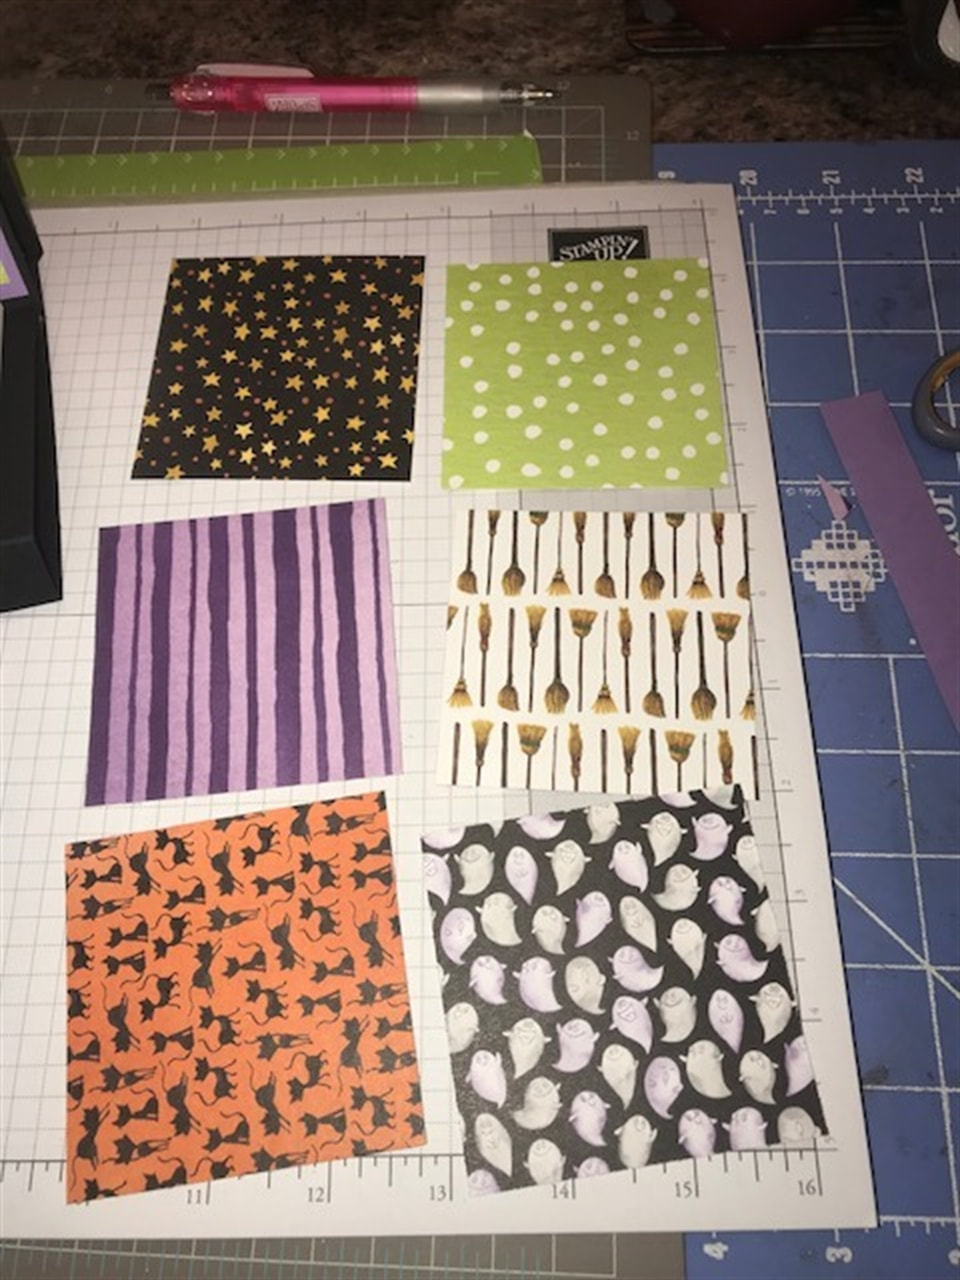
Because my box is 3.25' and the original project was 3'. I adjusted the paper size to accommodate. Melissa's directions was for 2 pieces of cardstock to measure 6 1/2x 8 1/2 and 6 1/2x10. I changed mine to 7x8 1/2 and 7x10. I changed the score lines on 7x8 1/2 paper to 3/8, 3 3/4, 4 1/2 and 8 1/8 and this work fine. I did not need to change the score measurements on the 7x10 paper. I picked out 6 patterns of the Toil & Trouble DSP. I cut 2 of each pattern to 3x3. I adhered this to the sides of my box. I followed Melissa's instruction on what numbers to cut out.
I didn't have to do too much stampin with this project. I used the Cauldron Framelits and matched up the shapes on the DSP and cut them out. I did use the greetings and ghost from the Cauldron Bubble stamp set and the moon from the Spooky Treats stamp set.
To get the look that the moon and bats are floating and flying in the air, I attached them to thin strips of transparencies. I know I have window sheets somewhere, but I can't find them. But good ole transparency sheets worked perfectly. I love this project. It is super easy and really fun to make. Melissa's directions show a Christmas version, which I think I am going to have to add to my list!!!
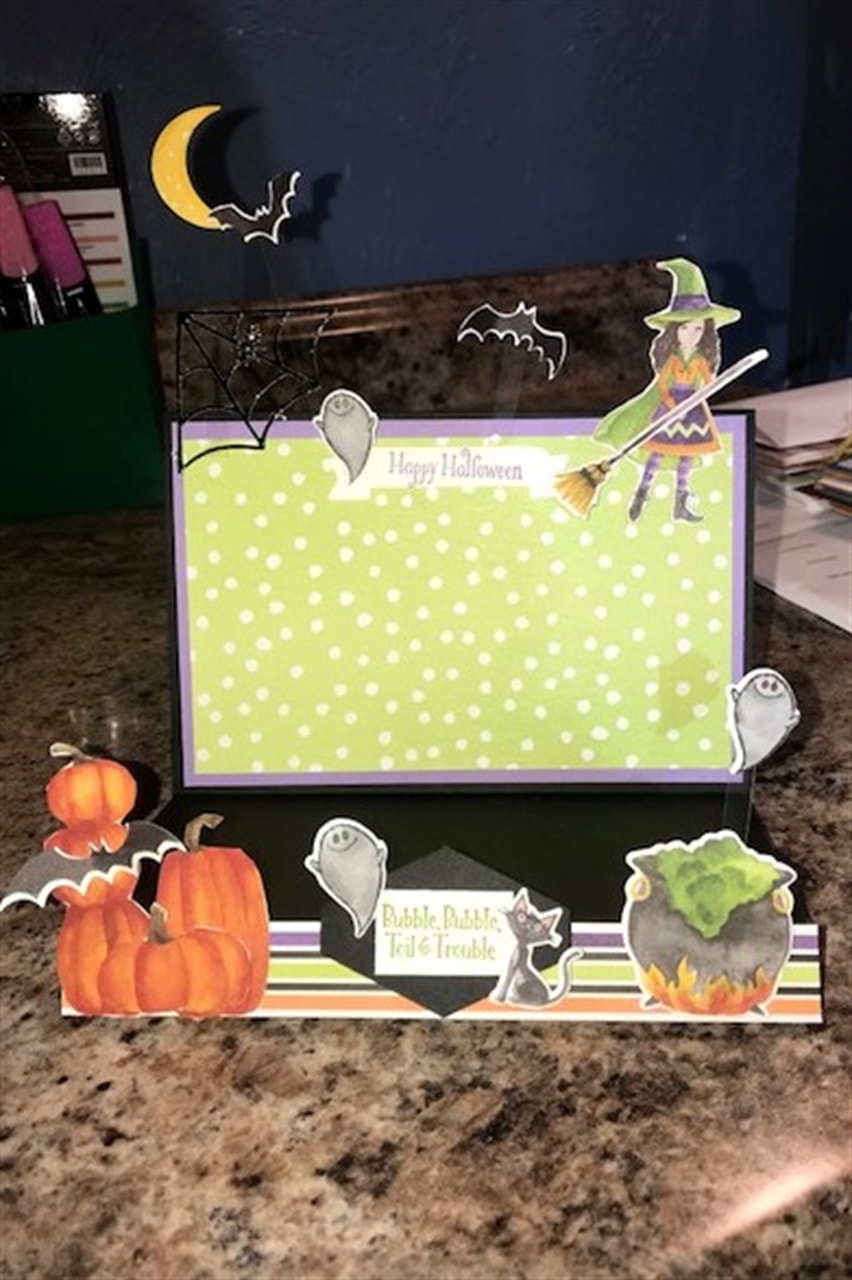
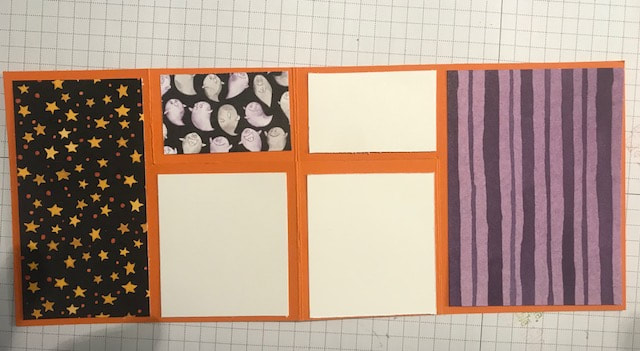
For my card, I made a Simple Step-Out Fancy Fold. I love this fold. You can get 2 cards from one piece of cardstock which is perfect. I was also able to use some of the DSP bits leftover from my project. It was super easy to make and I found the directions from the website Song of My Heart. Lisa Griffin Zwolanek shared her tutorial on how to make the card here.
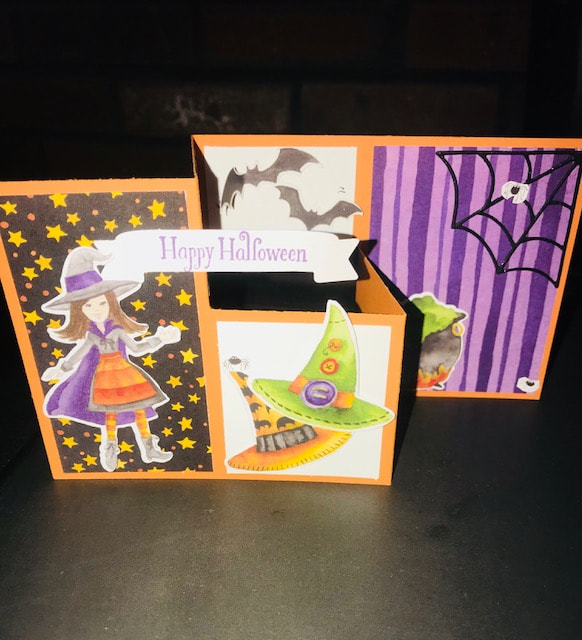
I used Pumpkin Pie CS as my card base. It gives nice pop to the Highland Heather and Granny Apple Green in the DSP. Lisa provides the measurements for the layers as well! I chose my layers first, then decided what I was going to use for images. I said this earlier, I did very little stamping with both the card and the project. I love that the framelits match up to the images on the DSP! When you're in a rush or time is limited this really helps complete projects quickly!! Love how Stampin Up thinks of everything!
I hope you enjoyed my projects, be sure to continue along to Melissa Thomas's blog you can fine her name below and continue from there.
Before you go, be sure to comment, and I will draw one lucky winner of a little blog candy by October's blog hop! Thank you again for joining us Happy Halloween and Happy Stampin Steph
12 Comments
Kirsteen Gill
9/20/2018 08:21:17 am
Love your projects! Thanks for sharing!
Steph
9/21/2018 07:08:08 am
Thank you
Steph
9/21/2018 07:09:00 am
Thank you. I found the stand a little tricky!! 9/20/2018 02:29:11 pm
Your Projects are great - so fun for Halloween - thanks for sharing!
Steph
9/21/2018 07:09:31 am
Thank you Maureen 9/23/2018 06:51:54 am
Your projects are completely over the top. My mind gets in a twitter when I think about doing something this detailed, but you nailed it. Love everything about both of them. 9/23/2018 07:33:03 pm
Both of your projects are awesome but I think that calender stole my heart!
Melissa Thomas
9/23/2018 10:14:30 pm
Love the fun fold card!
Barbara Welch
9/24/2018 05:41:15 pm
Love your projects, they are perfect for Halloween. Leave a Reply. |


Categories
All
Archives
May 2024
|


 RSS Feed